
Almost to the top of the mountain
This past weekend was the 3rd Annual Climb for Heroes event. The event is held on Mt Baldy in Southern California. The event is held to raise money to send wounded veterans on climbing expeditions to some of this worlds greatest mountains. These expeditions help these wounded warriors heal both mentally and physically. I participated in this event last year when there was 500 participants. This year that number doubled to 1000 participants. That increase was noticeable, as soon as I got to the parking lot I noticed how many more cars where already parked compared to last year, but on the trail there where only two choke points that this became evident. The first being on the ropes section, which you can see in the video below at about 5:35. The second choke point would be the last part, going up the last 500 feet of elevation gain at a 30% incline, but at that point your not in any hurry anyways.
You start your adventure at the parking lot to Mt. Baldy Ski Area. There is a check in for the event where you get your bib number and take advantage of some of the vendors in the area giving out free samples of their products such as energy bars, coconut water, and coffee, not to mention the complimentary breakfast offered by Tender Greens. After you have energized yourself free food you are ready to start your hike, there is no set start time, just a 2 hour check in range from 8am to 10am. The first part of the hike is a killer road that hits inclines of 20 to 30 % but thankfully is less then 1/2 a mile before you hit the main fire road.
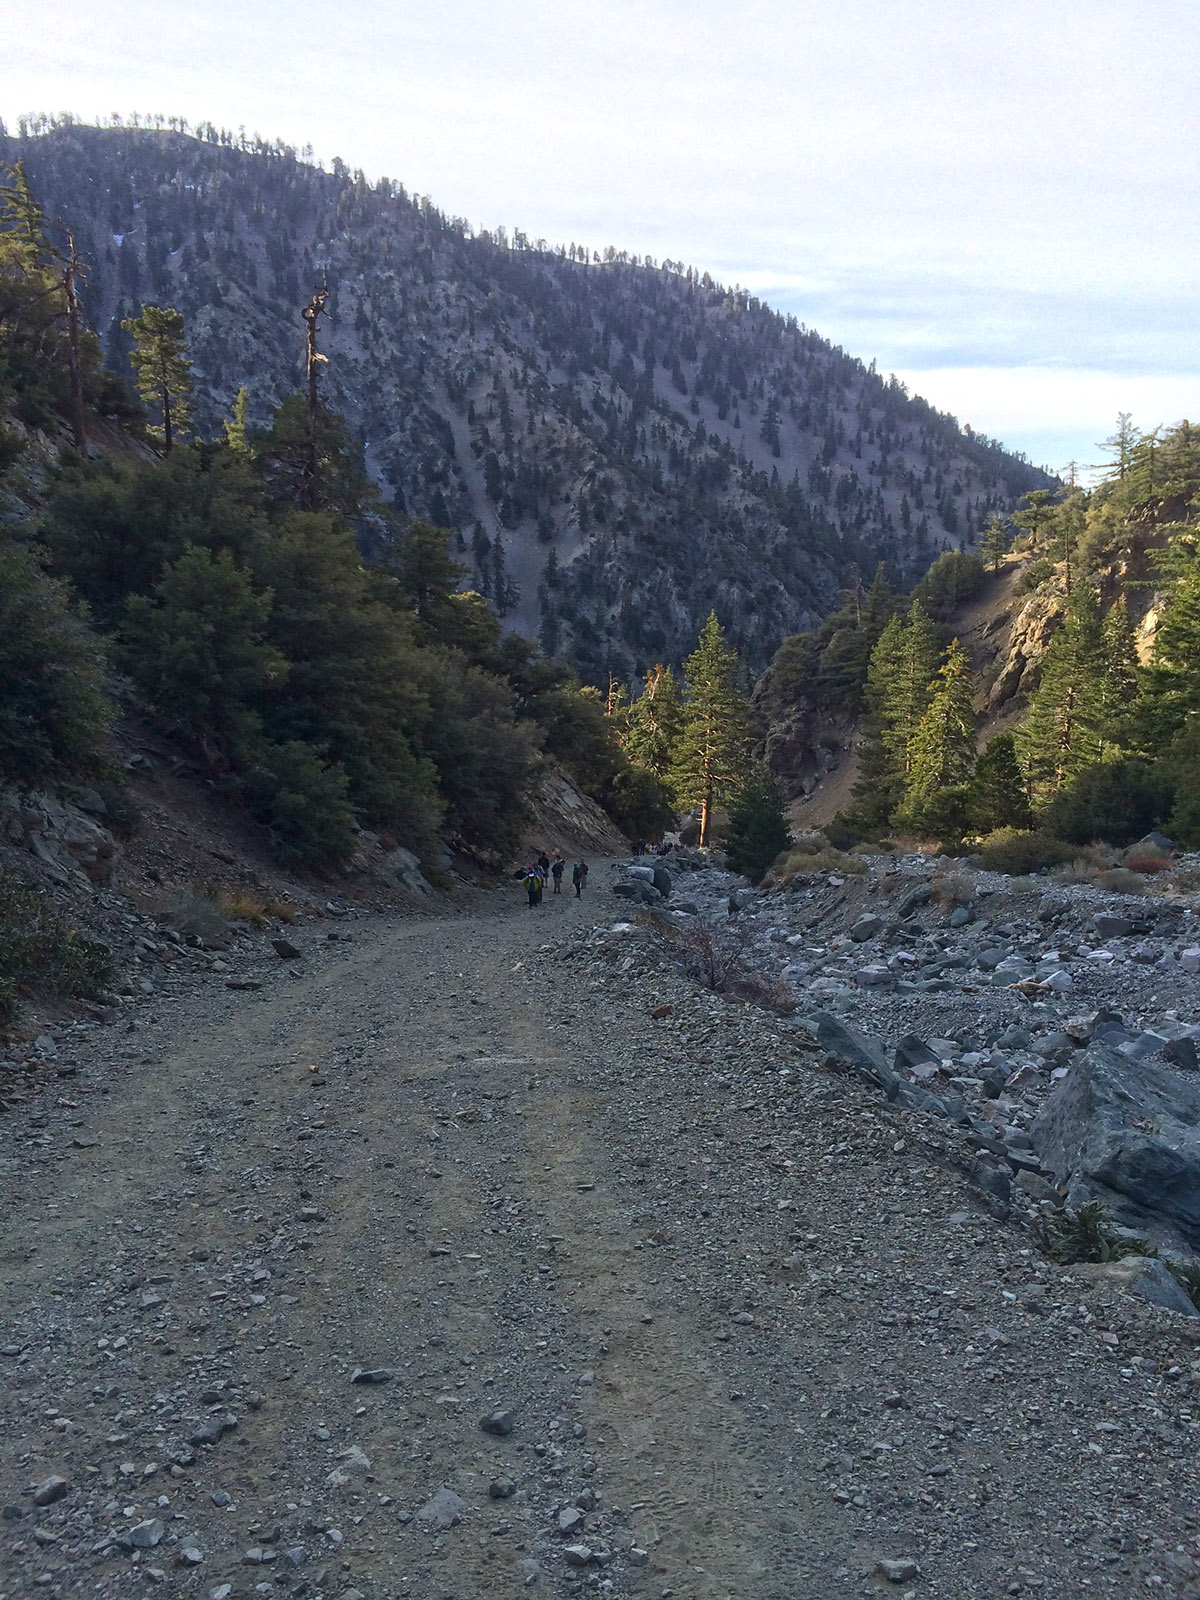
The first killer climb, going up 20-30% inclines for less then 1/2 mile until your reach the main fire road.
After you meet up with the main road you will continue on for another 2 miles to the “Notch”, the main ski lodge for Mt Baldy ski area. Along the way you will come across the first camp where you collect a coin that you will turn in later for swag,ie… cups, caps, t-shirts, etc. Last year the first camp was right at the point where the first killer road meet up with the main fire road, but this year it was a little further along at about 1.4 miles into the hike. The camps area also a great chance to meet some of these wounded veterans who you are raising money for. Each camp has a veteran, and each camp hands out a coin to turn back in later for swag.
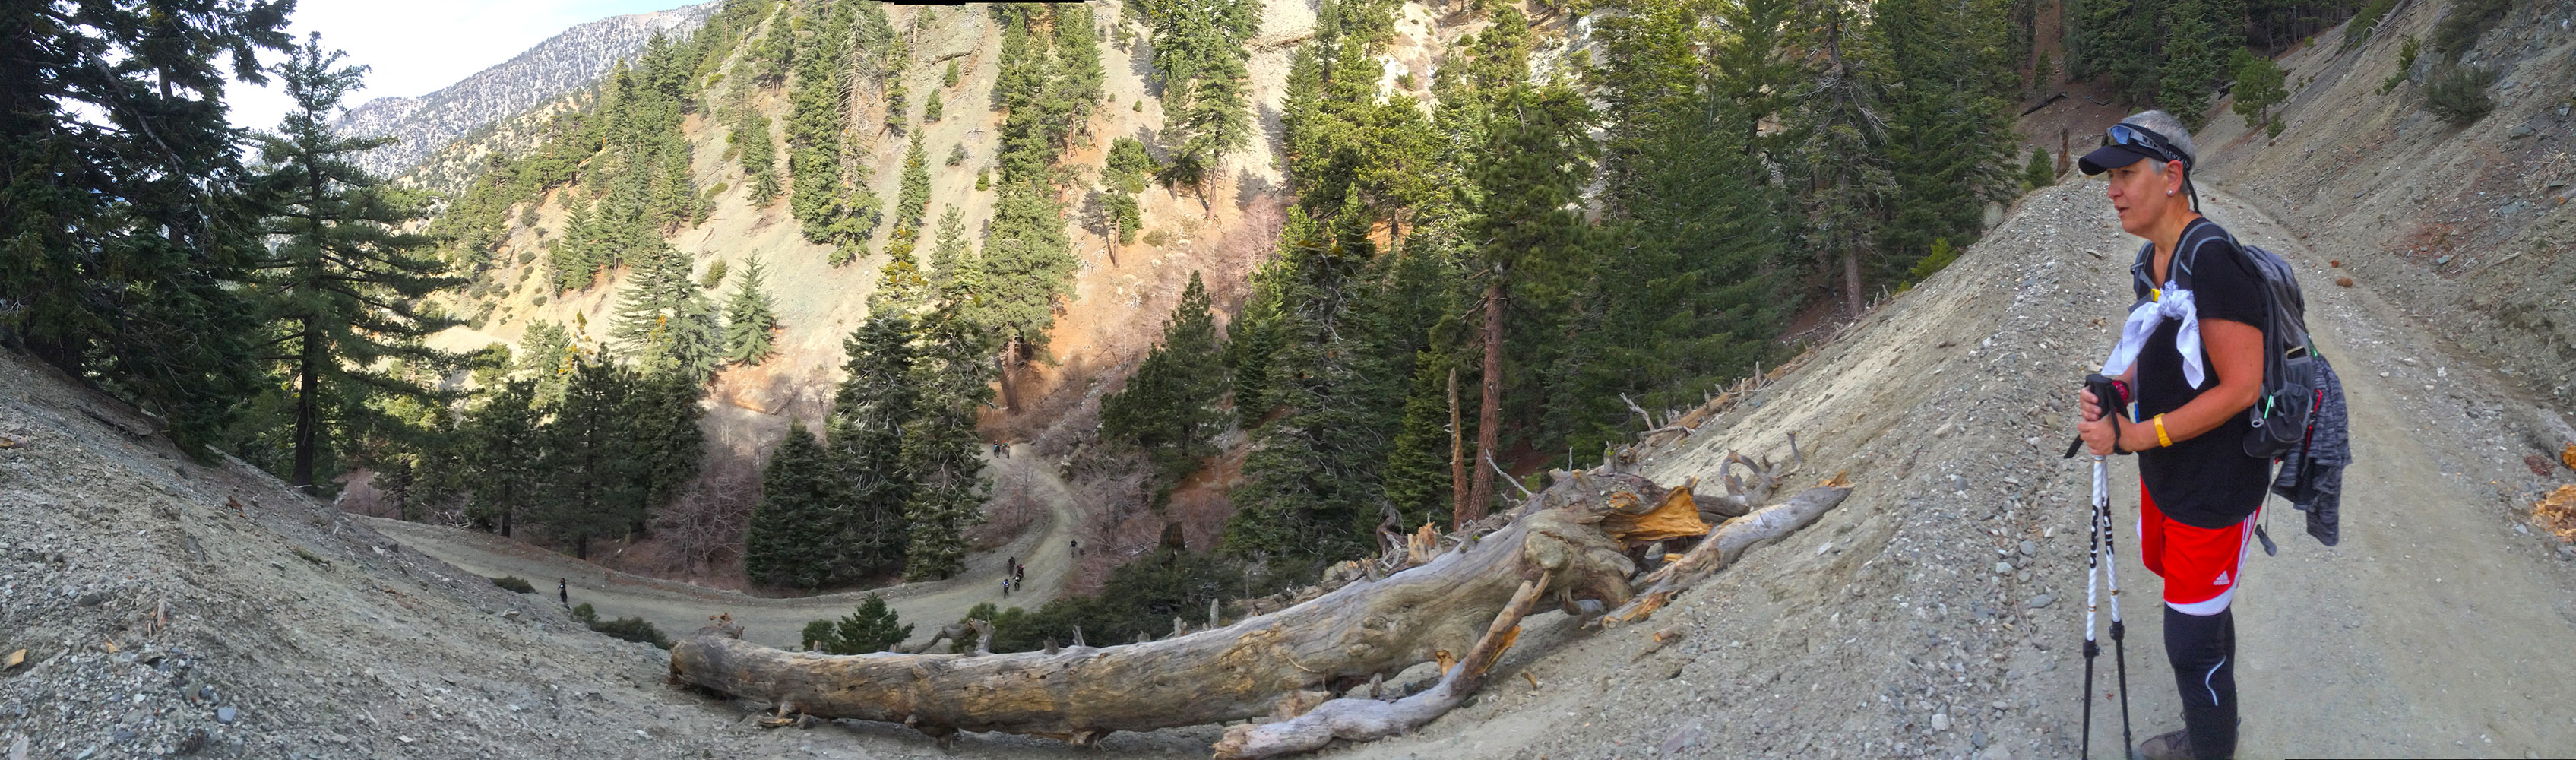
Looking back at the fire road on the way up to the “Notch”
After hiking along the road for a little bit ( 2.14 miles from the start) you should hit the “Notch”. This is your last chance to use the bathroom for a while so if you need to go now is your chance. This is also the place to cheat on your way back down if you want to. The notch gives everyone a 2 for 1 price on the chairlift for the event, so if you don’t feel like hiking back down the previous 2.14 miles at the end of the hike you can always take the chairlift down, or you can get the extra mileage in and hike back down.
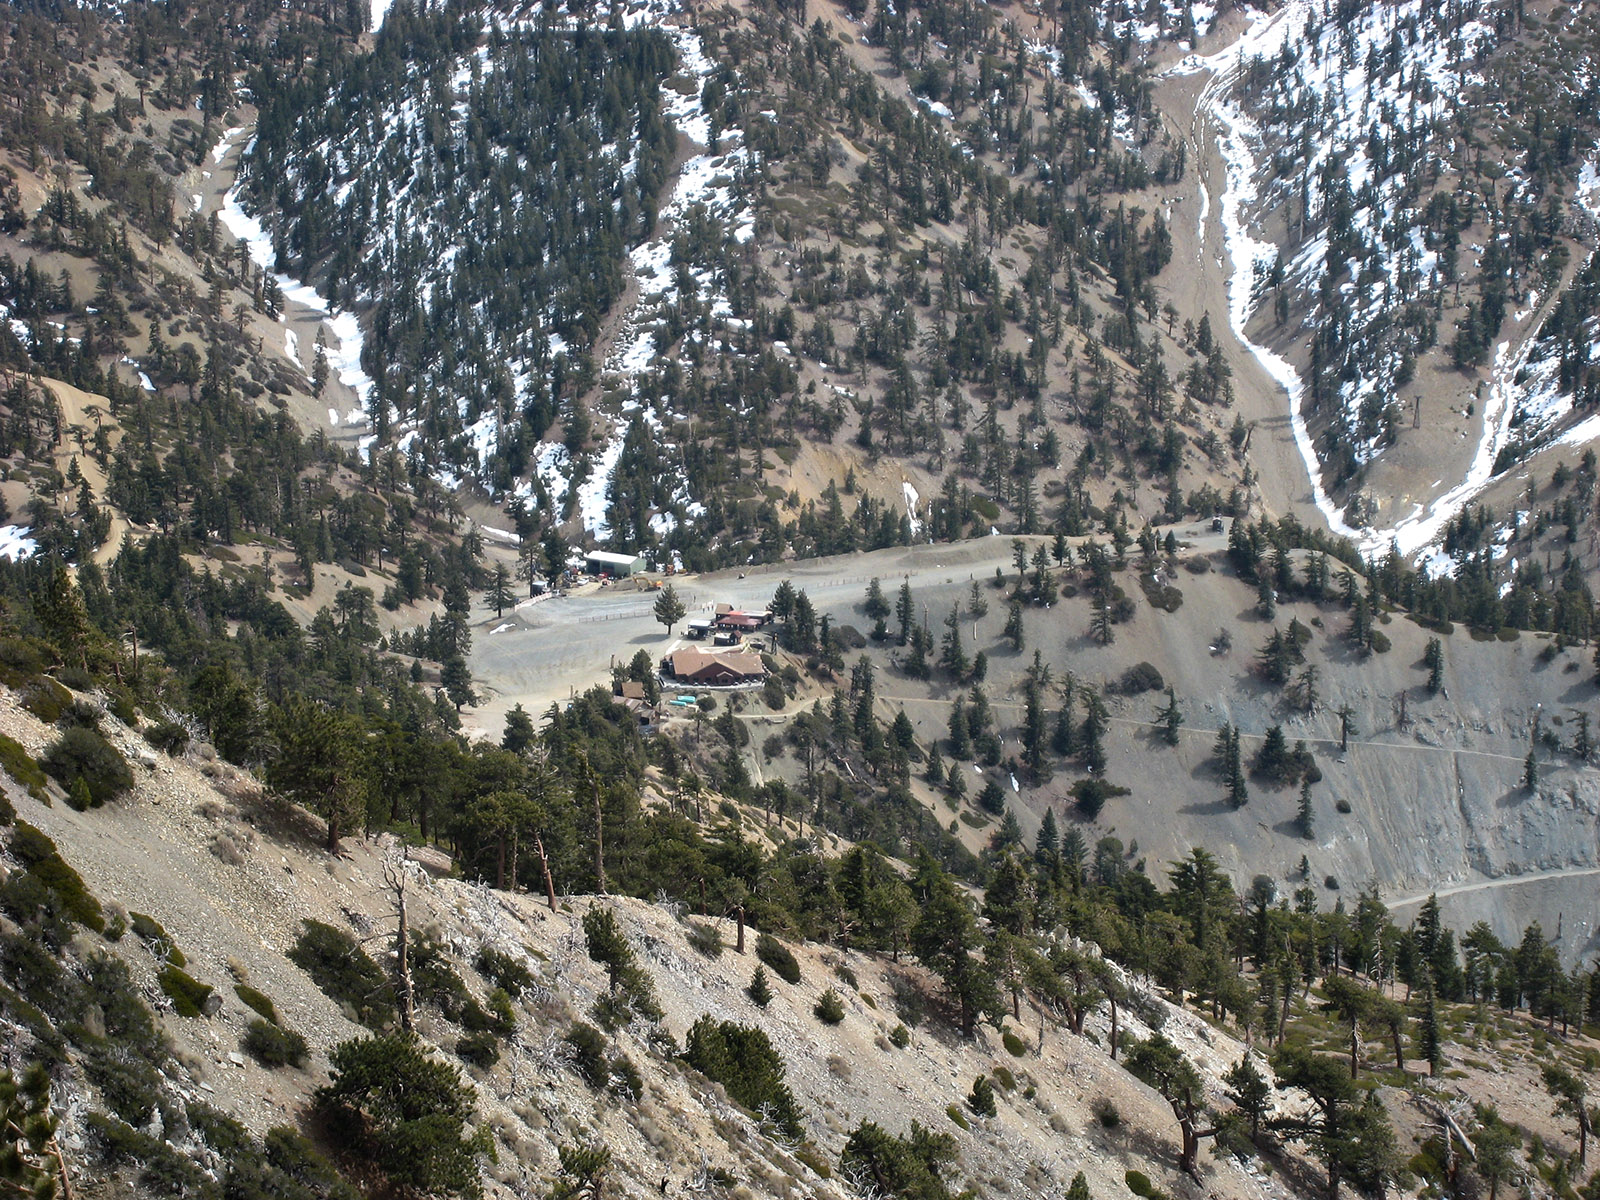
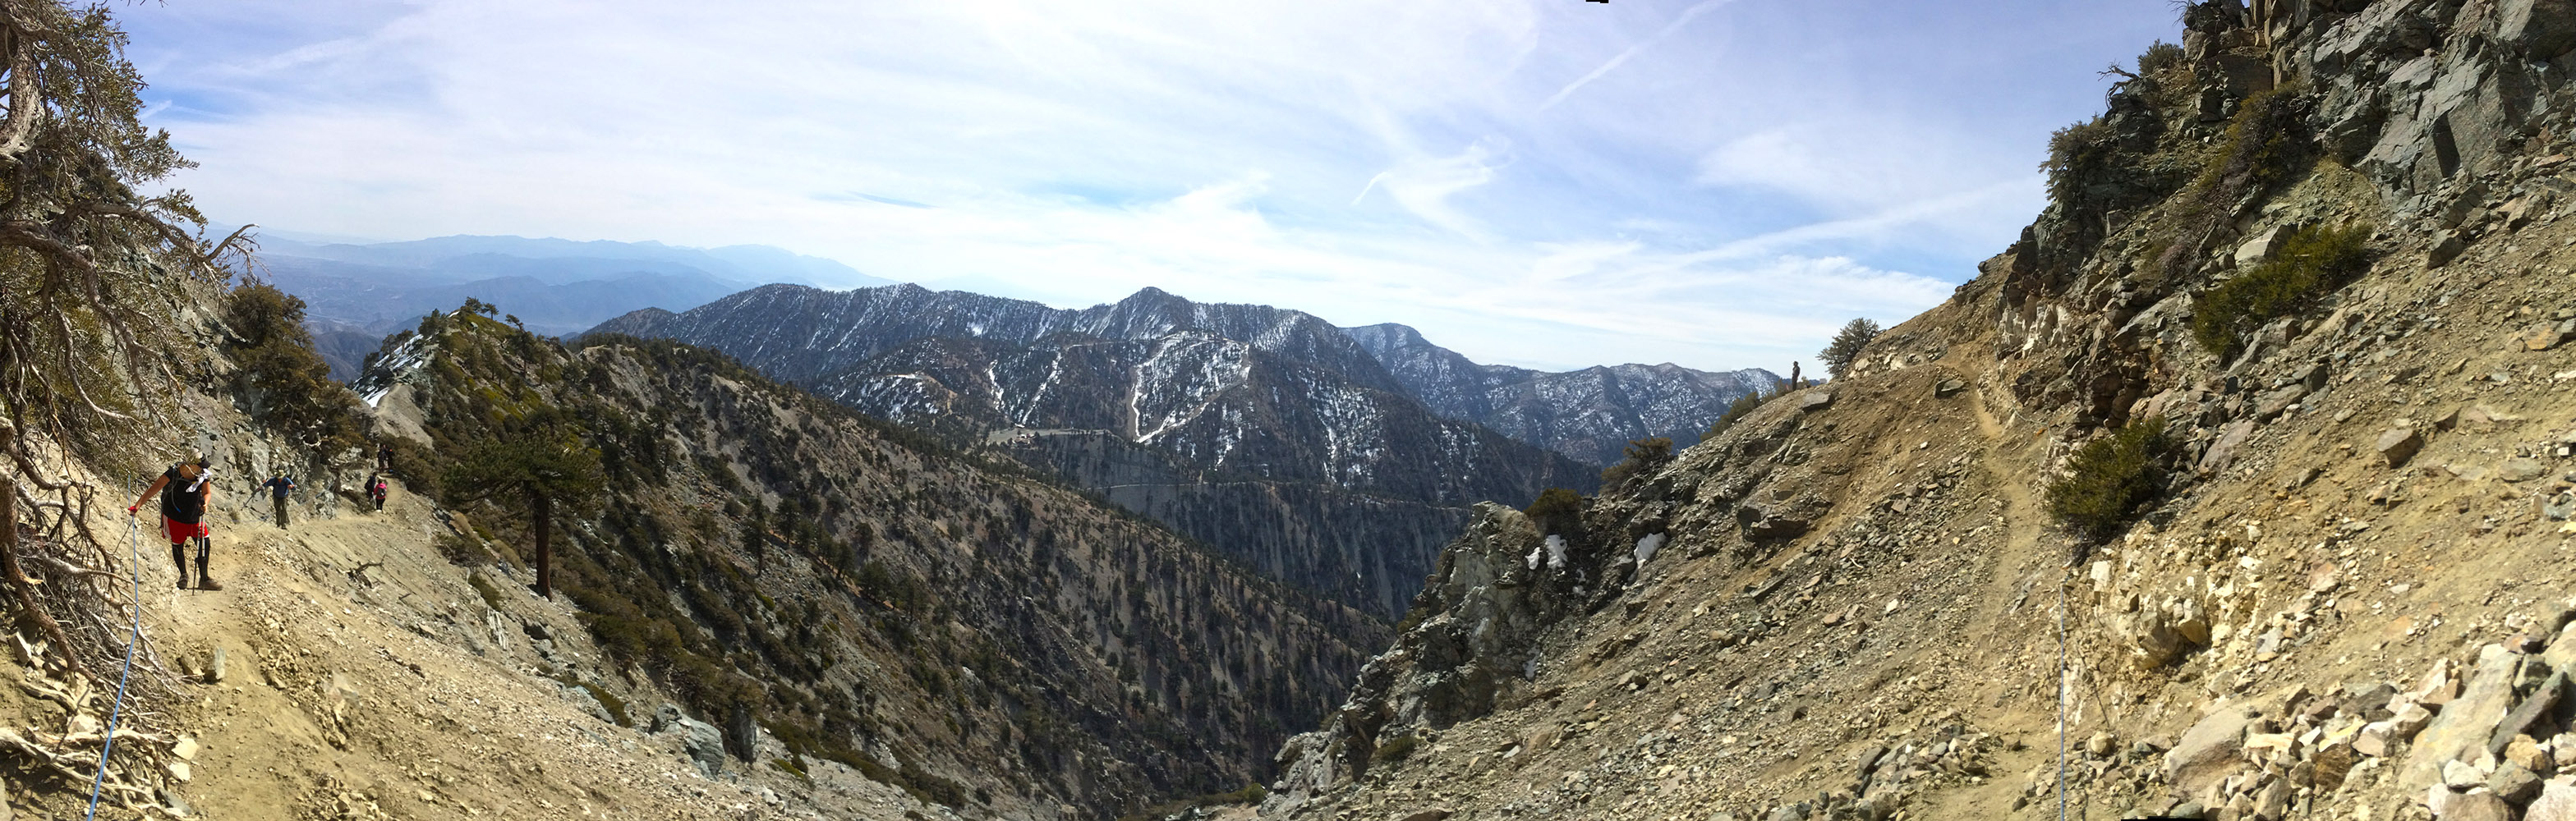
Looking back down at the notch from further along the trail
Soon after the notch you will hit “Camp Two”, it was in the same place as last year. In fact the only camps that where in different places where camp 1 and camp 4. Right behind “Camp 2” is a great area to see the view back towards Cajon Pass and Victorville. After “Camp 2″ you will hike up the service road that runs up the ski slopes. In about another 1.2 miles or 3.5 miles into the hike you should hit”Camp 3”. This camp is just before you start on the “Devils Backbone“, and it is typically where you can get some refreshments like beer, although I would rather wait until you get to the top of the mountain before consuming any beer. “Camp 3” has a great view down into the valley west of Mt Baldy and a great view of the of the start of the “Devils Backbone”.

The View from Camp 3
Right after “Camp 3” is the start of the “Devils Backbone”, you are hiking on some very exposed area so expect a lot of wind around this area. This is about the time I needed to put back on another layer and I had to switch between my hand held video stabilizer and my selfie stick for my GoPro because the wind was pushing it around and I like getting the view hiking behind me with my GoPro pointing backwards over my head.
The thin ridge on the “Devils Backbone”
Soon after starting the “Devils Backbone” section of the hike you will hit a very narrow point of trail on the hike, the coordinators are kind enough to add in a rope along the mountain side of this trail for your safety, The first time I hiked this trail going from the Ski Hut Side and looping back down this way there was no rope and it was really foggy (separate from this event), last year they had the rope up as well. This year with nearly double the amount of participants on the trail this section ended up being a little bit of a chock point, but to bad, just have some patience while at this section.
The rope section of “Devils Backbone”. Taken from the same hike in 2014
After clearing the “Devils Backbone” section of the hike, in about another 1 mile you will hit “Camp 4”. Camp 4 was at about Mile 5 of the hike this year, just before you start heading up the last steep part of the hike.
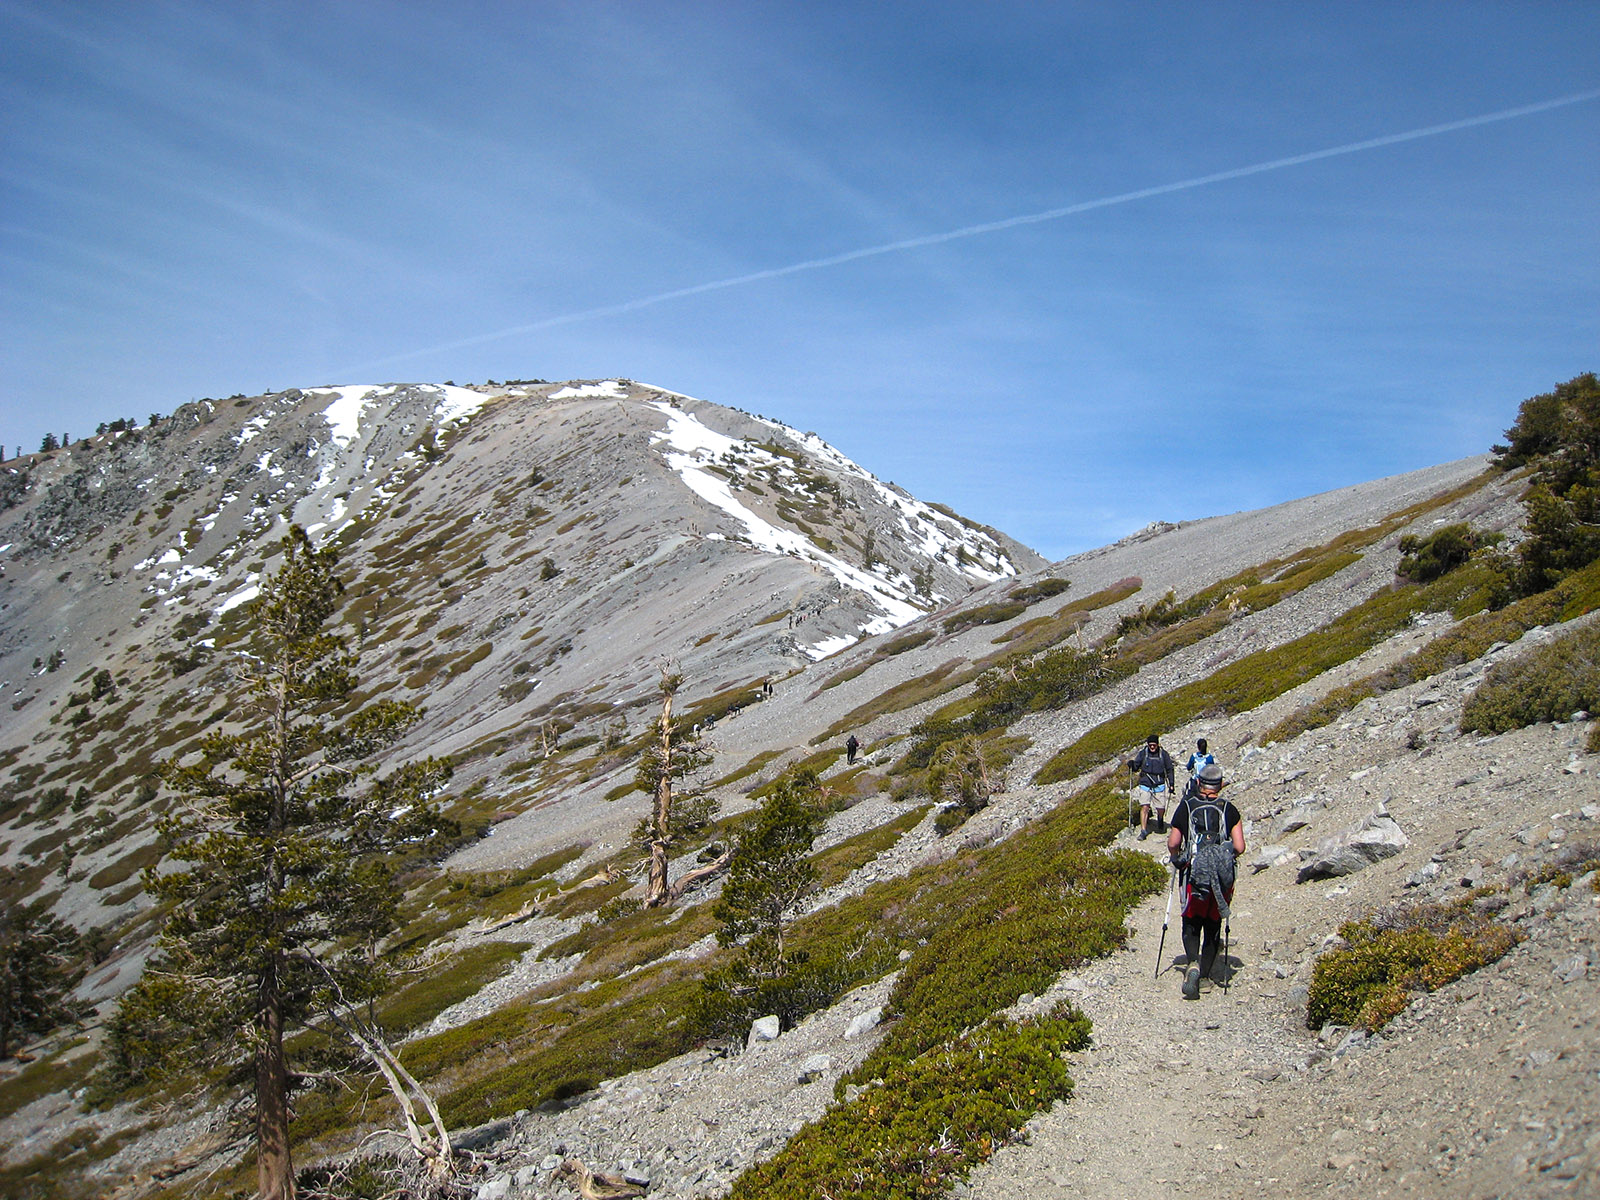
Almost to Camp 4, with the top in site, and your last steep climb.
The last part of this hike is a killer. This last part of the hike is typically at a 30% incline and your high enough now that the elevation is starting to kick your ass, so take your time, your almost there.
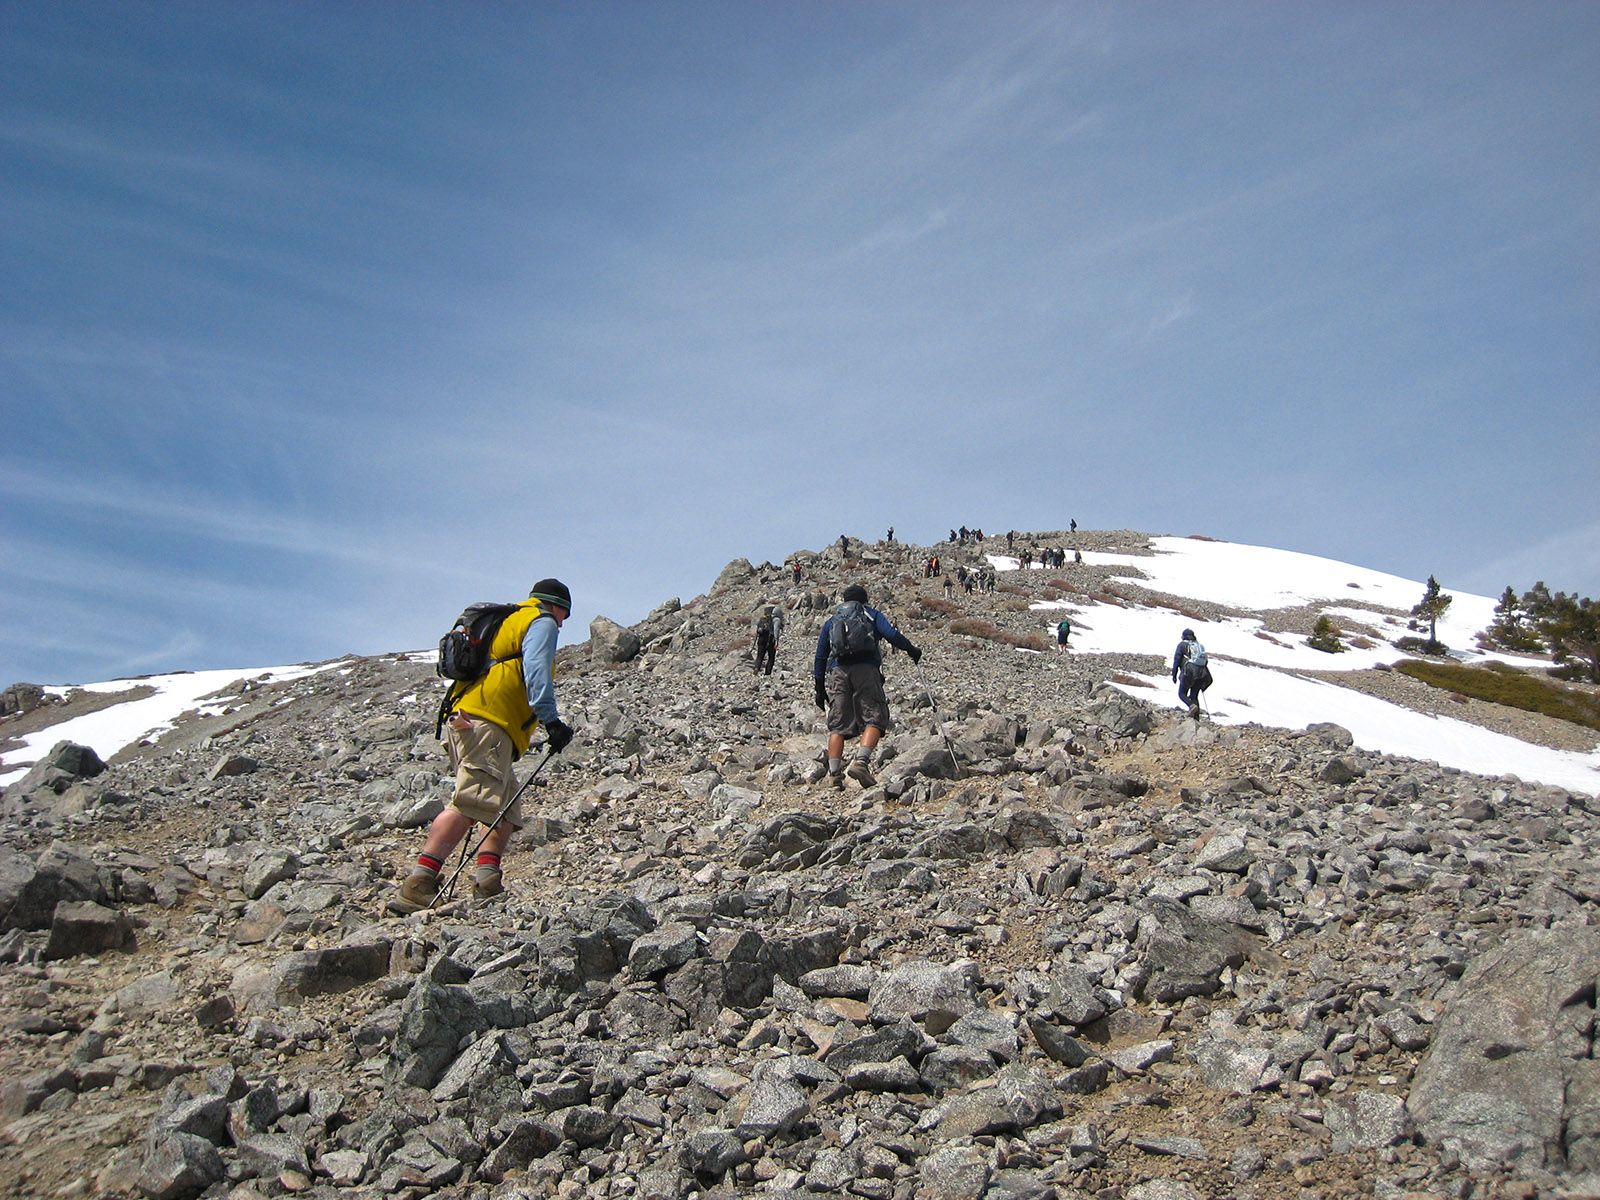
The Last “Killer” section of the hike just before the top.3
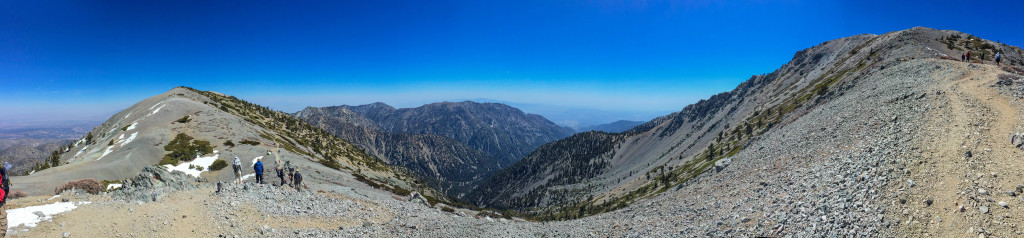
Once you get to the top, join everyone else in enjoying the views and relishing in the fact that you made it to the top.
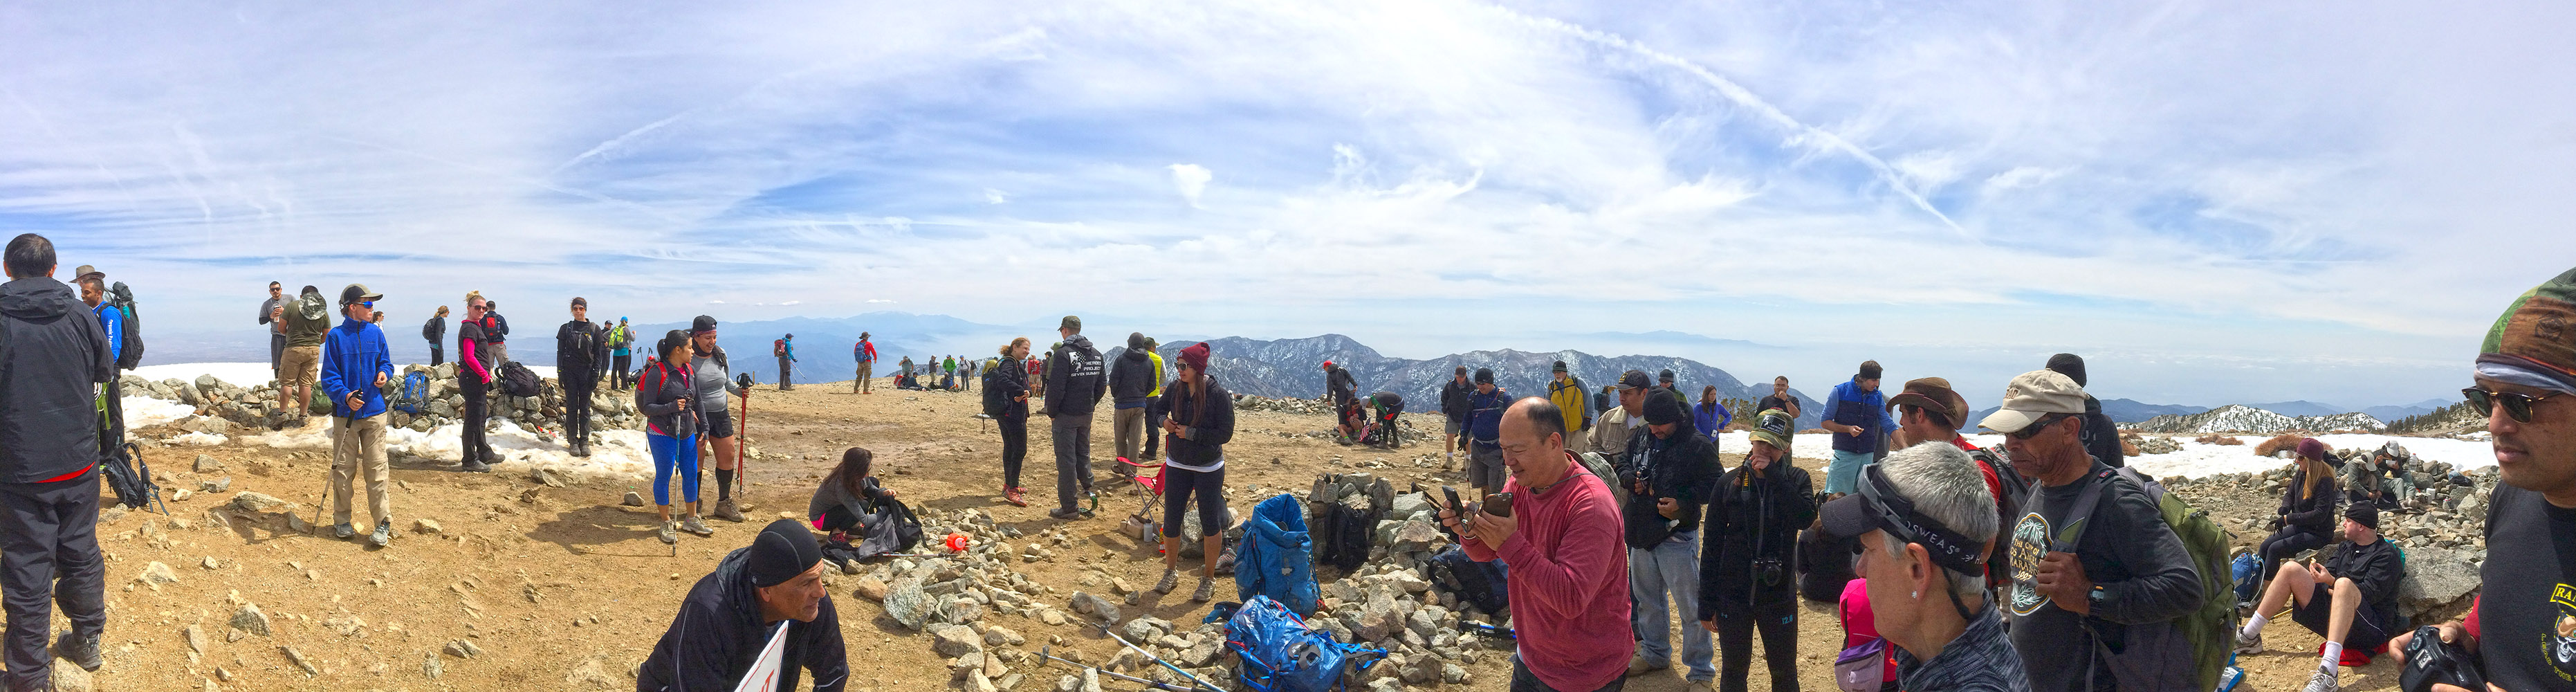
Everybody taking in the views at the top and getting their photo ops in. Taken in 2014
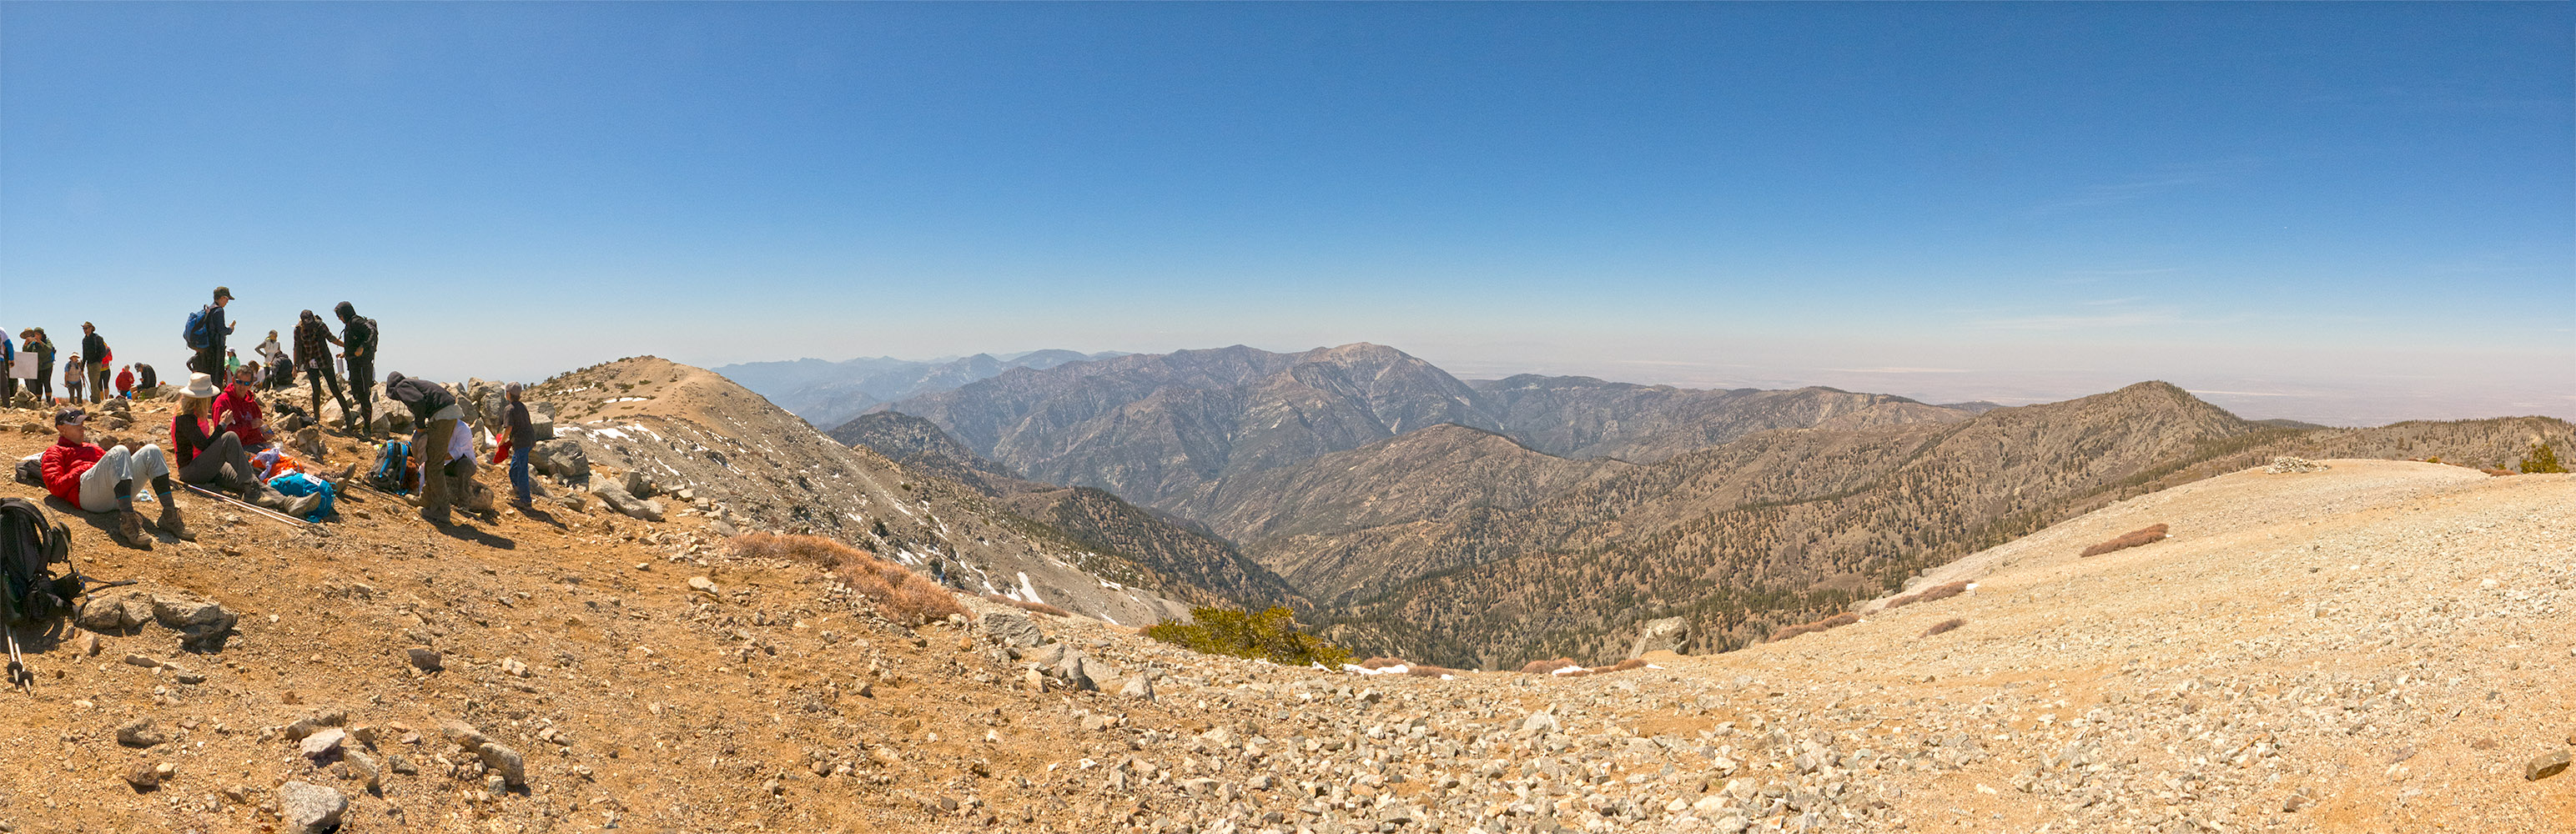
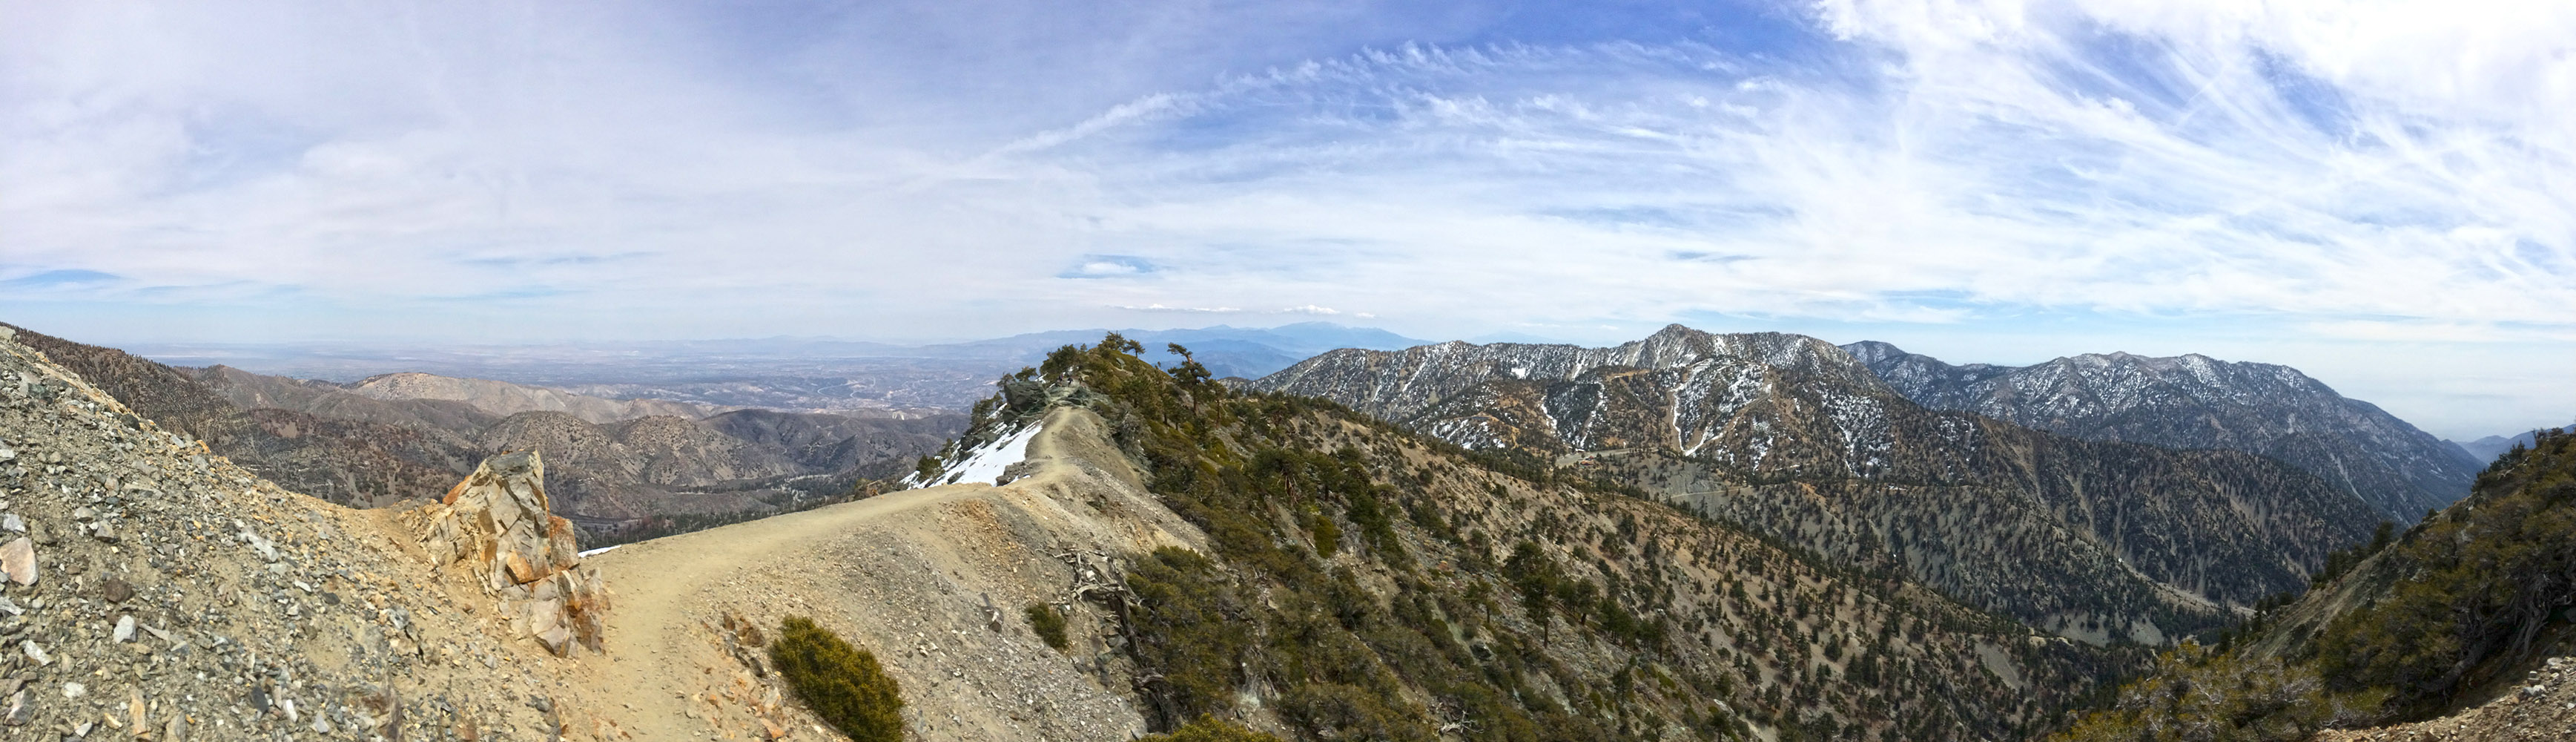
Lounging around at the top, looking north from the top of Mt Baldy.
After you finish relishing in the fact that you made it to the top you’ve got to go back down that killer hill you just climbed, this is where a good pair of poles really come in handy. Make your way back down the mountain to the starting point and enjoy some after hiking meals provided by Tender Greens and maybe even a beer if they still have it. This is also where you get to collect your swag with the 5 “Coins” you collected on the way up. Do keep an eye open, I saw this baby rattle snake on the way back from the porta potties.
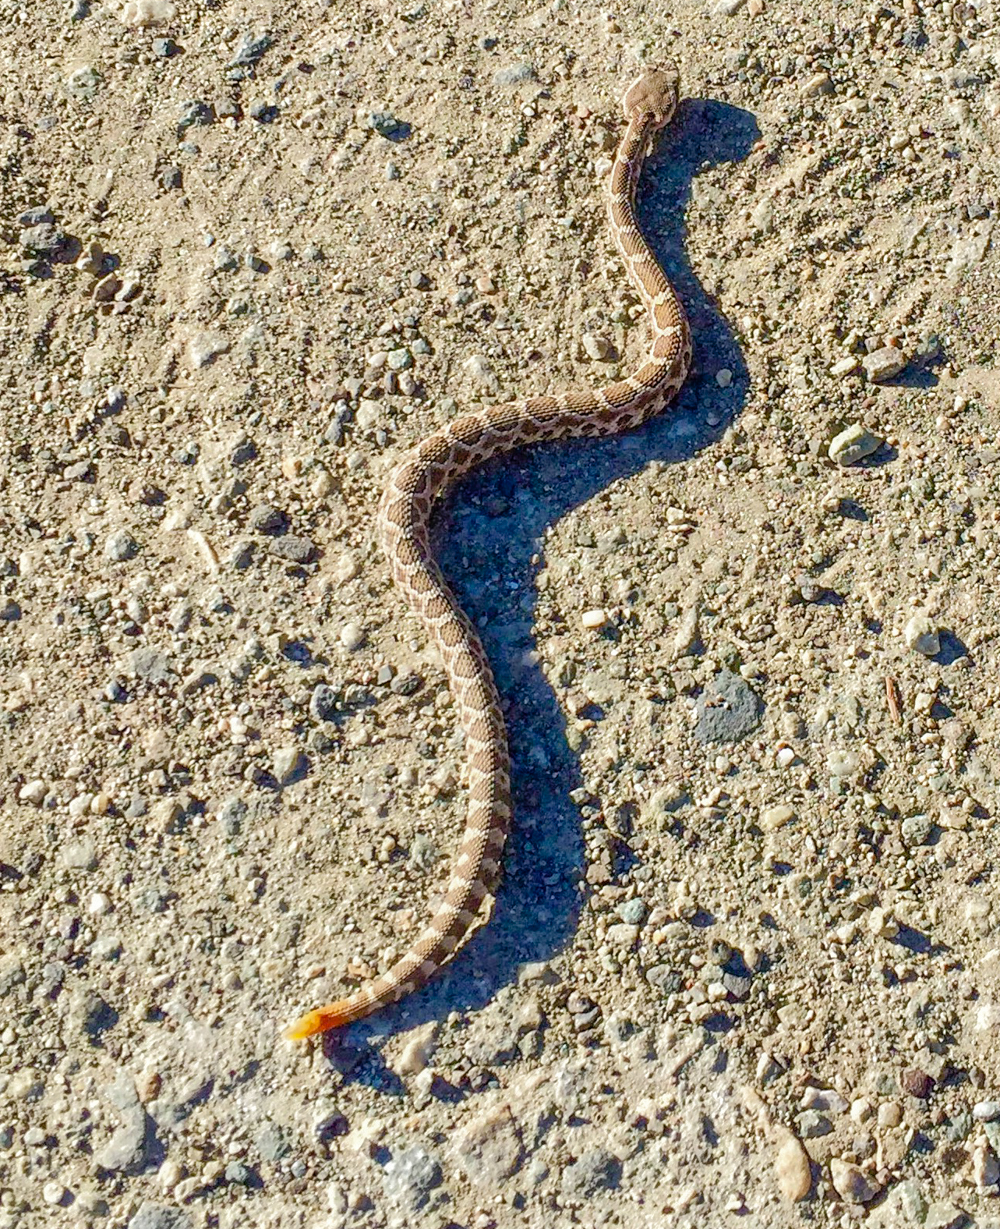
Baby Rattle Snake
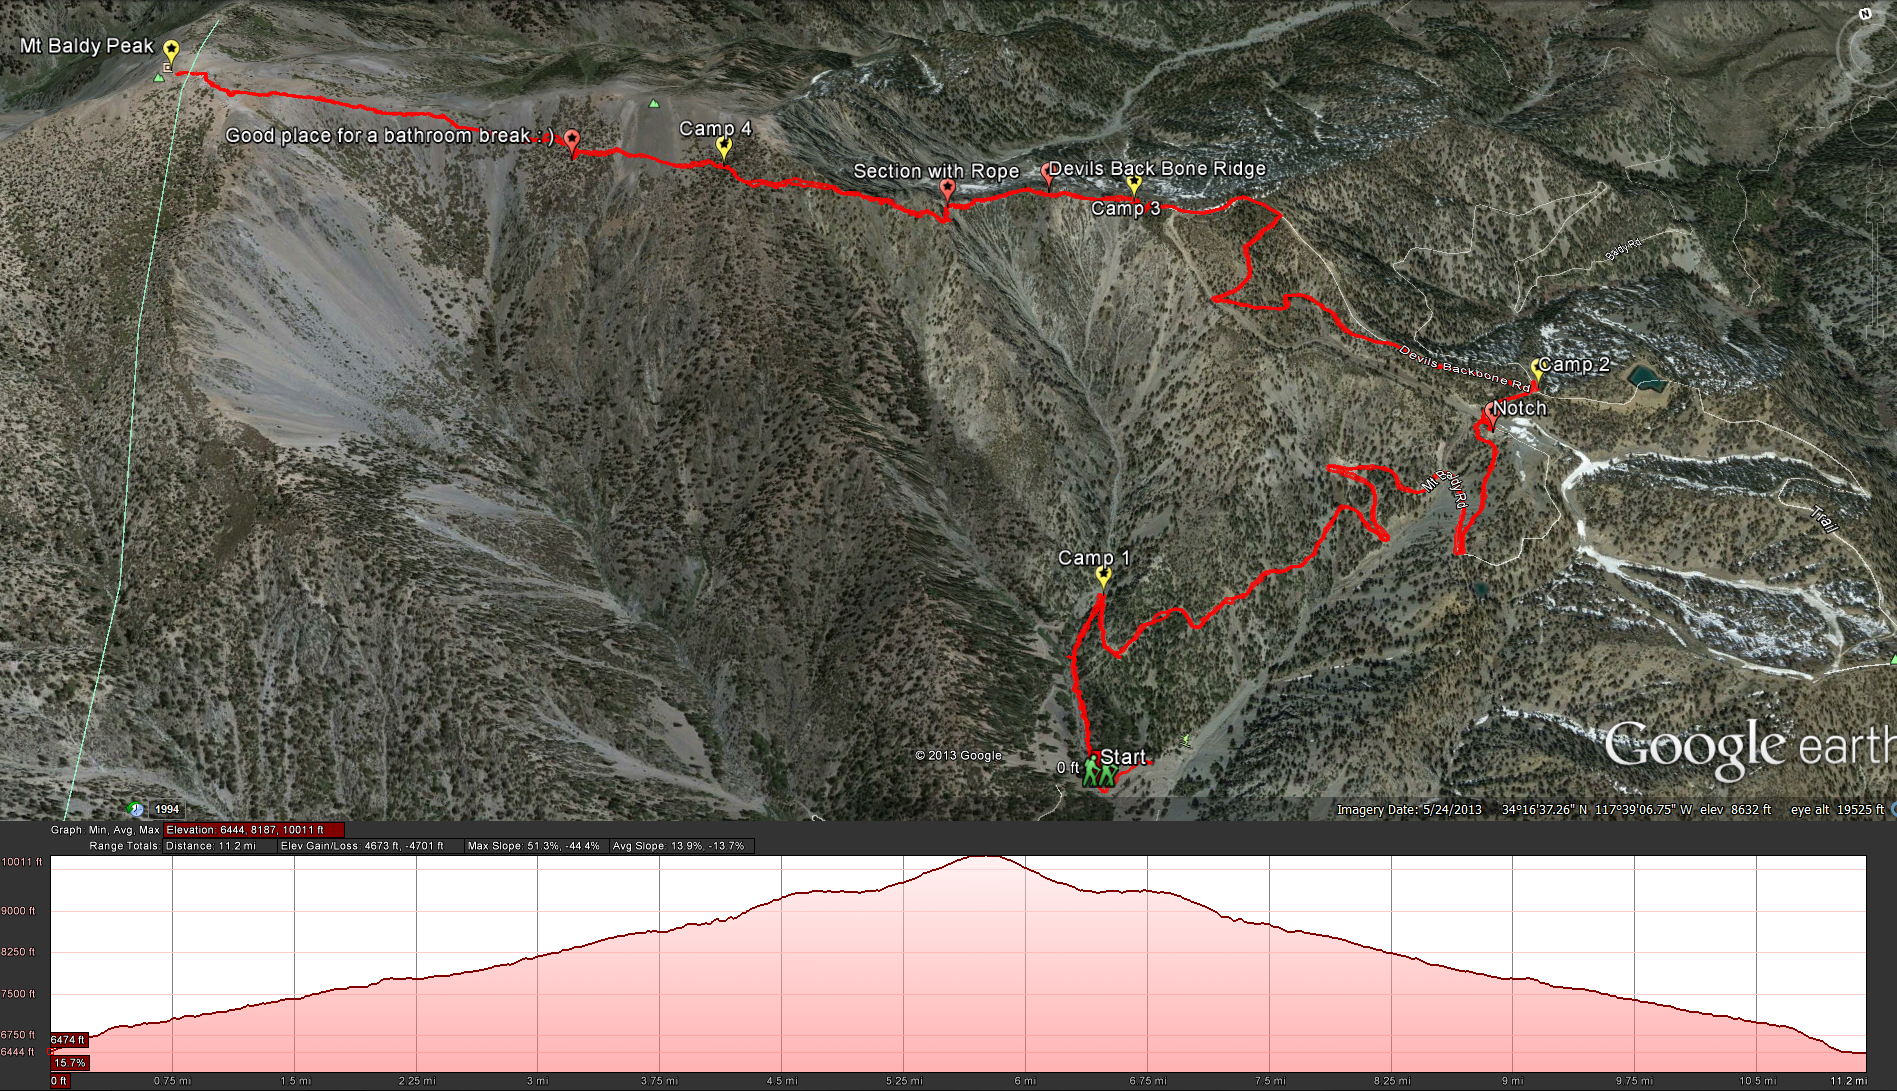
The route taken for the 2015 “Climb for Heroes”
Distance: 11.89 Miles.Elevation Gain: 3727 feet. Time to complete: 6-7 hours roundtrip
Weather forecast for the hike: