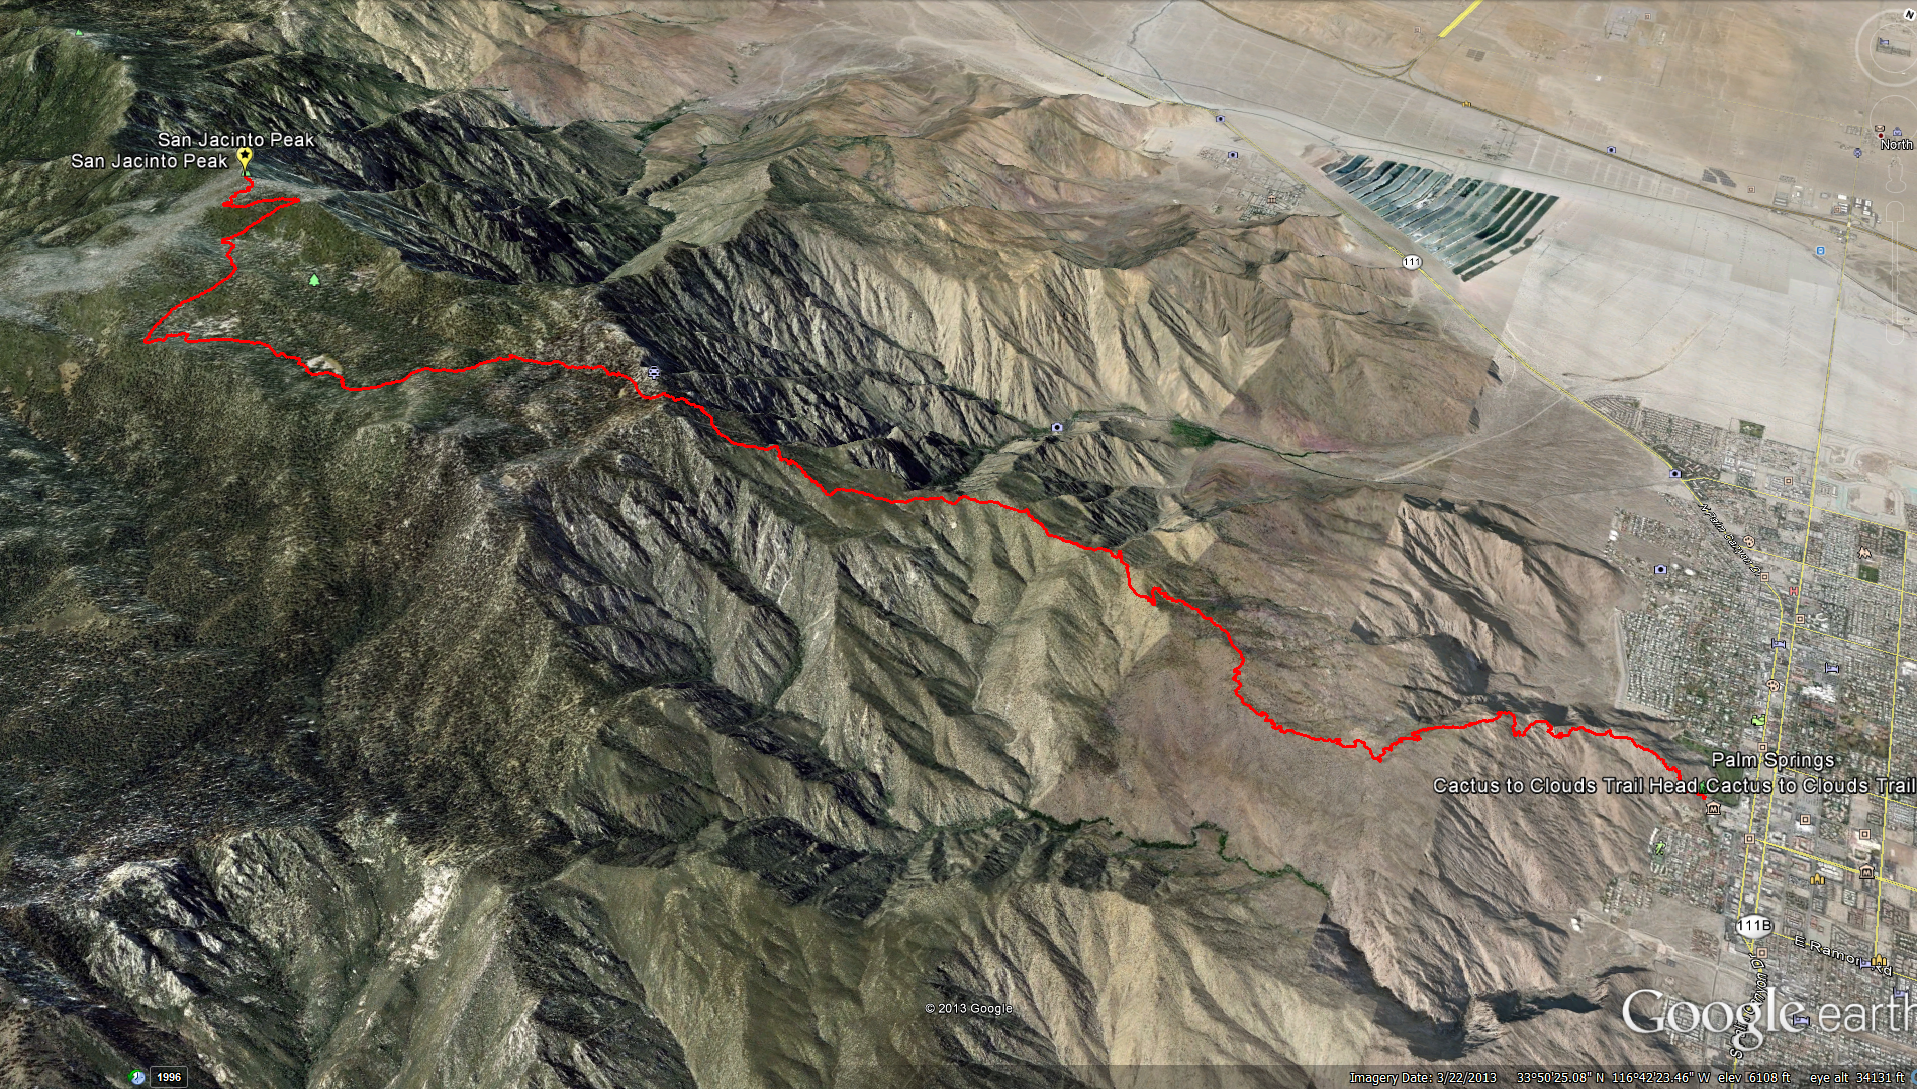
Rated the 5th toughest day hike in America by Backpacker Magazine
Distance: 22 miles from bottom to top and back to the top of the tram, 32 miles if you decide to hike all the way back to the bottom.
10 miles from valley floor to Long Valley Tram Station. The SkyLine Trail
12 miles from Long Valley to top and back. Palm Springs Tram to San Jacinto Peak
Elevation Gain: 10,400 feet. Elevation Loss: 2,600 feet. ( Back to the tram)
Top Elevation : 10,834 feet.
Time to Complete the Trail: 10-15 hours or so depending on fitness levels and assuming your going to take the tram back down.
Logistics: You will need to bring two cars, one to leave at the bottom of the tram and one to take to the trail head to start the hike, or you can call a cab to come get you at the bottom of the tram and take you back to your car about 7 miles away. If you are shuttling cars realize that the road that leads up to the bottom of the tram may not even open until 6am or latter on some days and you are going to want to get a much earlier start, you may have to park at the Visitors Center in which case you will still need a way to get back to that car as well. Start at one of the two trail heads. Trailhead #1: Behind the Palm Springs Art Museum, at the Palm Springs Museum Trail. Trailhead #2: At the end of W Ramon Road on the North Lykken Trail. Also realize that your cell phone may not even work at the bottom of the tram because your in a canyon, although you may be able to get a call out at the top of the tram, in case you need to set up a taxi, or call a friend to pick you up.
Get started as early as possible, most people start this hike well before Sunrise in order to try and beat the desert heat.
Water: You are going to need a lot of it, there is no place to fill up your water for the first 10 miles and 8,500 feet. Once you reach the Long Valley Ranger Station you can use the restrooms to fill up your water or at the tram station, after that you have a 12 mile 2,600 foot hike to the peak and back before you see another good source of water.
Keep track of your time once you get to the top, its easy to loss yourself in the beauty, remember you have a 6 mile trek back to the tram coming up and your not going to want to miss that last tram car back down to the valley.
Fees and Permits: Wilderness permits are required to hike to the peak, these are free and you can pick these up at the Long Valley Ranger Station at the top of the tram. Bring at least $12 for the one-way tram ride back down to the valley, more if your going to grab a taxi back to your car.
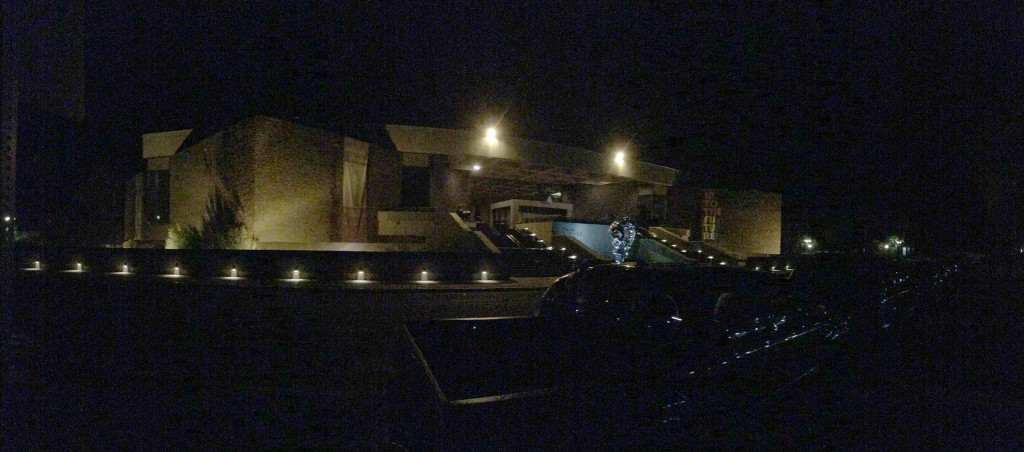
Early in the morning in front of the Museum.
Both times that I have tried this hike I have started at the museum. I have had no problem finding a parking space right in front, especially at 3am. Once you park, head to the right of the museum. To the very back right side of the parking lot on the right side of the museum you will find the start of the trail.
The start of the trail to the back right of the museum.
Its certainly a different experience hiking for several hours with headlamps to guide you. The beginning of the trail behind the museum can be a little confusing at first. Try to keep two things in mind, follow the white dots, and try to keep to the trail that seems to be more heavily used. Sometimes you will come across a trail that seems to be heading in the right direction ( up) when the real trail may continue on horizontally, or dip back down before continuing up. Usually the other trails don’t seem to be as heavily traveled. No matter what you do, you should eventually get to the picnic tables in just short of a mile from the start and about 1340 feet of elevation gain.
Picnic Tables on the Skyline Trail.
In about 1/10 of a mile after you get to the picnic tables you should also come across the trail junction marker for Skyline, Lykken Trail, and the Museum Trail. Follow the trail the to right and keep heading up.
Skyline, Lykken, and Museum Trail Junction Marker.
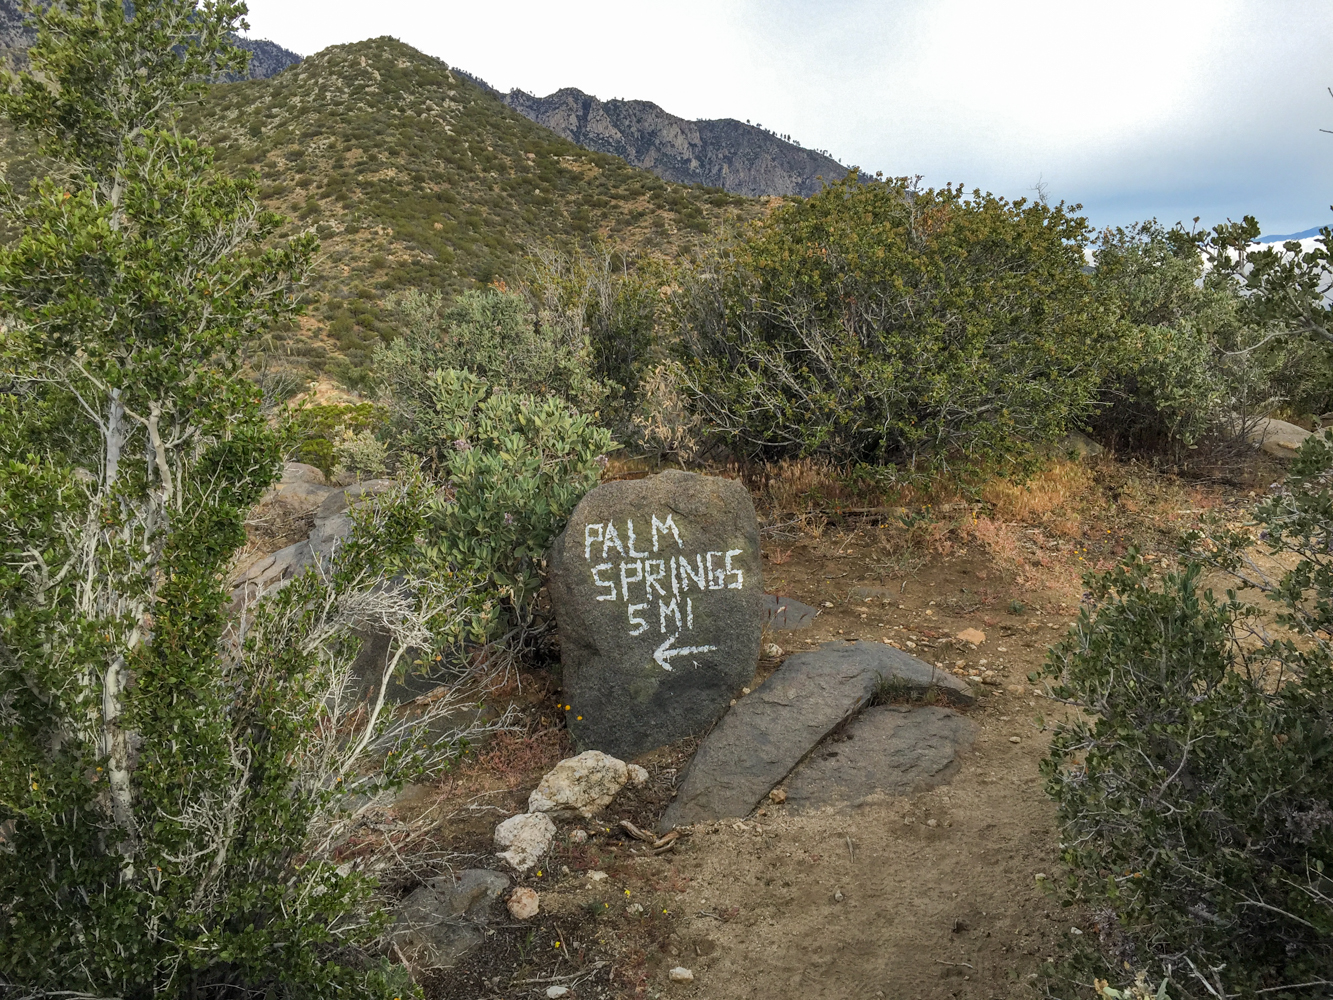
Soon after you come across the Trail Marker, you will also come across the painted rock warning. This seems to be here to warn you that the coming trail is no joke.
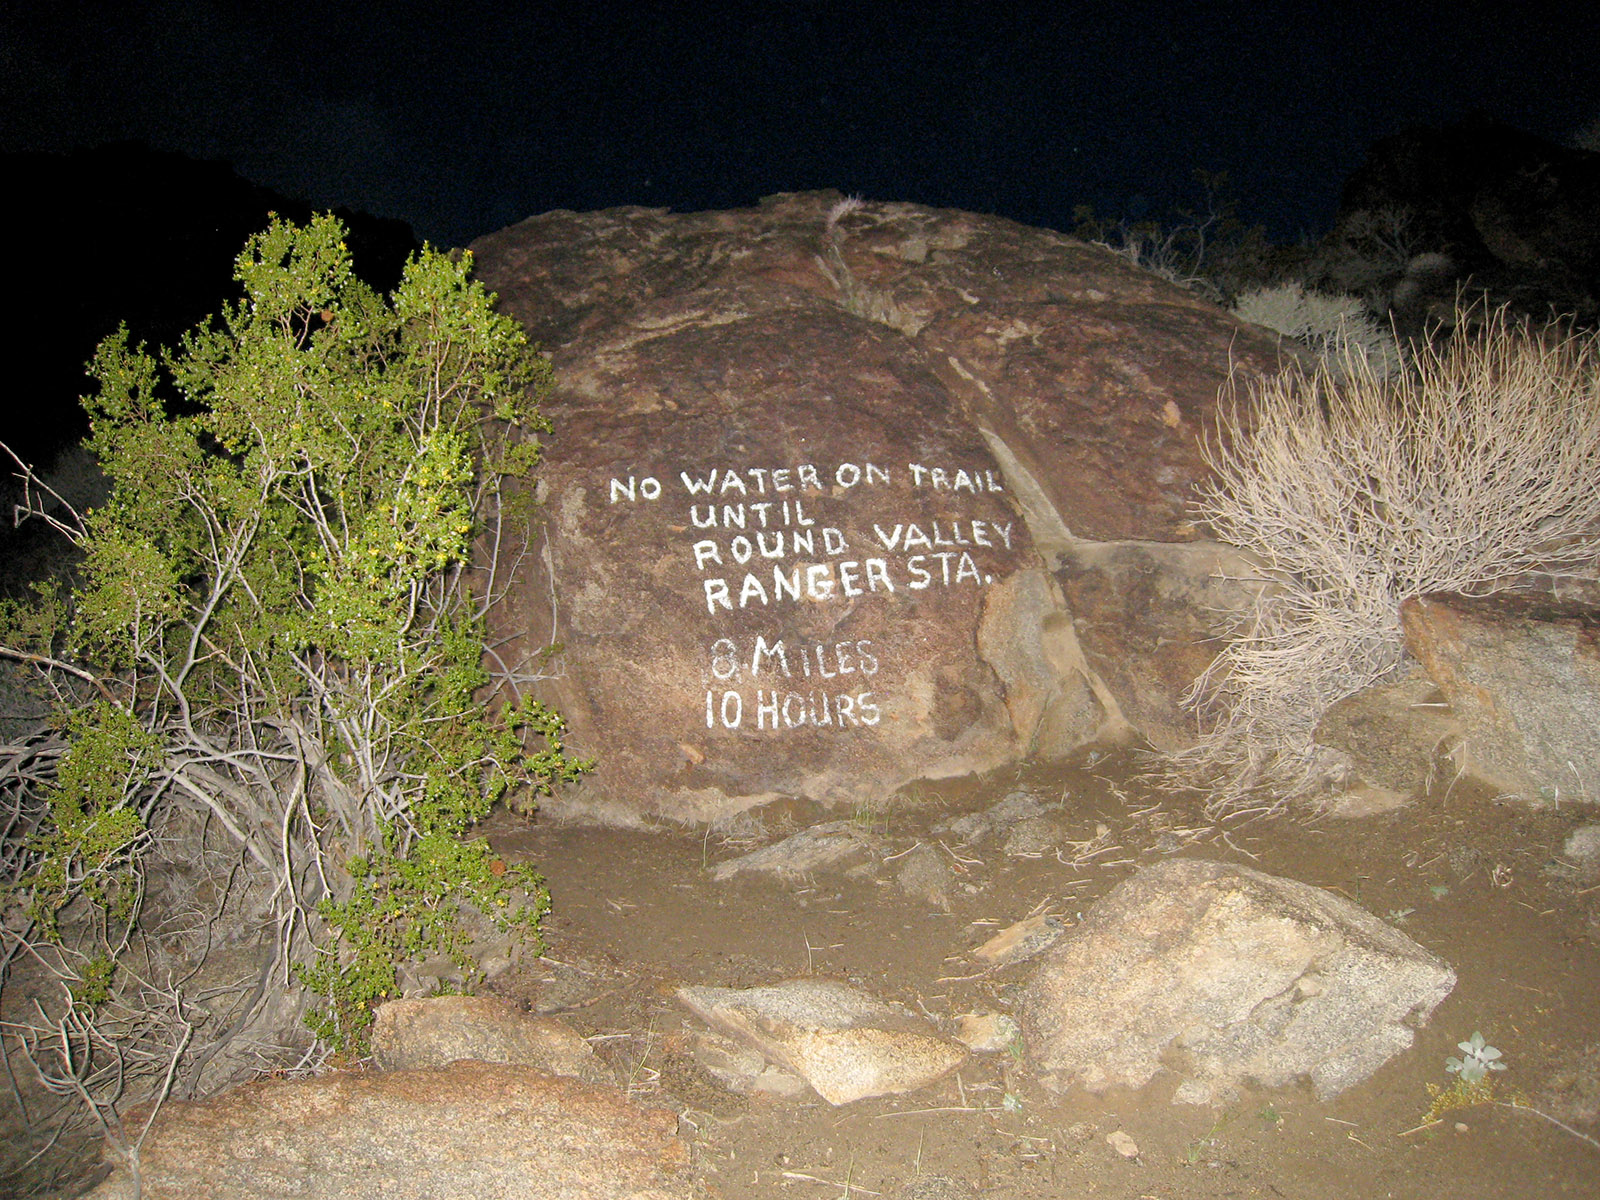
Painted Warning.
After the painted rock you will be hiking through a lot of switchbacks as you continue to make your way up hill. The first time we hiked this trail this is about where the sun started to rise, this time we got all the way to 3500 feet before the sun rose. Its about another 1.2 miles between the painted rocks and rescue box 1 and another 1,030 feet of elevation gain.
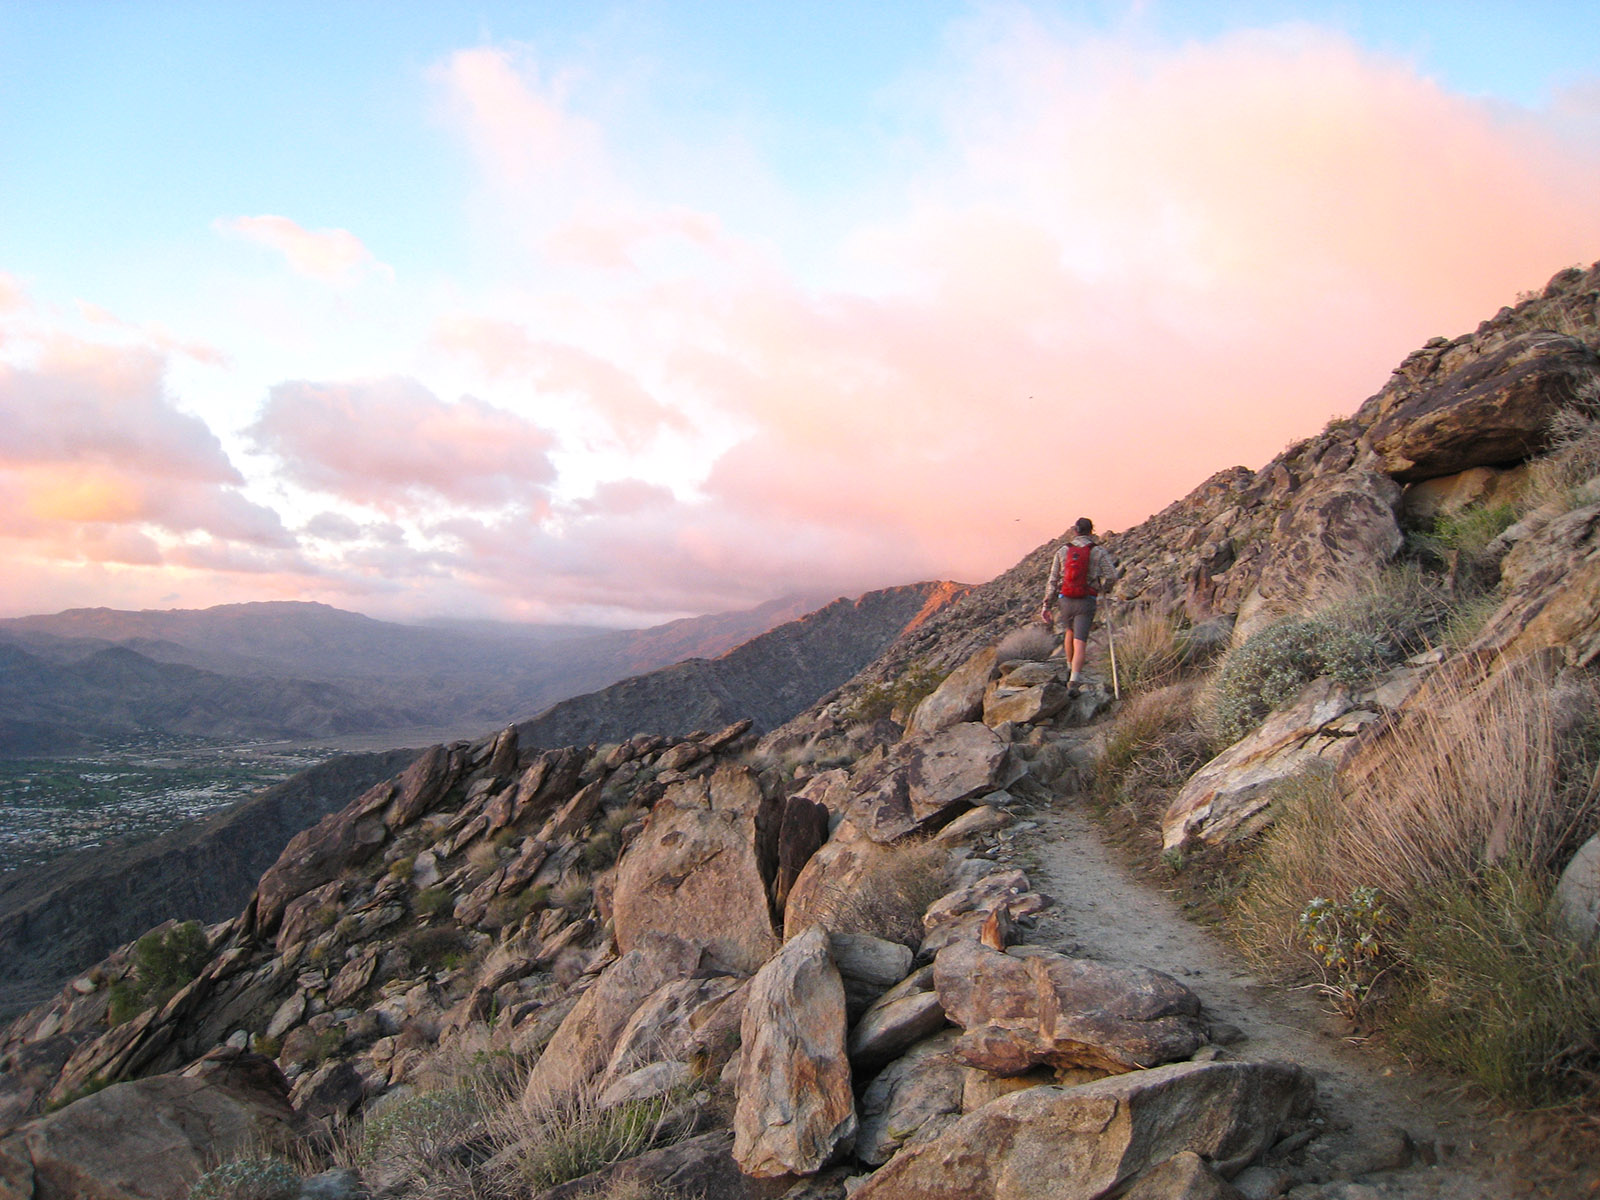
Making your way up the switchbacks on skyline early in the morning
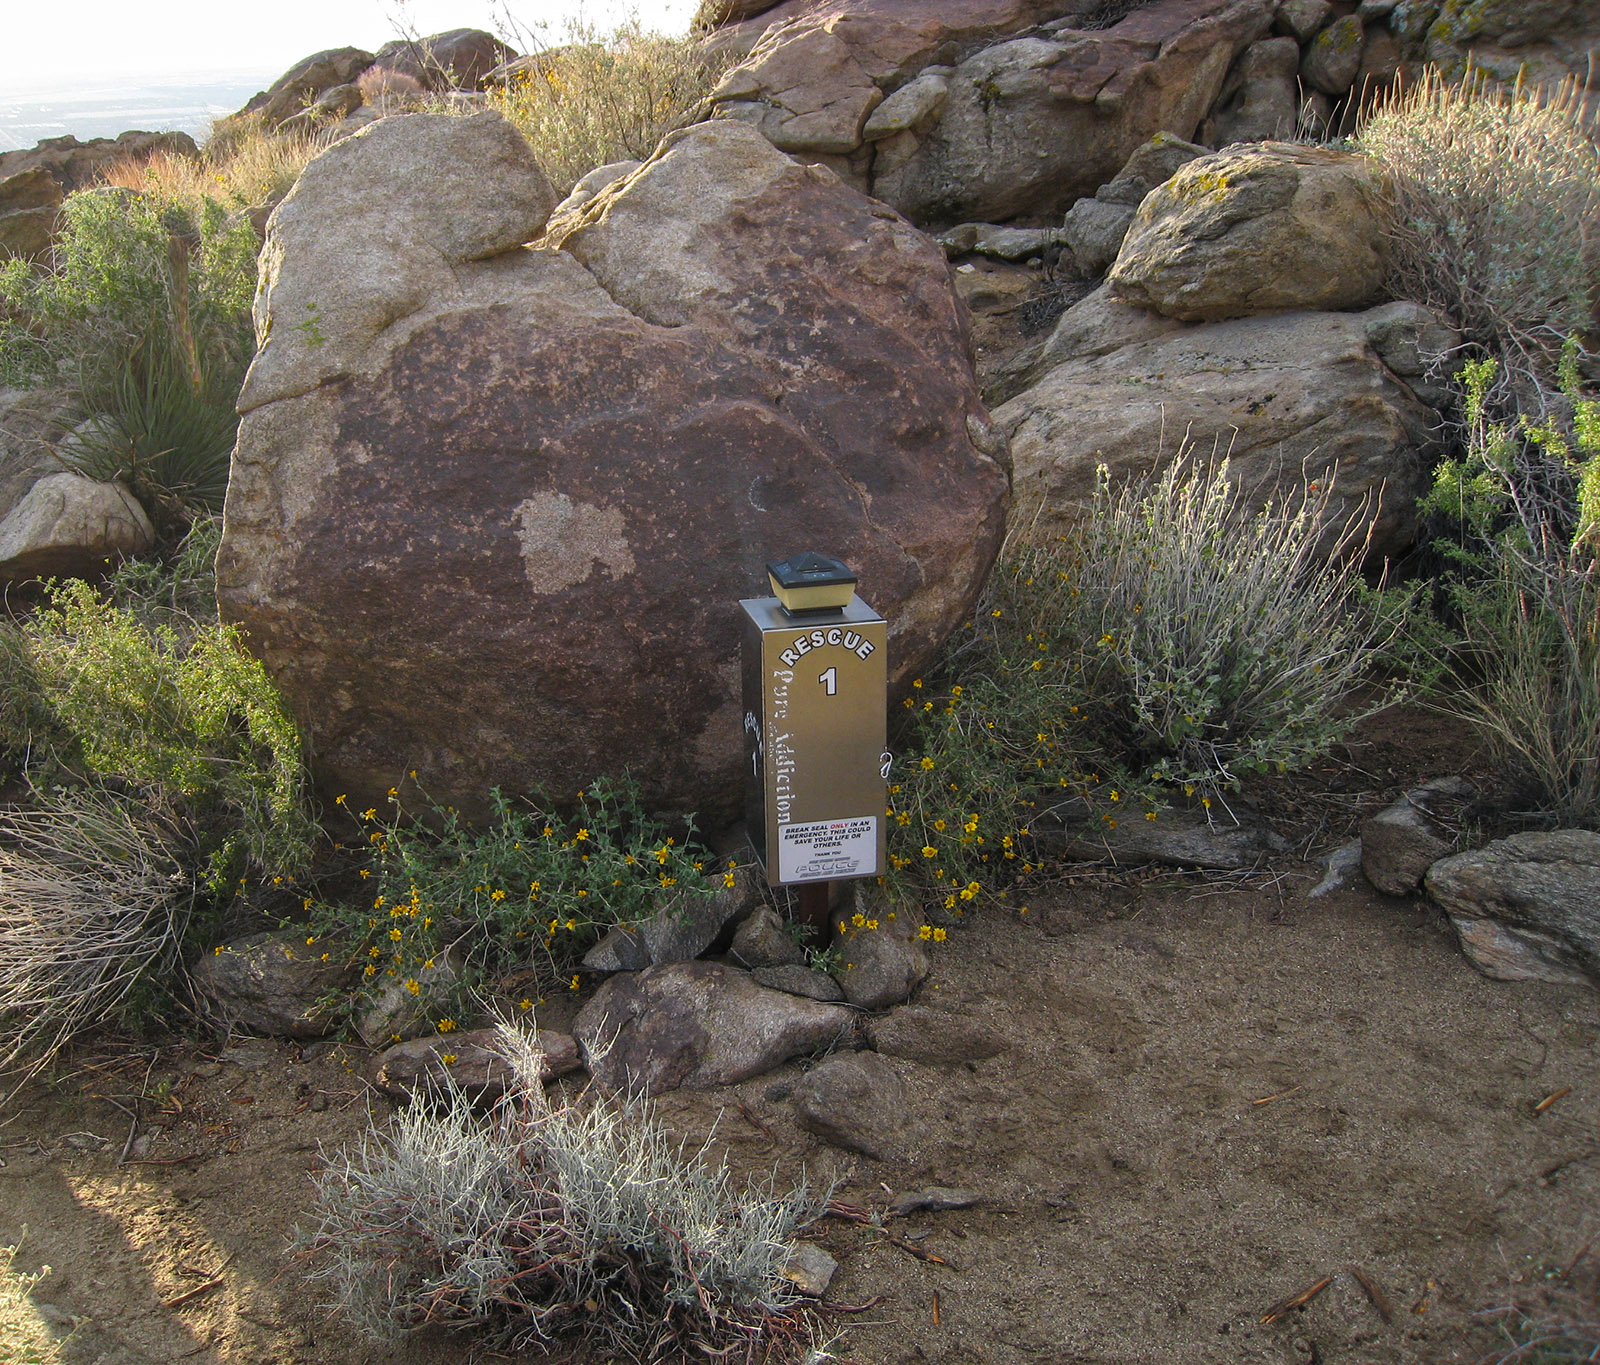
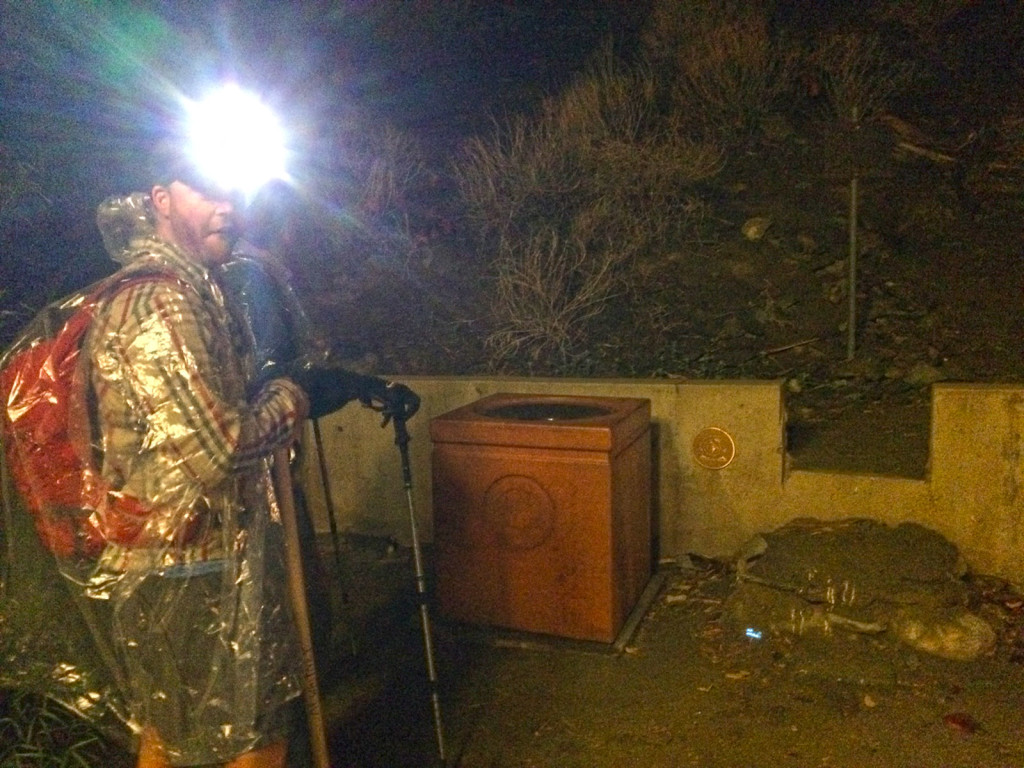
Rescue Box 1
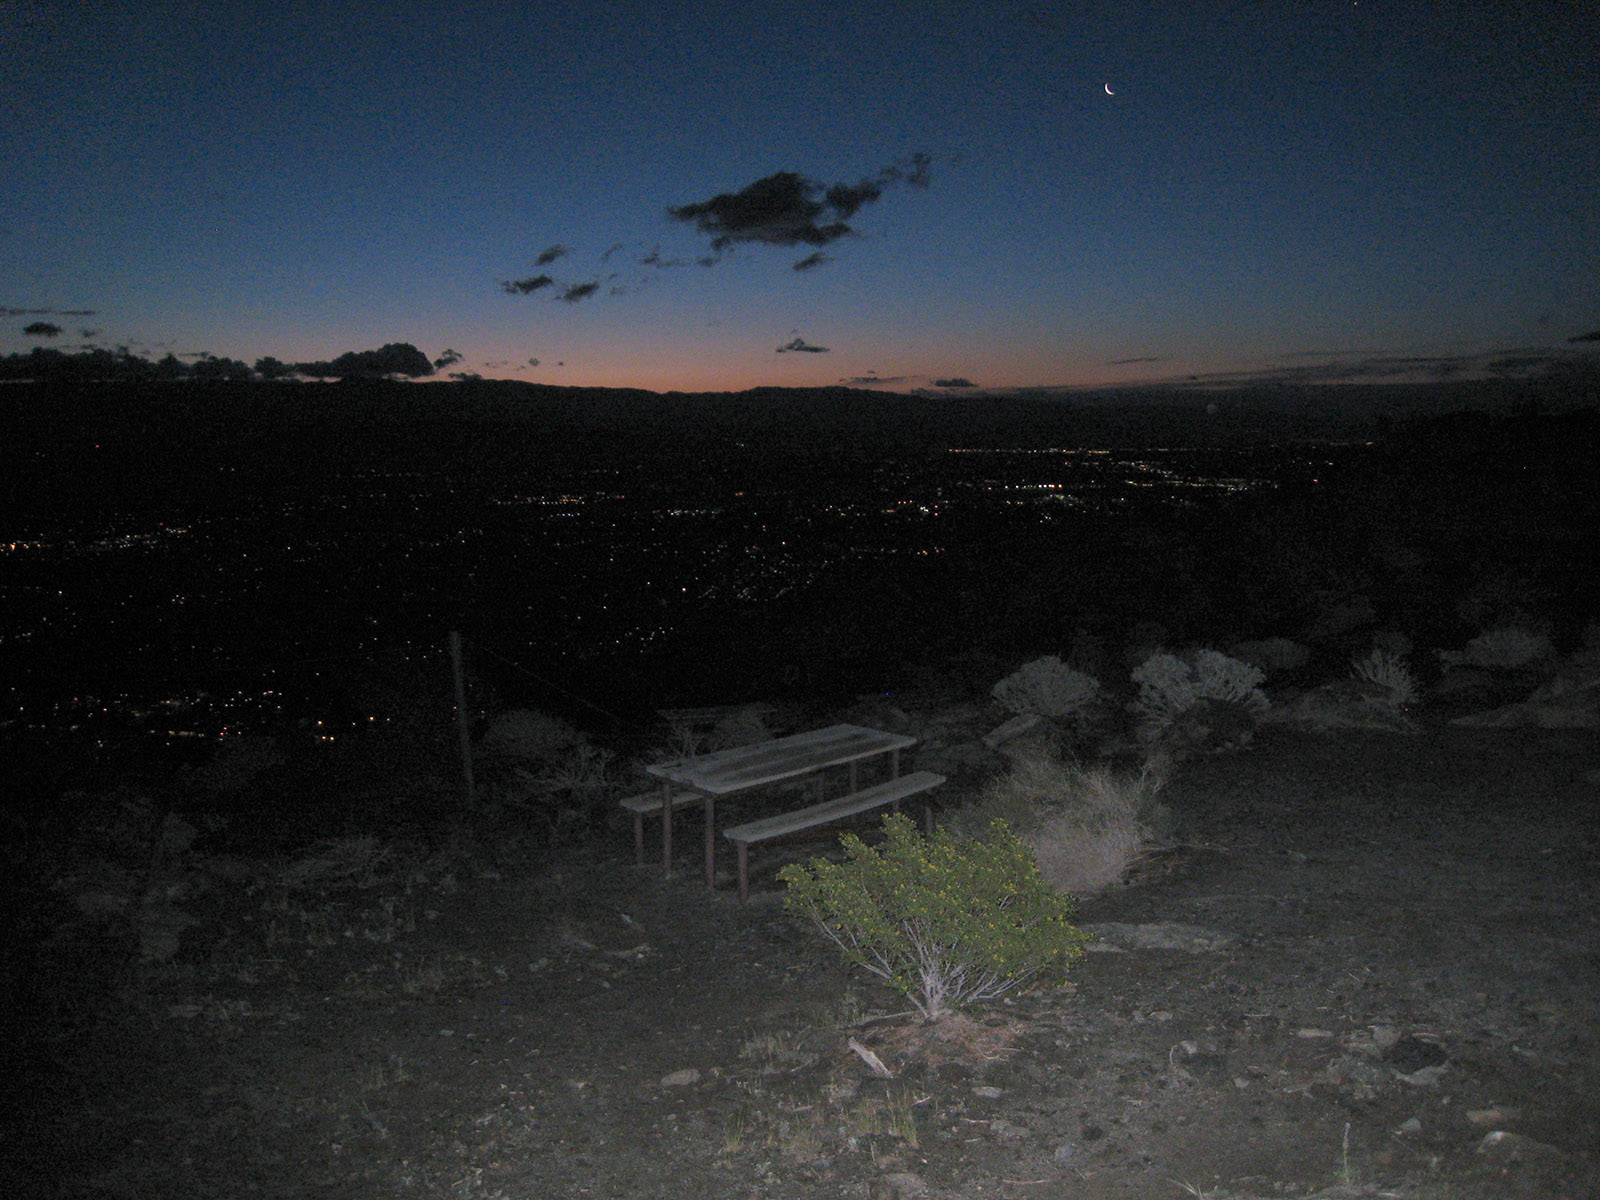
If you are hiking early enough some of these landmarks will just jump out of the dark at you as you are passing them by with your headlamp. Hiking in the dark with a headlamp really changes the hiking experience. Most of the time when the sun is up your looking around taking everything in around you as you hike. When its pitch black and your hiking with your headlamp either you are following the person in front of you or you are leading the way, second guessing every turn you make. The only landmark you are looking at is the horizon waiting to see the sunrise, but don’t think I’m talking bad about the experience, it really adds to the hike. I enjoyed it this year much more then I did last year. We made it all the way to about 3500 feet and 3.5 miles on the trail before the sun started to come up and we decided to stop for a bite and watch the sunrise.

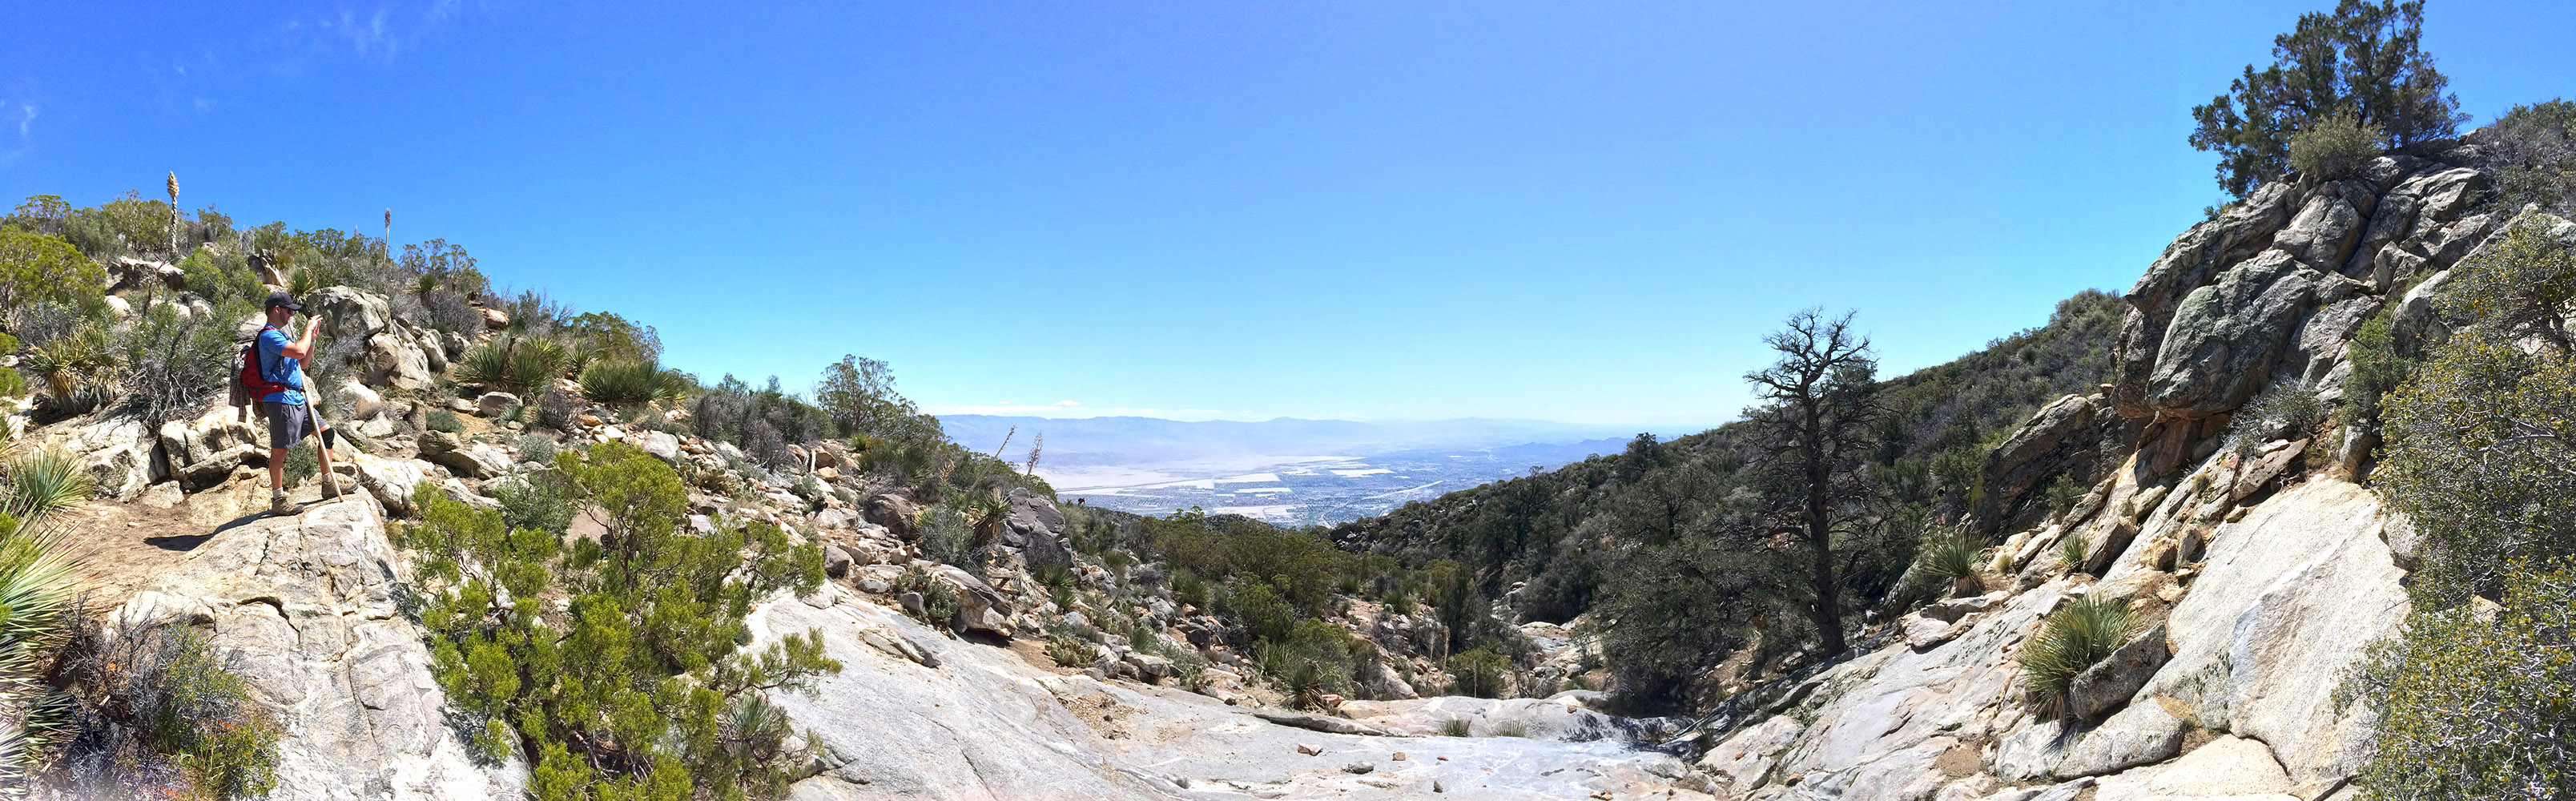
Looking down at the sleeping Palm Springs as the sun rises
After the rescue box 1 land mark the next one you will come across is the 4300 elevation marker, marking the 1/2 way point for both elevation and mileage, this is also where you start to really see the mountain and how much of it you have left to climb, a common phrase keep poping up in my mind, “so near, yet so far”, as you get to know this trail you will realize that even though the mountain looks so much closer you have a long ways to go before you reach the tram.
4300 foot marker for the Skyline Trail. The 1/2 point in both elevation and mileage.
Looking up at the mountain from the 4300 foot marker. The top is so much nearer then it was before, but yet so far away.
After you enjoy the view at the 4300 mark get back on the trail. You have about another 3 miles and 1700 feet of elevation gain before you make it to the next logical resting area called Dry Falls or Flat Rock. Along the way you will pass a few landmarks like “rescue box 2” and “tombstone rock”, sometimes you will also do the illogical such as start going downhill (whaaa!!) before heading back up the monster.
“Tombstone Rock”
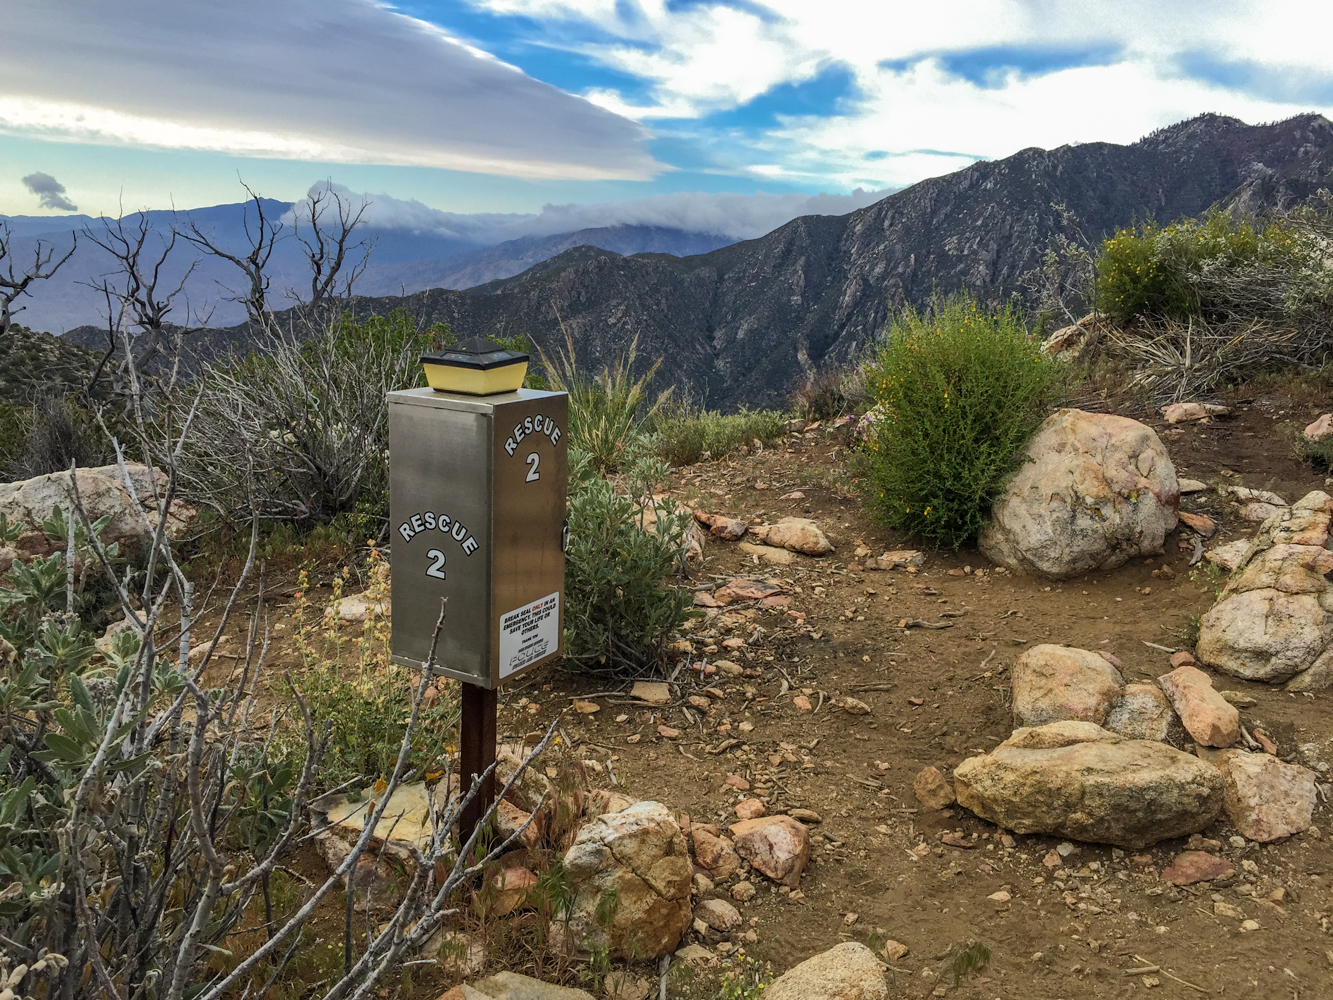
Rescue Box 2
Dry Falls / Flat Rock
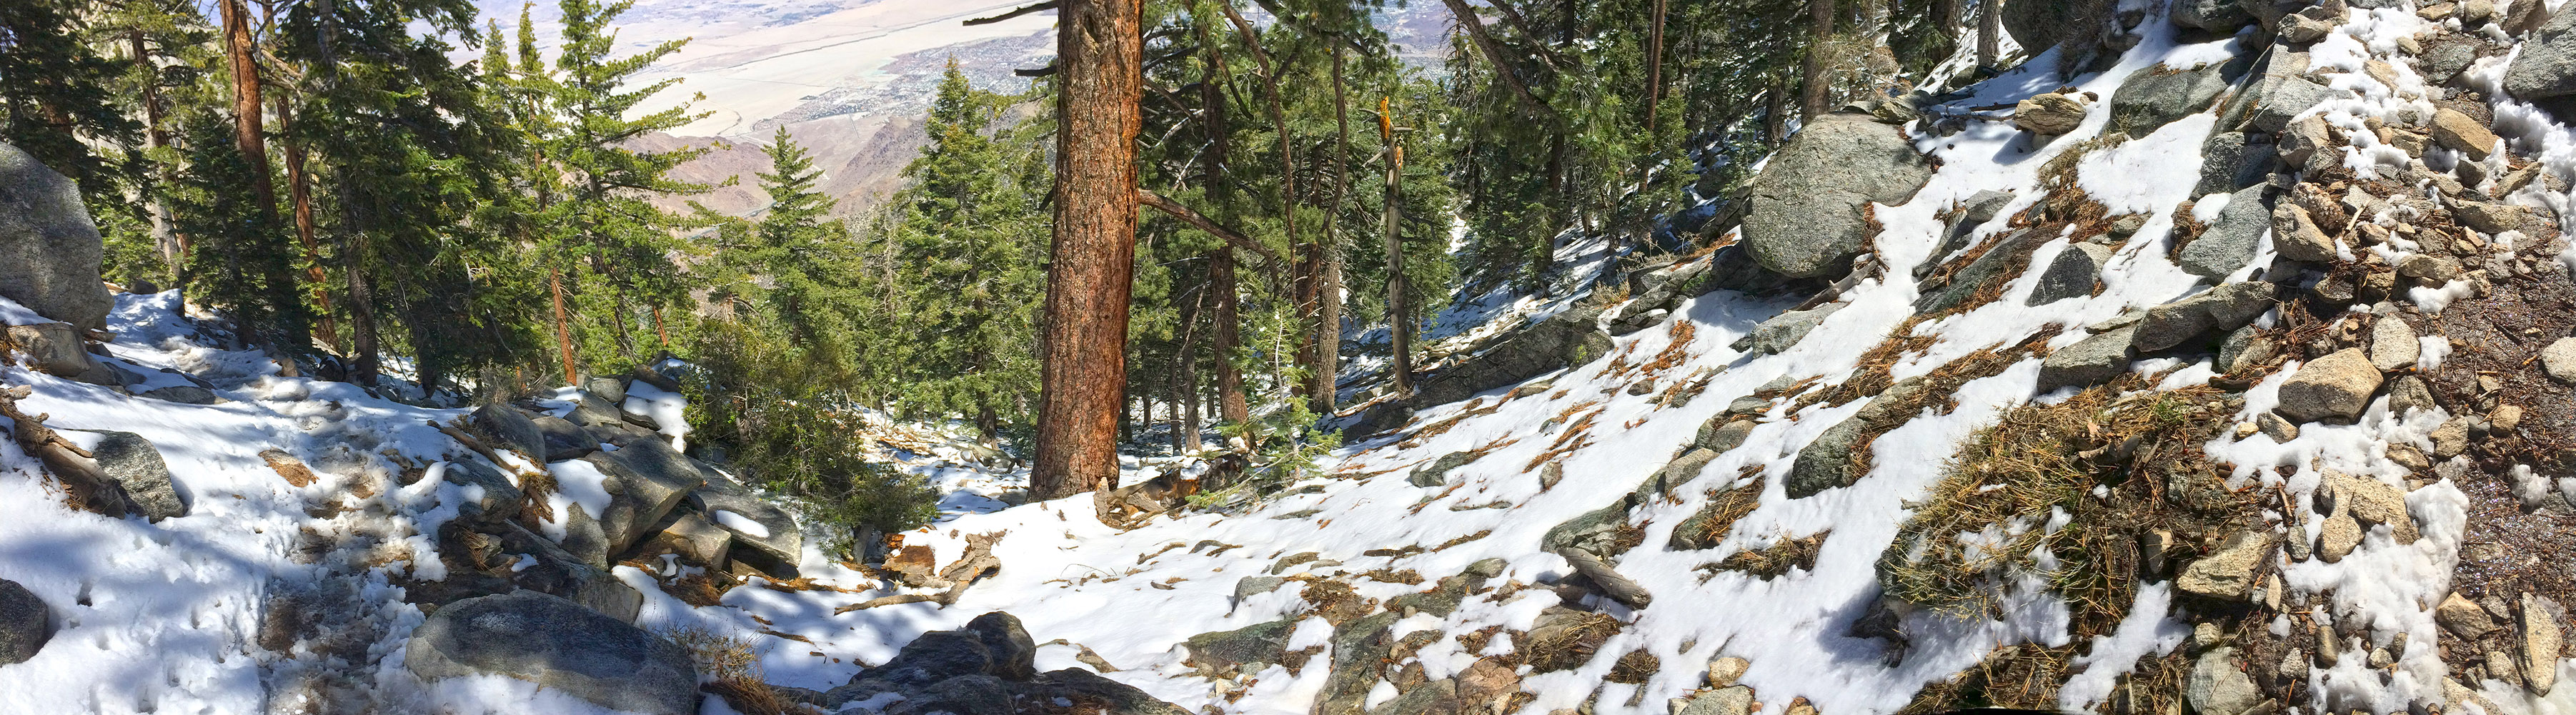
Once you make it to Flat Rock / Dry Falls, take a rest, eat some food, your going to need the energy for the coming climb. You will usually find a few people resting here as well, this last time there were about 10 of us resting and recuperating before getting back on the trail. Your going to need the extra energy, because right after the Dry Falls the climb starts, you will gain about 1500 feet of elevation gain over the next 1.4 miles. The grade is relentless as you make your way through all the manzanita bush’s on your way towards the tree line starting around 7,000 feet. At about 7500 feet of elevation gain and 8.9 miles into the hike ( from the museum) you will hit the traverse. The traverse will give you a little reprieve from the grade, but you will still gain another 300 feet of elevation between the start of the traverse and Coffman’s Crag. During the waning months of winter this can be a dangerous section because of sections of the trail with thick ice and sheer drop offs to one side.
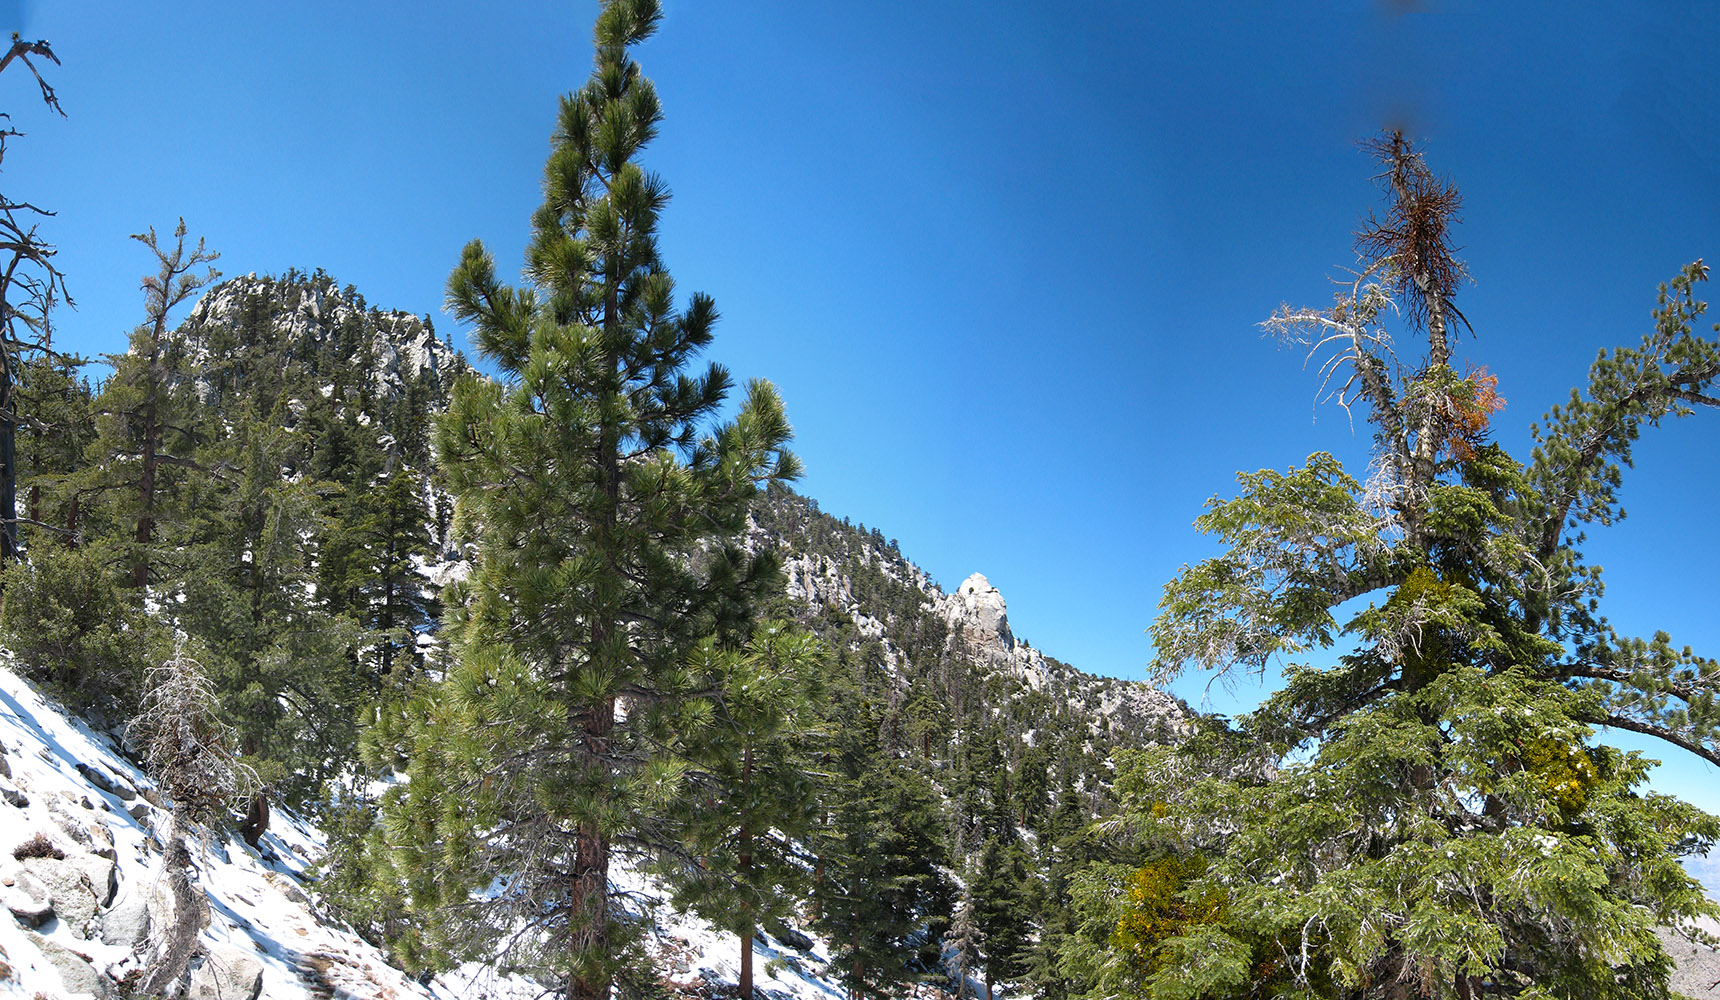
Looking across the traverse towards Coffman’s Craig
After making it across the 1/2 mile traverse you will come to the biggest trail marker of them all, Coffman’s Craig, you will make an almost 90 degree turn and start heading what seems like straight up the hill at this point, sometimes hitting grades close to 60 %. This is a good point to have some extra energy gels to consume, I’ve only been up this trail twice but each time this is where my legs start to cramp and this time I found that the energy gels helped take the edge off and let me get up to the top.
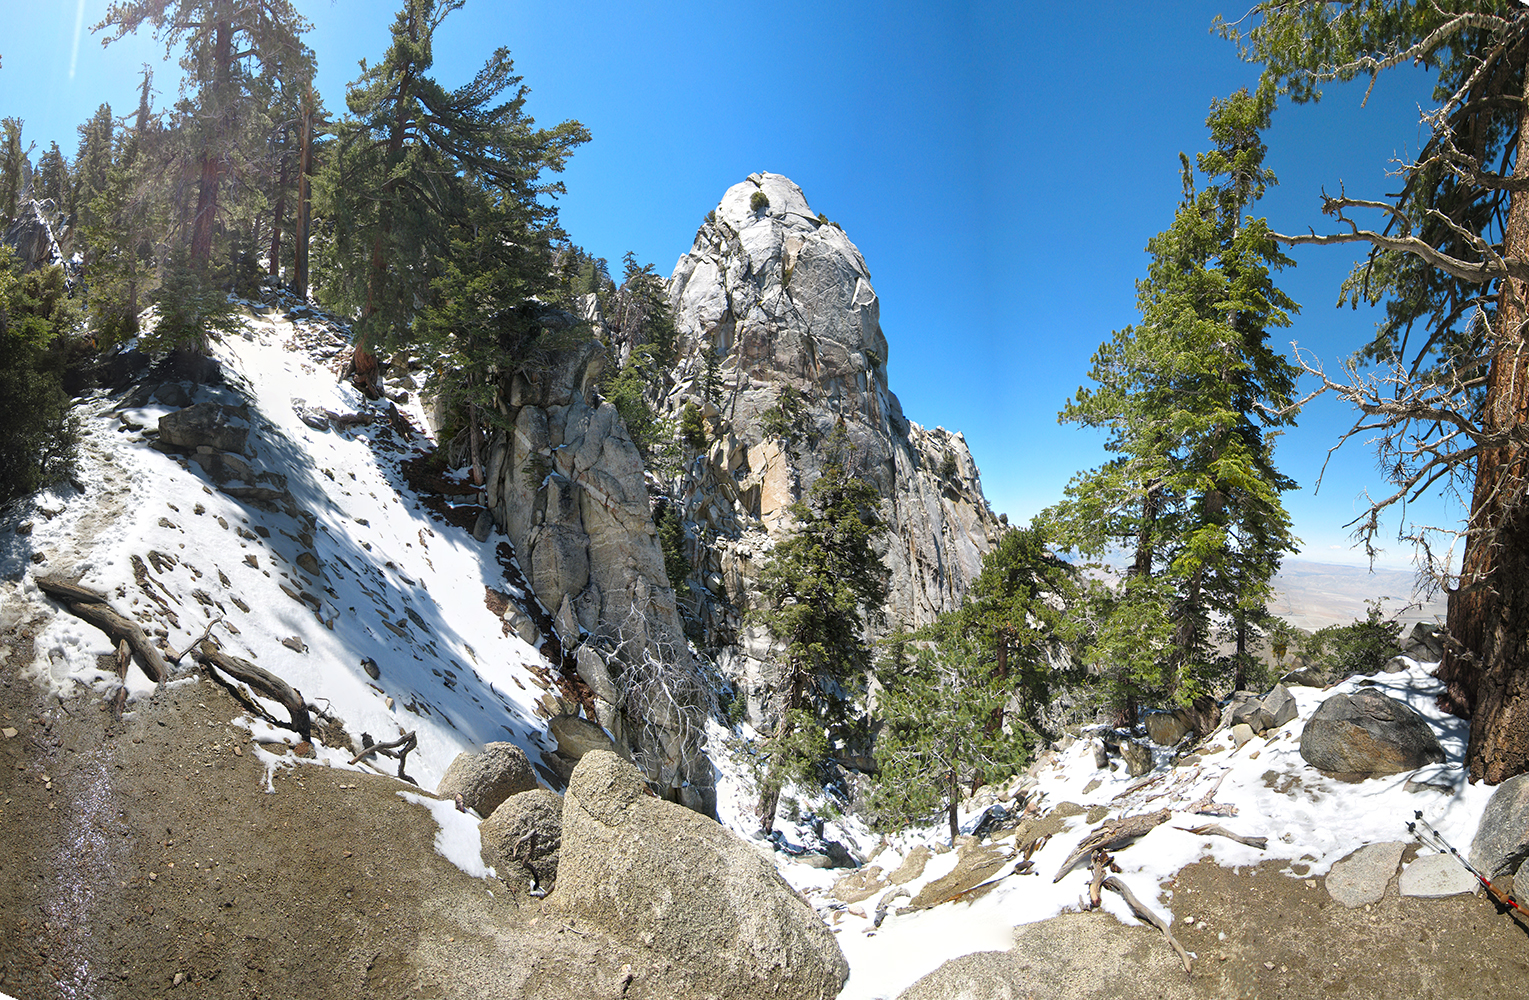
The trail making an immediate 90 degree left turn and heading uphill in front of Coffman’s Craig
After another .4 miles going up hill and gaining the last 600 feet of elevation you will see the most glorious thing, sky between the trees, meaning your almost to the top of the trail, if you find that you are done with this trail and want to head back down the tram head over to the tram and the cement walkway from hell ( insult on top of injury) otherwise this is a good place to sit and rest before continuing on the ranger station to get your permit. This time there were about 15 climbers all sitting right at the crest, resting, eating, and some napping before continuing on.
Finally seeing sky again between the trees, you know you are so close to the top
Looking back down the steep climb towards the top of Skyline Trail
Heading towards the tram from the top of Skyline Trail
After you make your way over to the ranger station, take some time, refill your water from the tap in the bathroom, change out your socks for a fresh pair, and refocus because now starts the 2nd half of the hike. Its not nearly as hard as the section you just completed, but you are up at 8500 feet of elevation and will find that as you climb further this might get to you. You also need to keep an eye on the weather from here. The ranger told us at the station that there was a 40 % chance of snow. What we got on the way up and down felt like an arctic blizzard, with snow, rain, and sleet being driven into us by strong winds and temperatures from the wind chill as low as -5 F* at the top of the climb. Its because of this weather that I did not get any more pictures along the way from this trip, I put on my cold weather gear, and stored my camera equipment in my bag and put the rain fly on my pack. As a consequence the rest of the pictures are from and earlier trip made near the end of summer, although I do wish I had taken some pictures because the snow made for some beautiful scenery along the way, but my hands would have been freezing trying to take the picture.
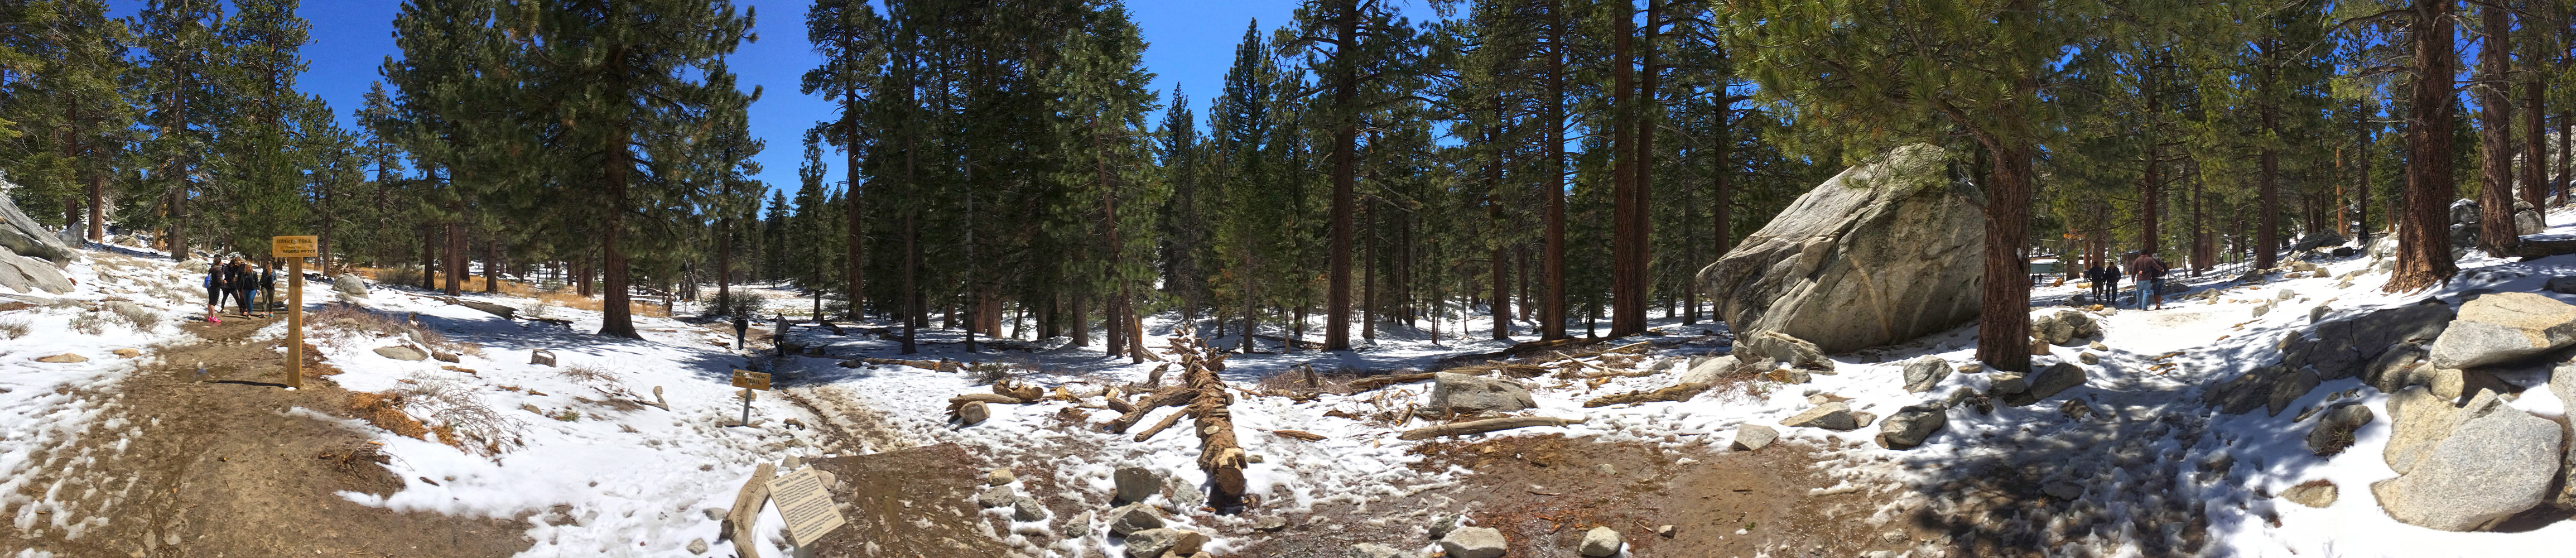
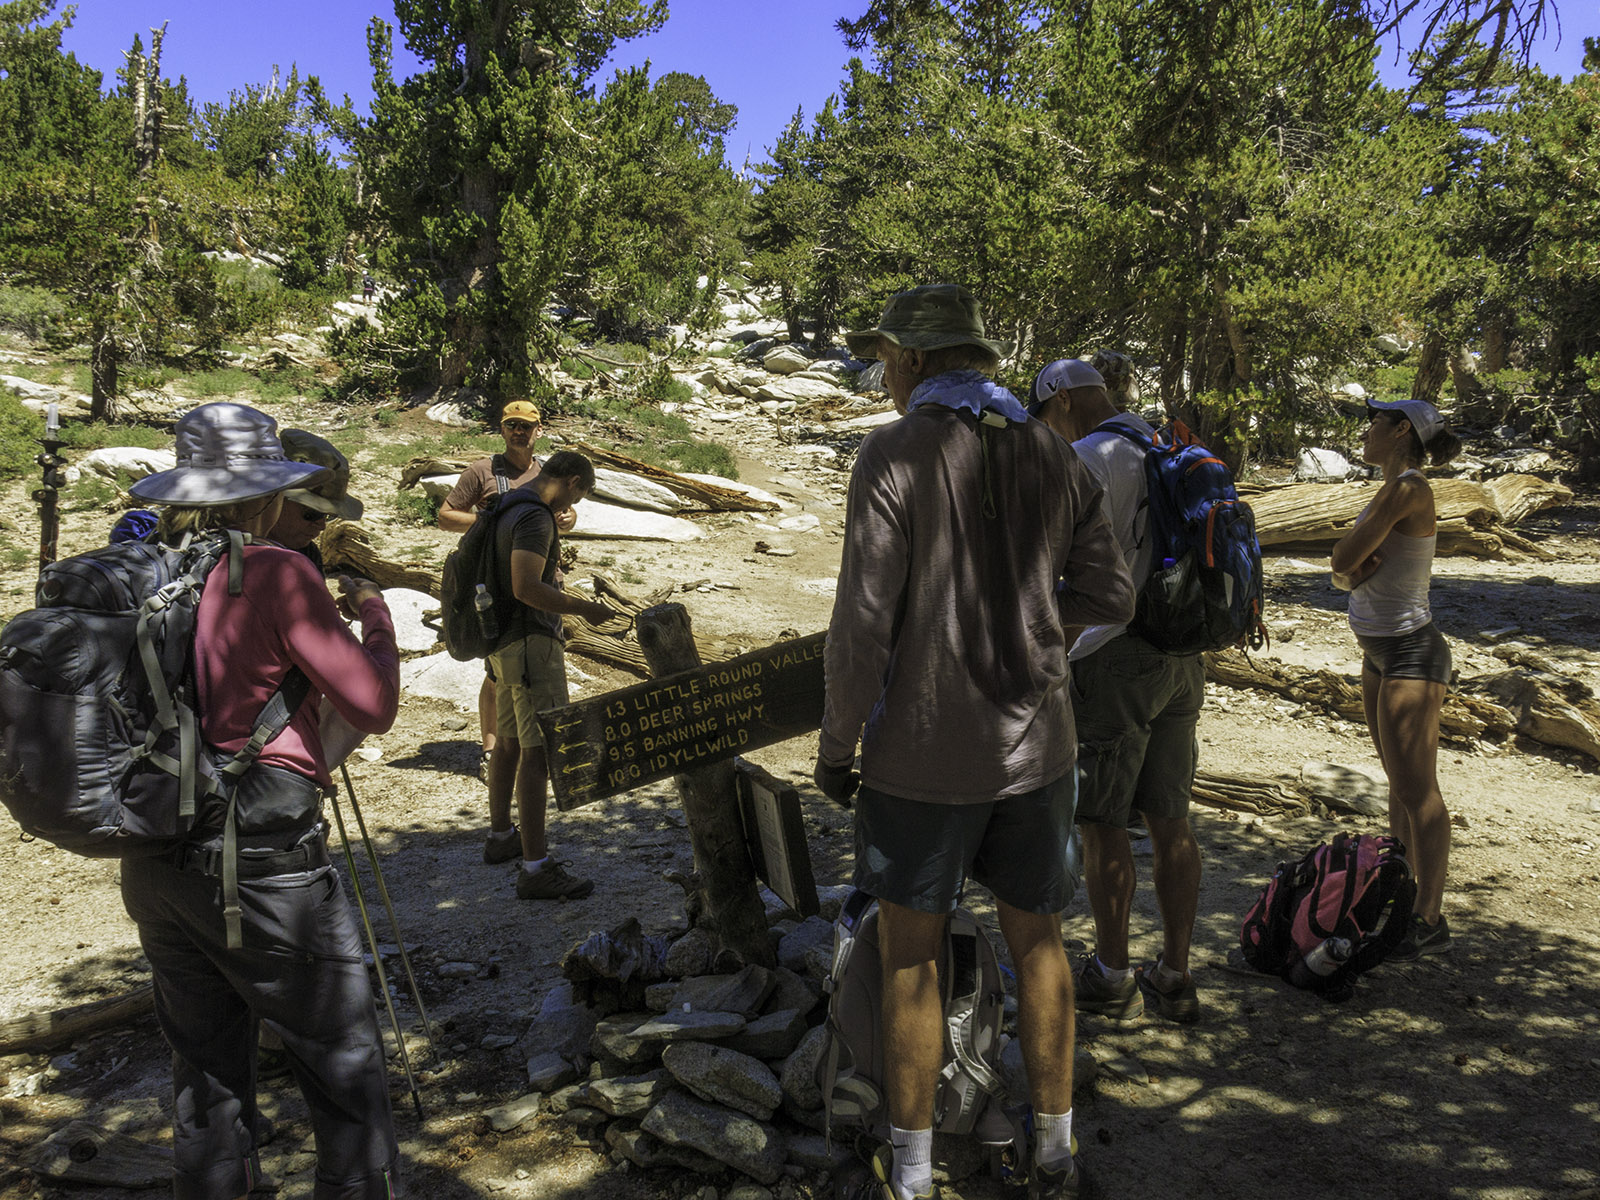
Once you have your permit your ready to start the hike. Head past the ranger station following the trail towards Round Valley. You will soon see a junction sign telling you which way to go.
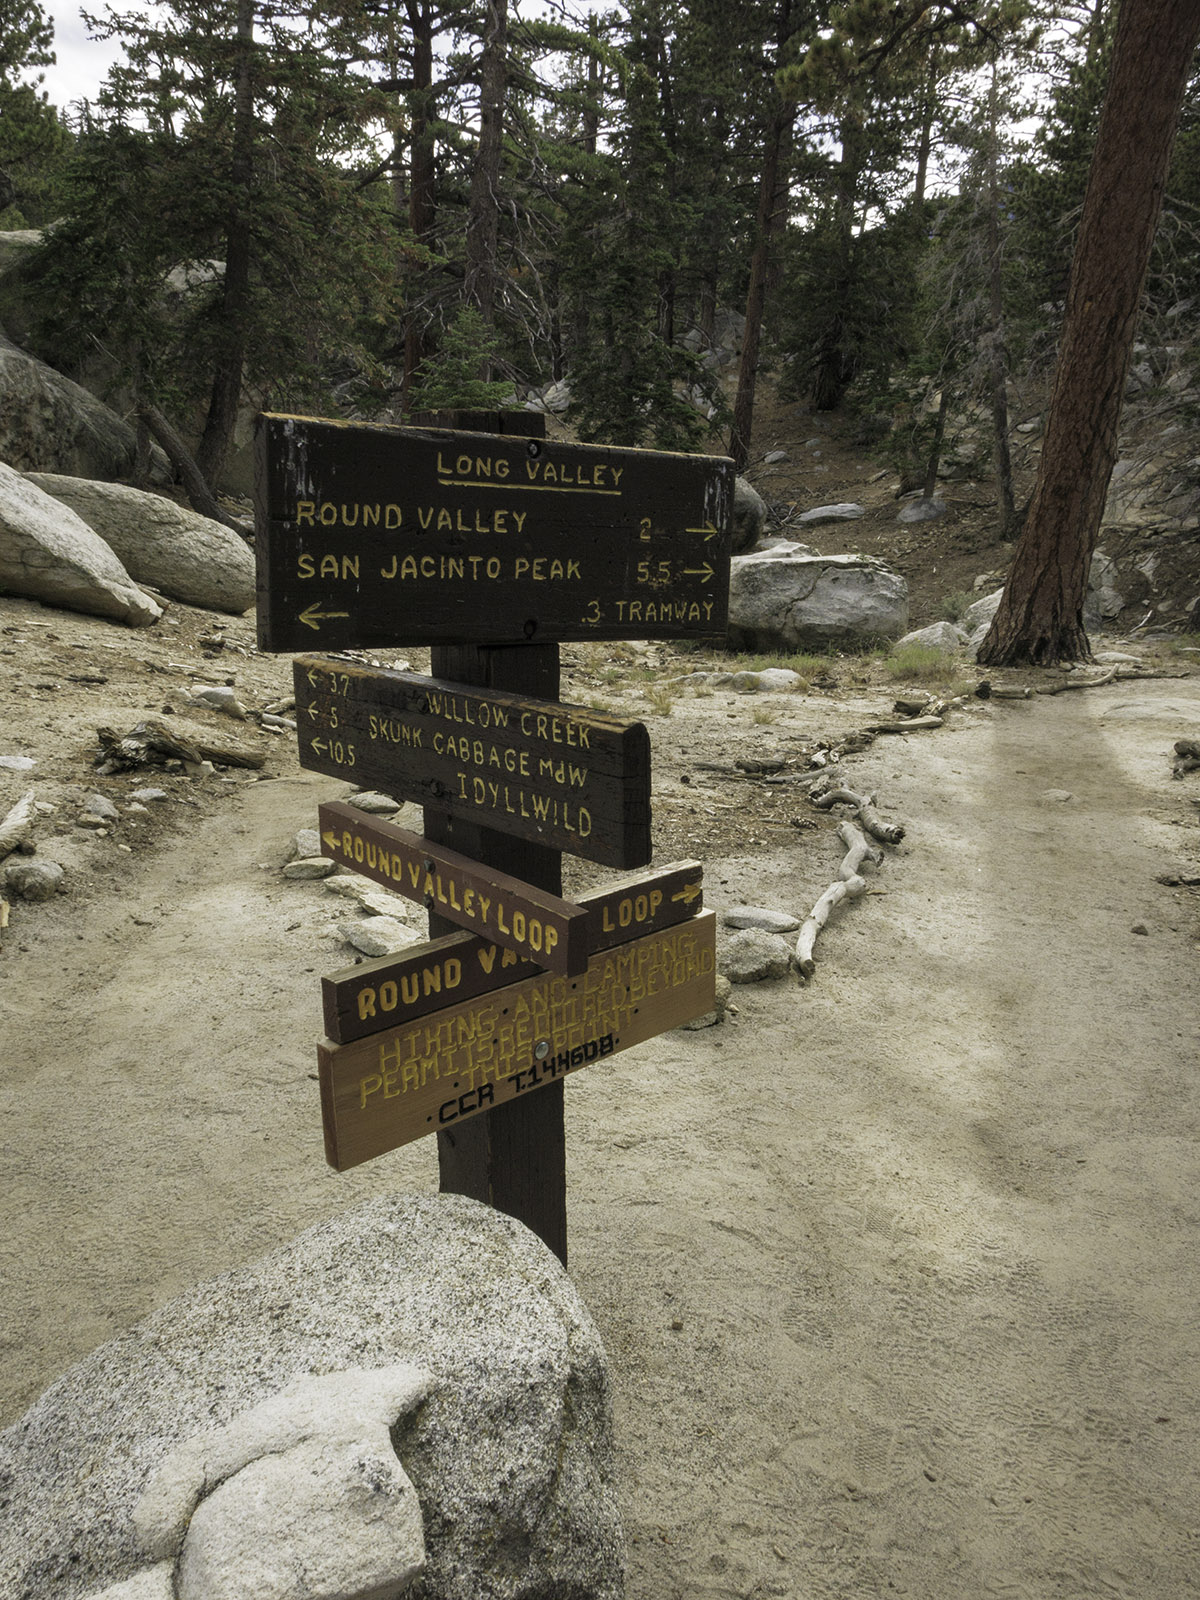
Head right at this sign towards Round Valley
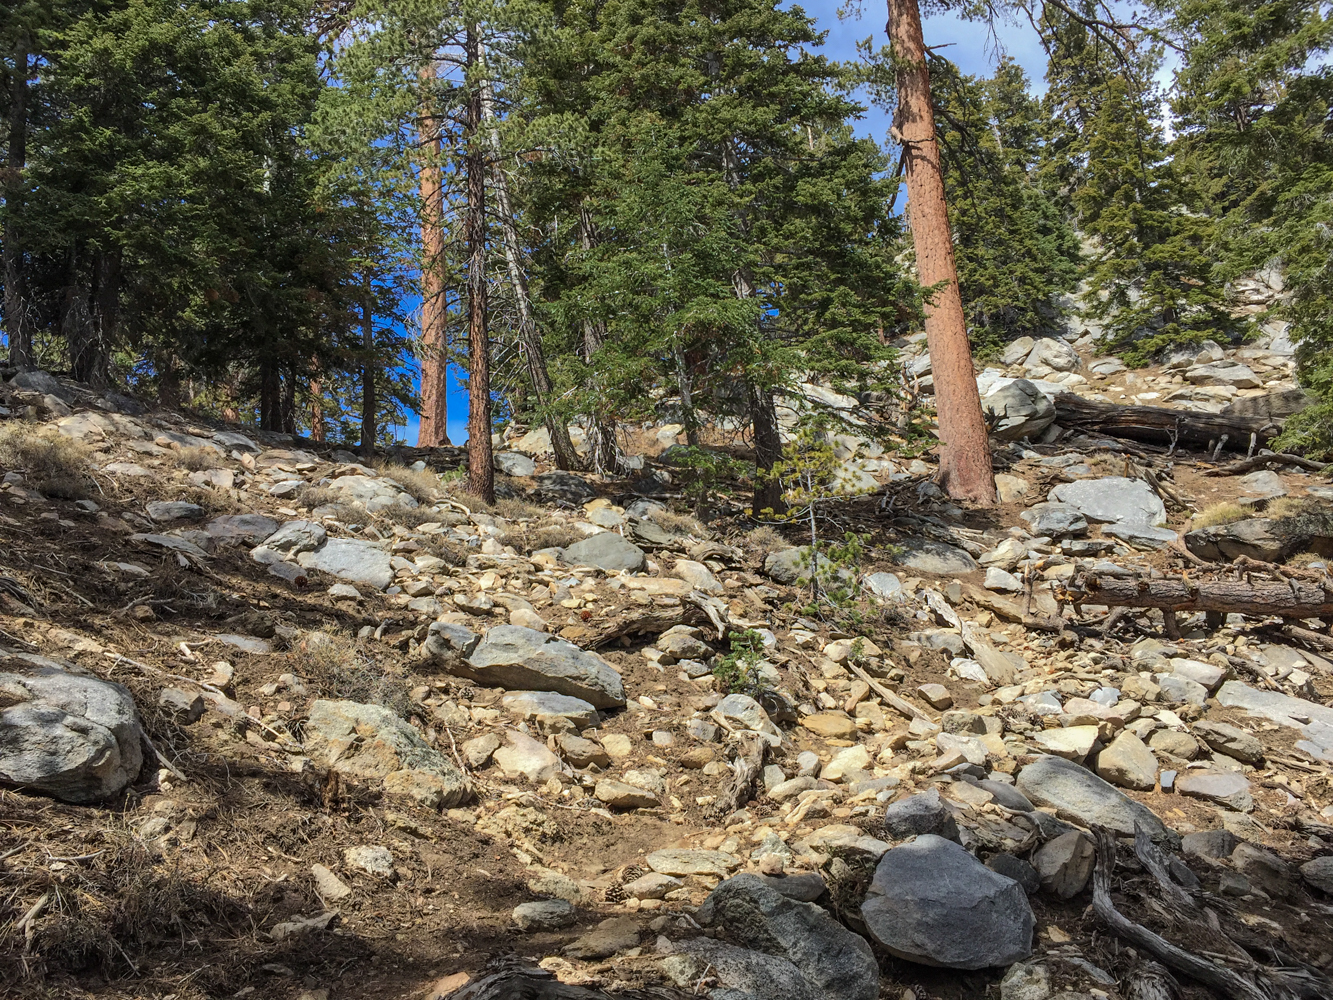
Keep following the trail towards Round Valley and the San Jacinto Peak. You will wander along the trail and past several foot bridges. At about .75 miles you will start to climb, you will gain about 650 feet of elevation over the next 1.5 miles or so until you reach the Round Valley Campground Area at about 2.3 miles into the trail and 9100 feet of elevation gain. Here you can resupply any water you may need at the spigot by the side of the trail, right next to the elevation marker, but remember you are going to need some way to treat that water as well.
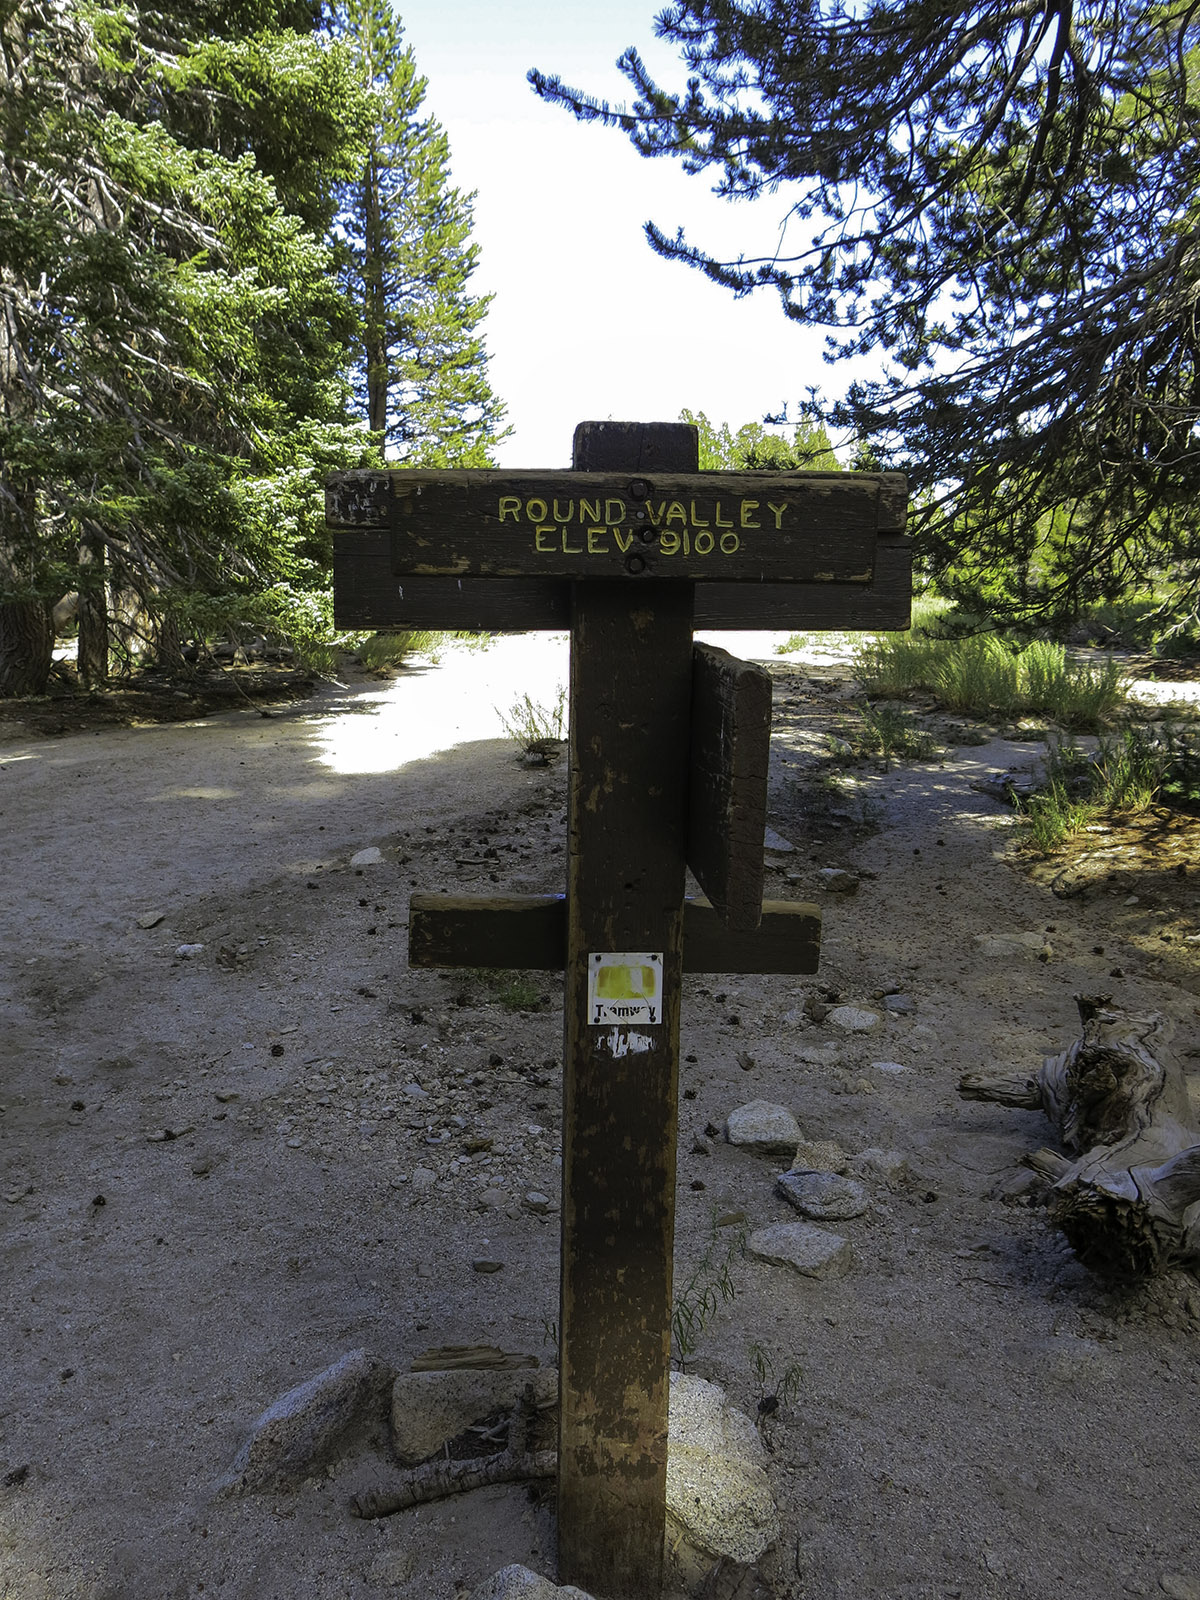
Round Valley Elevation Sign
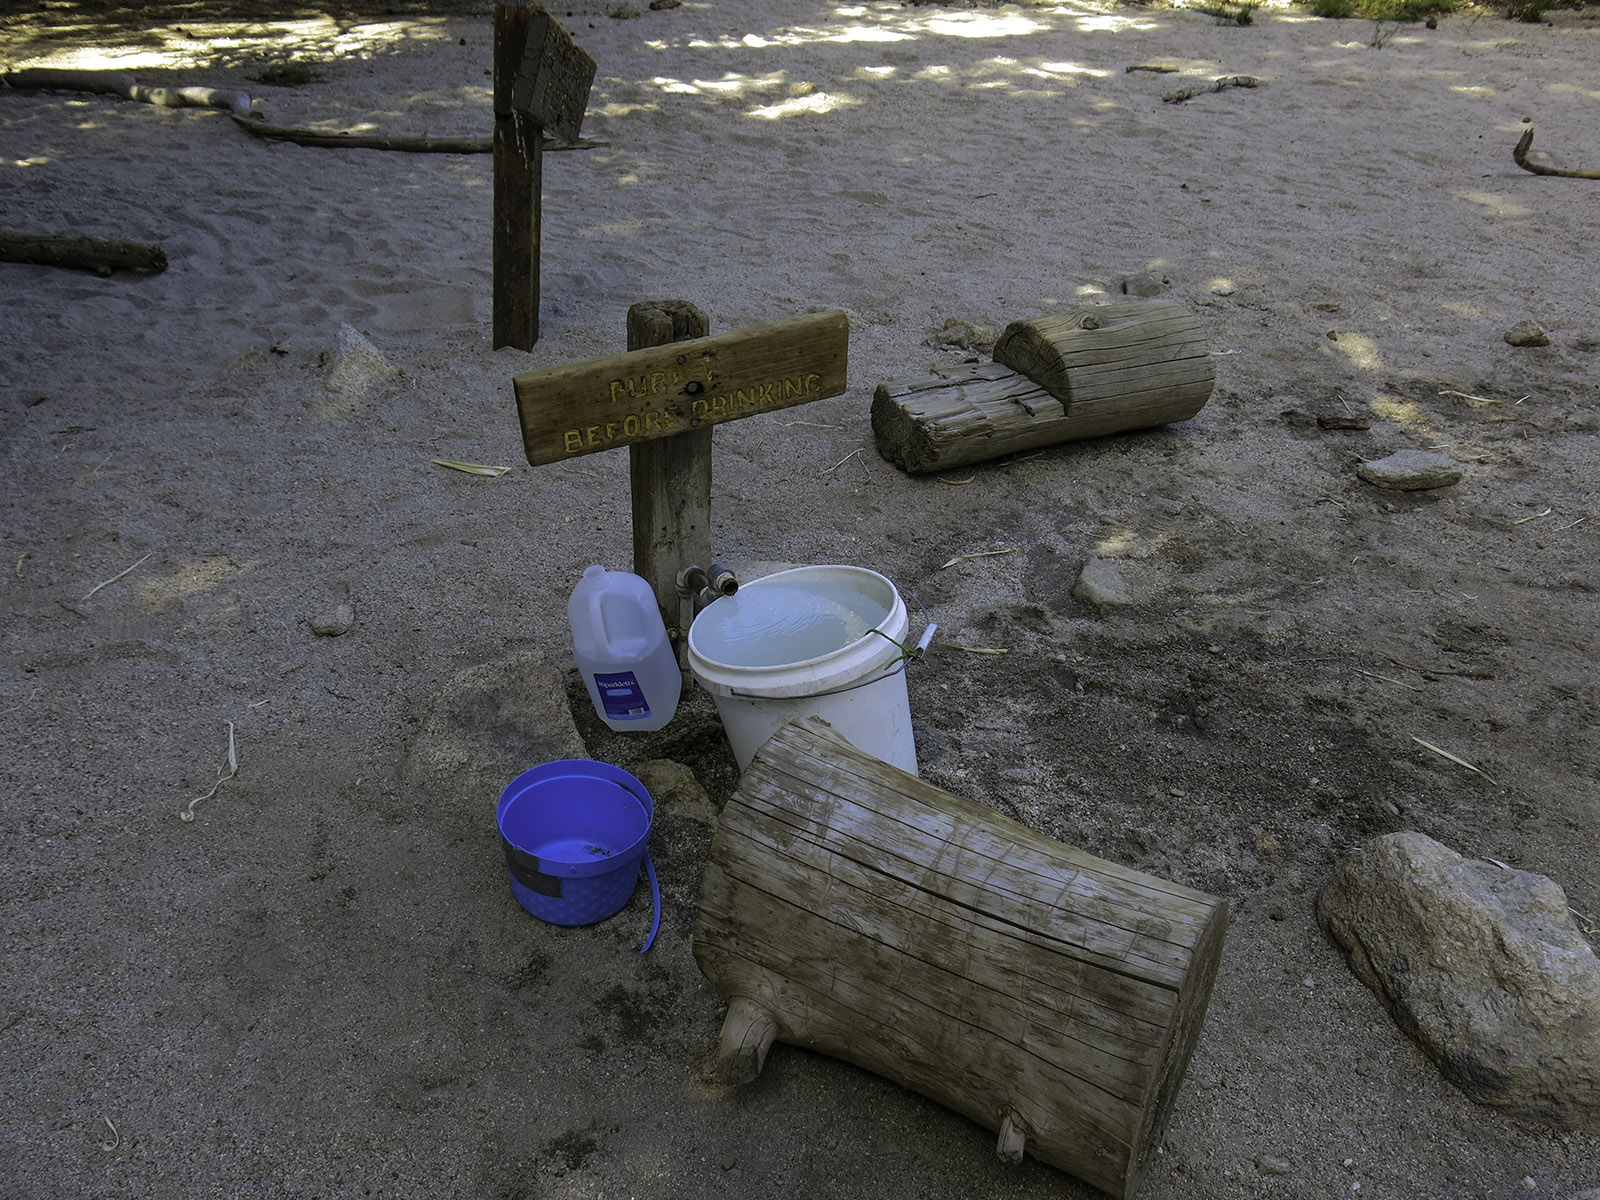
Water Spigot in Round Valley, you need to treat the water.
After leaving the Round Valley Campground Area you will soon start climbing again, from 9100 feet to 9700 feet over the next mile until you reach Wellmans Divide. Here you will get some great views looking south towards Tahquitz Peak and Palm Dessert.
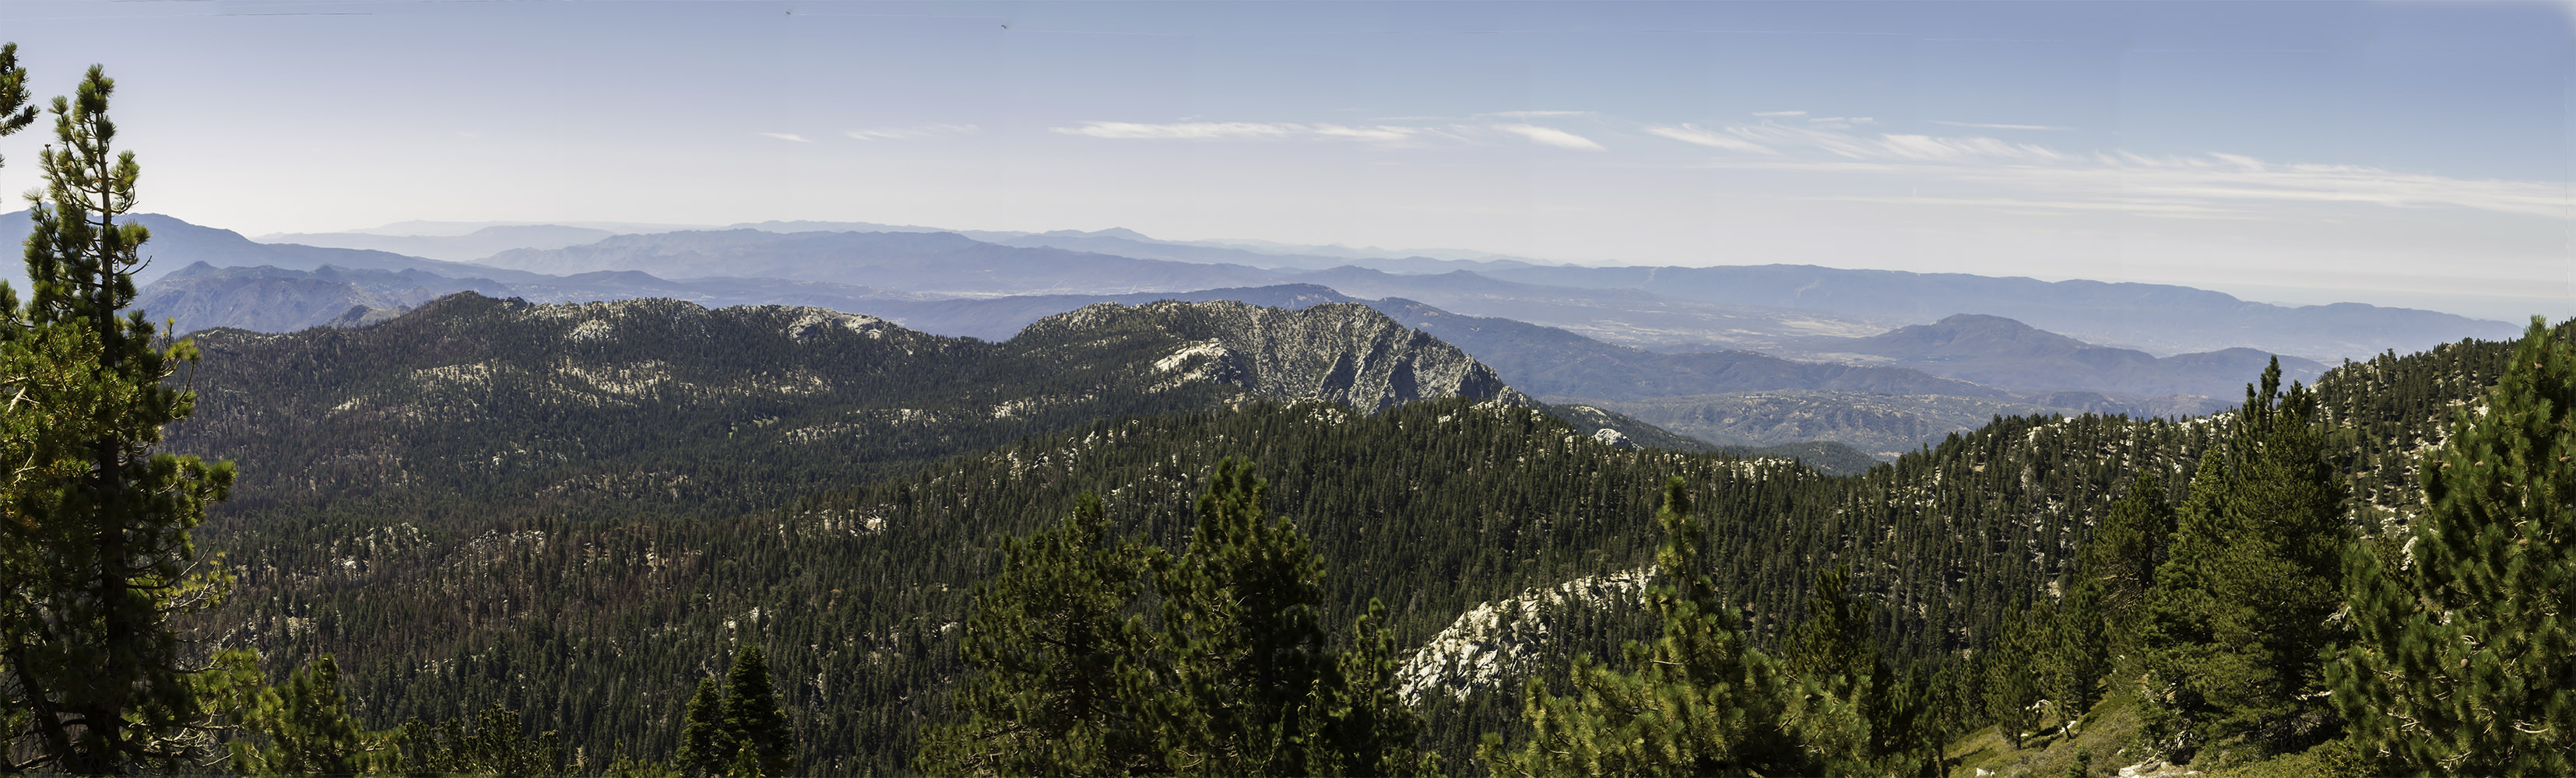
Looking down towards Taquitz Peak from Wellmans Divide
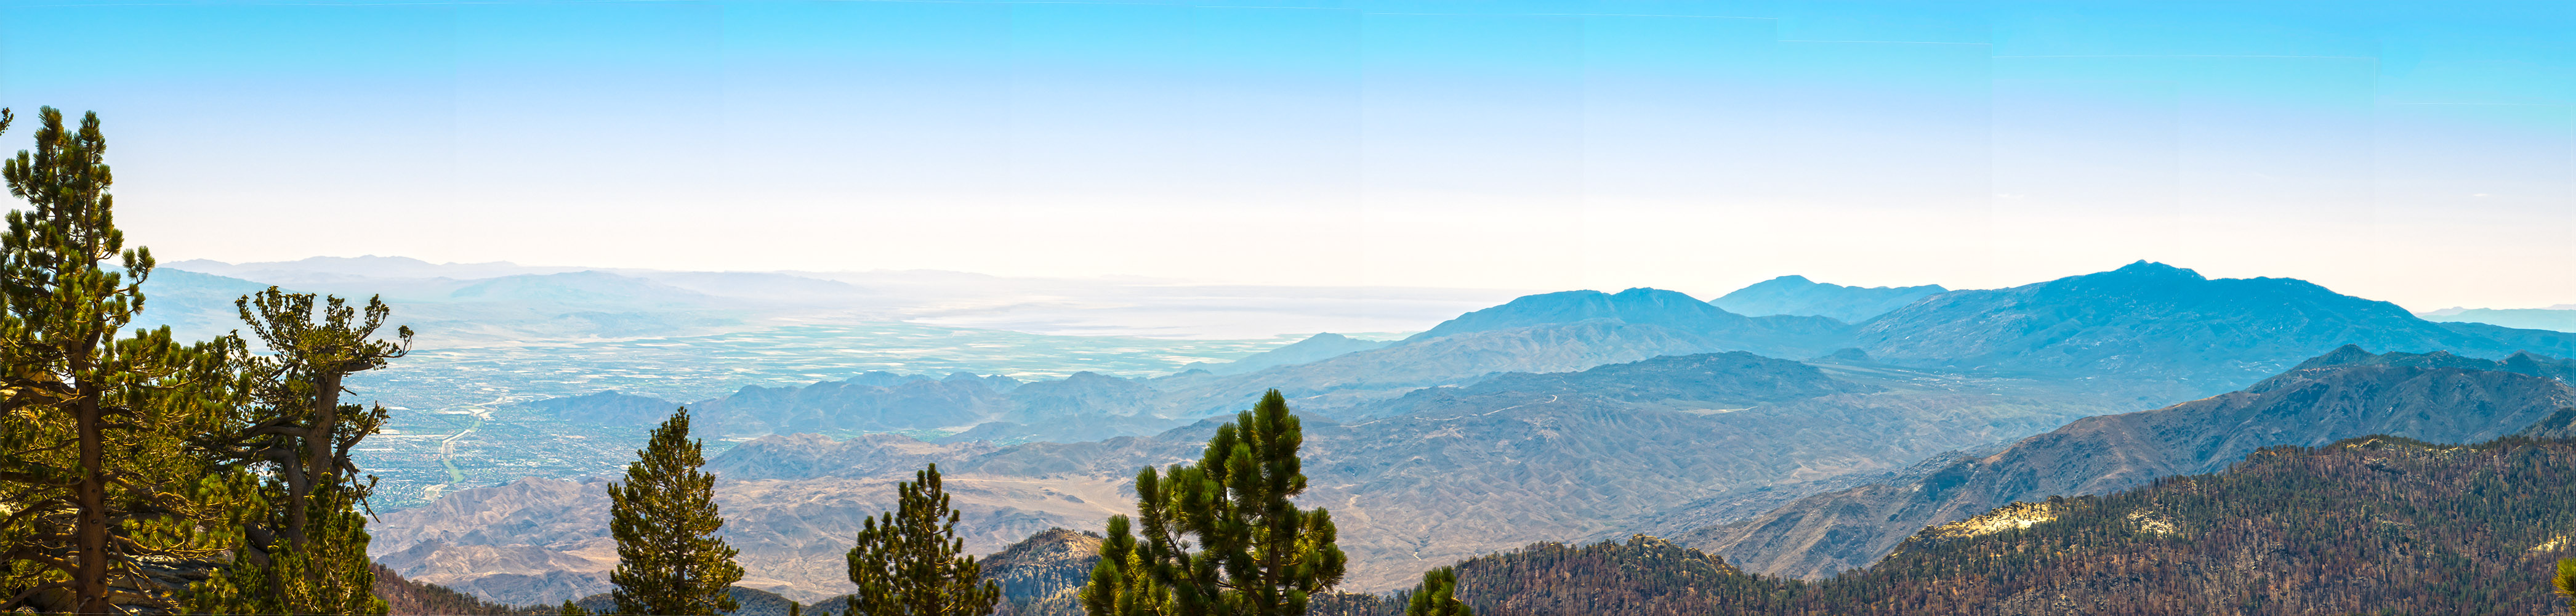
Looking back down towards the desert and the Salton Sea from Wellmans Divide
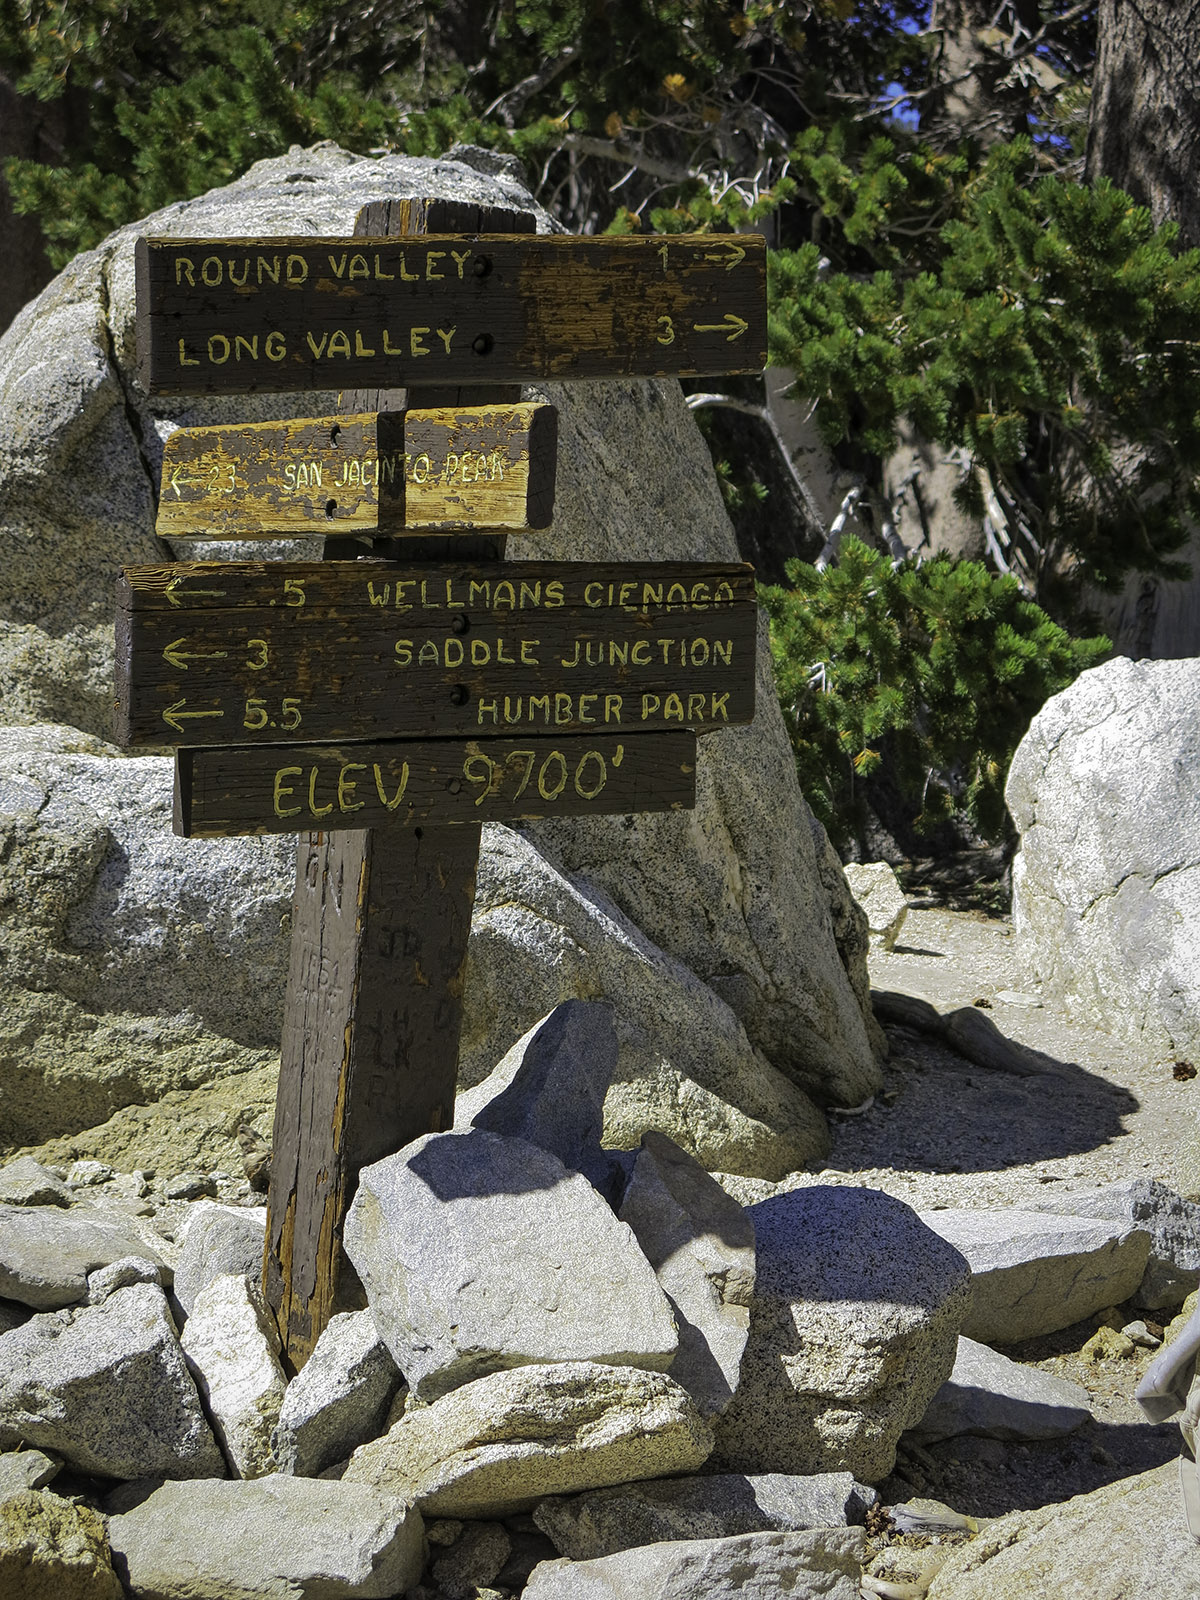
Wellmans Divide Junction Sign
After taking a break and taking in the views at Wellmans Divide, head up the Peak Trail. You will gain about another 700 feet as you rise from 9700 feet to about 10,400 feet over the next 1.4 miles as you head north along the eastern side of the mountain, before you hit the one switch back and start heading south along the eastern side of the mountain for another .4 miles and gaining another 200 feet until you hit the junction with Deer Springs Trail at 10.600 feet.
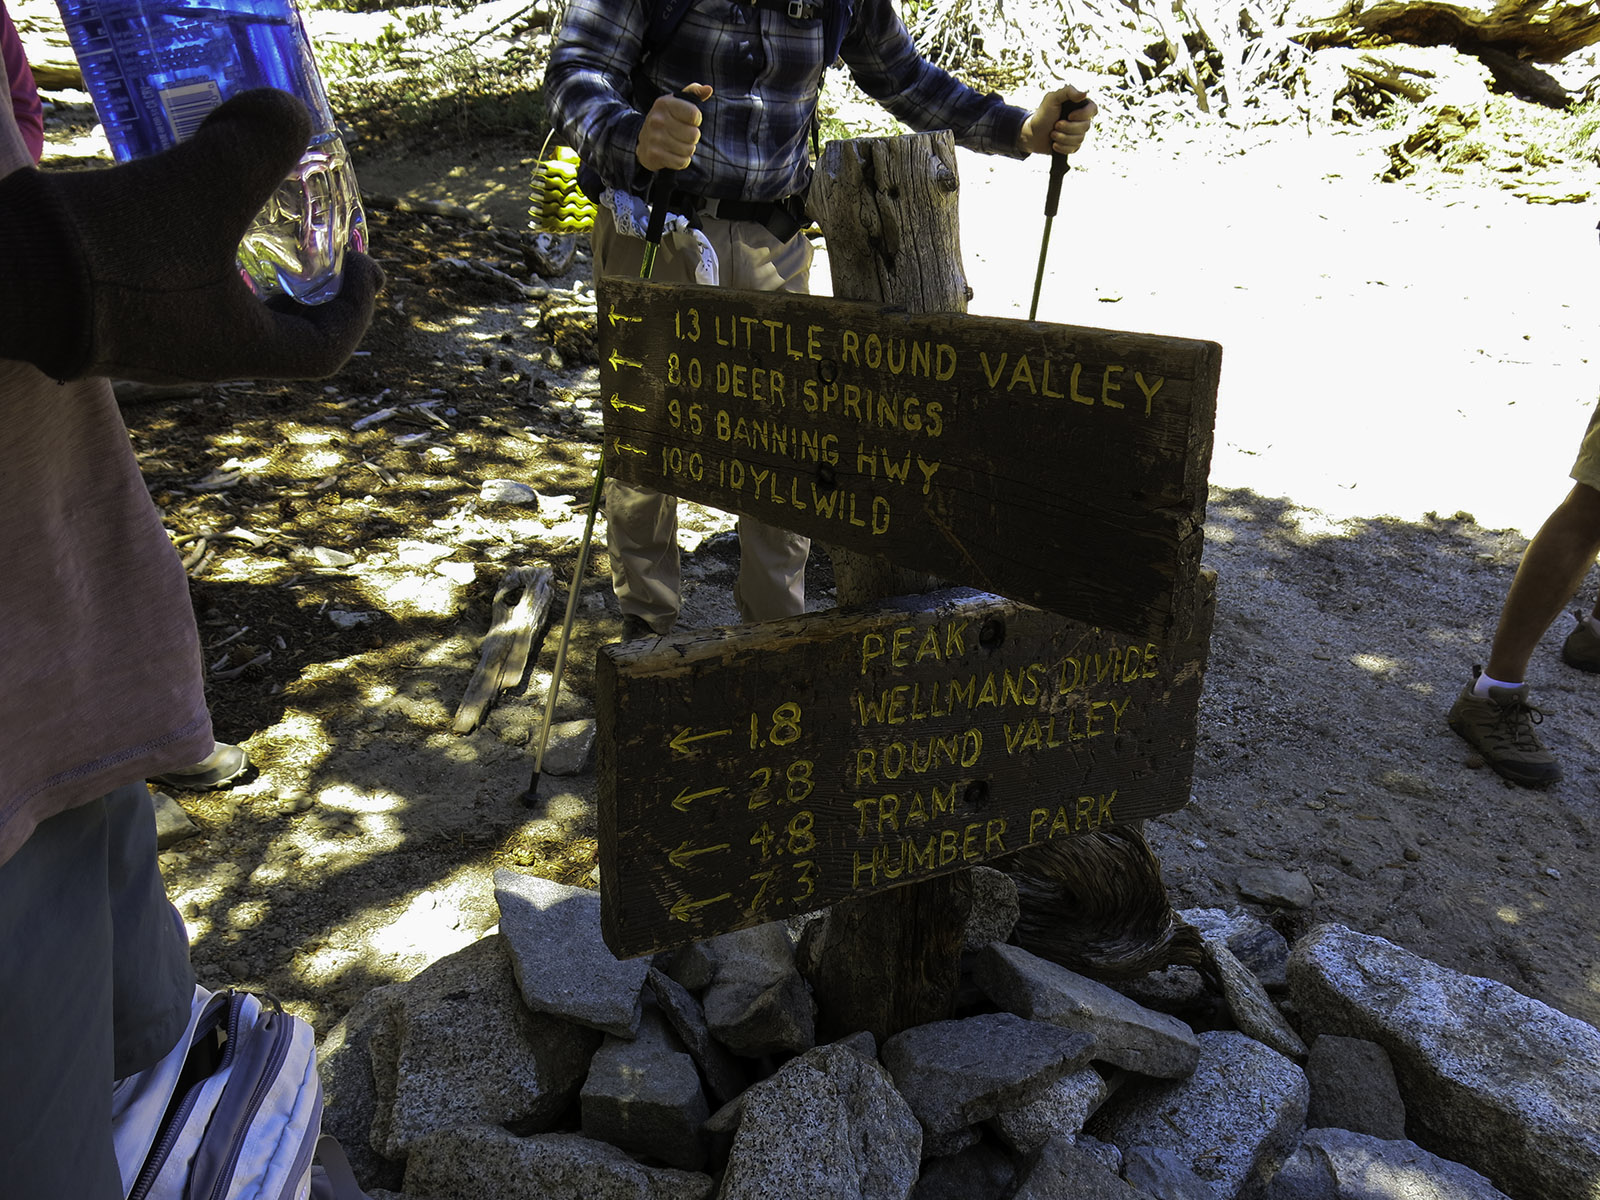
The last trail junction sign before the top
Resting at the last junction sign
After you hit the Deer Springs Junction head north towards the peak, in about .2 miles and another 100 feet of elevation gain (at this altitude that feels like a lot) you should see the Emergency Hut on the right side of the trail at about 10,700 feet. Take a look around, its been there for some time, the shelter was built some time around 1933 by the California Conservation Corp’s.
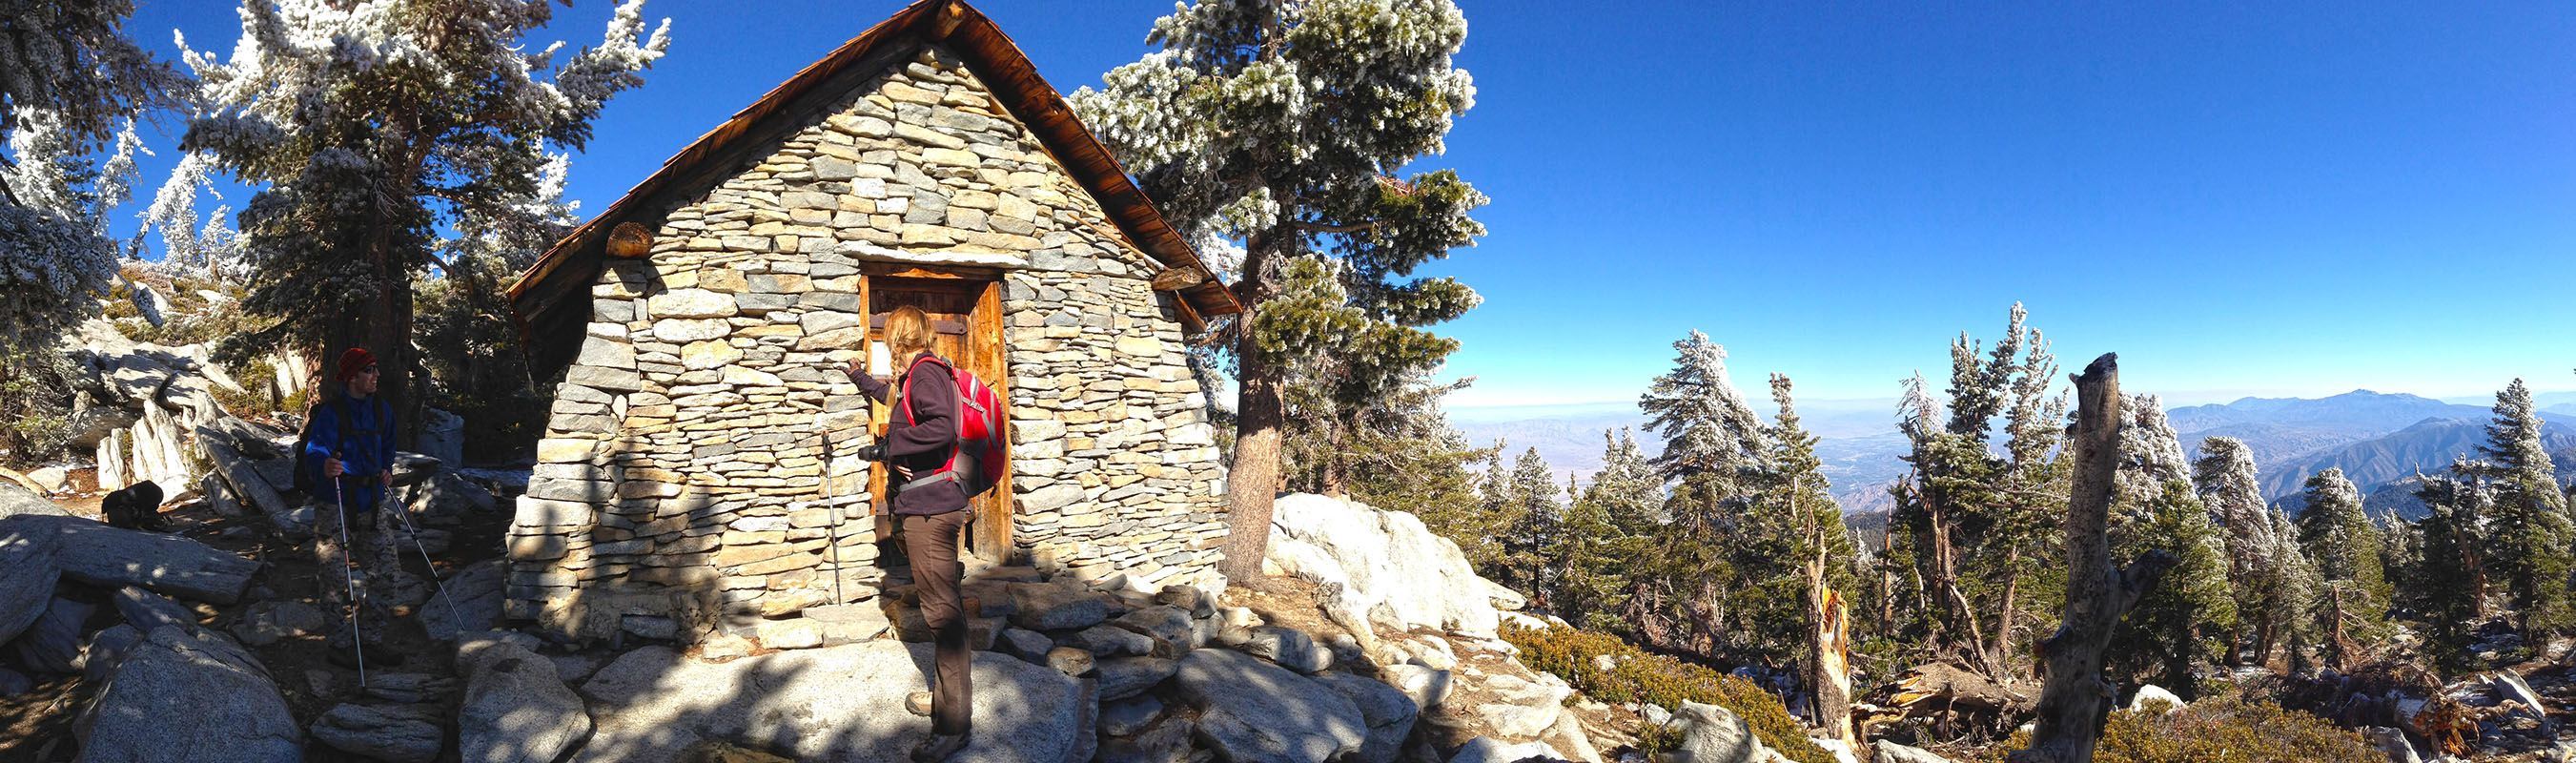
The Emergency Hut
After taking a look in the Shelter, head up the last .1 mile and 134 feet of elevation to get to the top. This is where it gets tricky, the trail starts to disappear, but if you look carefully you can see the wear patterns on the rocks where most people go and you may be able to spot some trail cairns that have been left for you to follow towards the top.
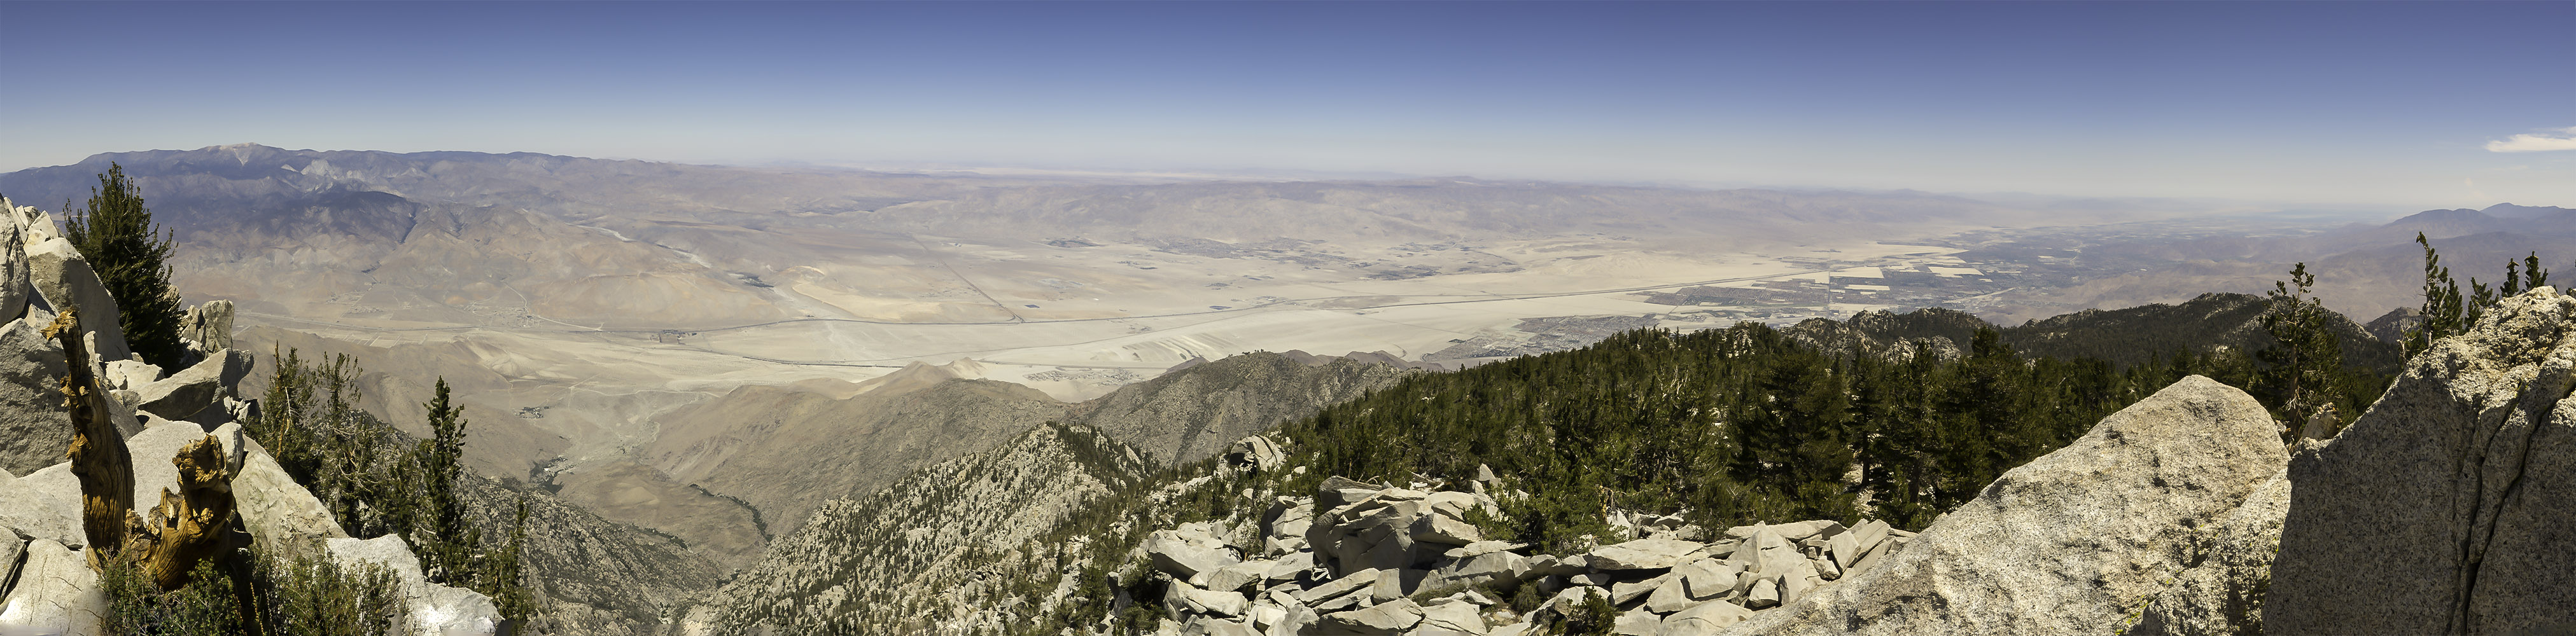
Looking down some 10,834 feet to Palm Springs and the desert

Looking north across the valley towards San Gorgonio and Mt Baldy
After you have had your fill of the top, start the return trip, it should take you 2-3 hours to get back down to the tram. The day we were up there for Cactus to Clouds the weather was terrible, the winds were pushing rain, sleet, and snow into us and the last thing my friends wanted to do was hang around the top of the mountain. It seems like it take forever to get back down to the tram, as you start nearing the bottom of the trail you keep thinking that the Ranger Station is just around the next bend only to be disappointed, you don’t have the same bravado that was coursing through your veins on the way up the trail. When you finally make it back to the tram you will make your way up the cement walkway from hell. To the uninitiated it just looks like another part of the trail and tram, to you it will look like a slap in the face. I read this before and didn’t believe it until I experienced it. Once you get back to the tram, head up to the top and grab a drink with your friends as you swap war stories and lick your wounds, sometimes literally. After taking off my gloves I noticed I was starting to get frost bite on my fingers, luckily it was nothing that 5-10 minutes under the hand dryers in the bathroom couldn’t help. When you are ready to head back down the mountain the gift shop on the first floor sells the one way tickets $12 and you can ask the ticket attendant to call you a cab ( about $22 to get back to the Museum ), both times the cab was waiting for us as we exited the bottom tram building.
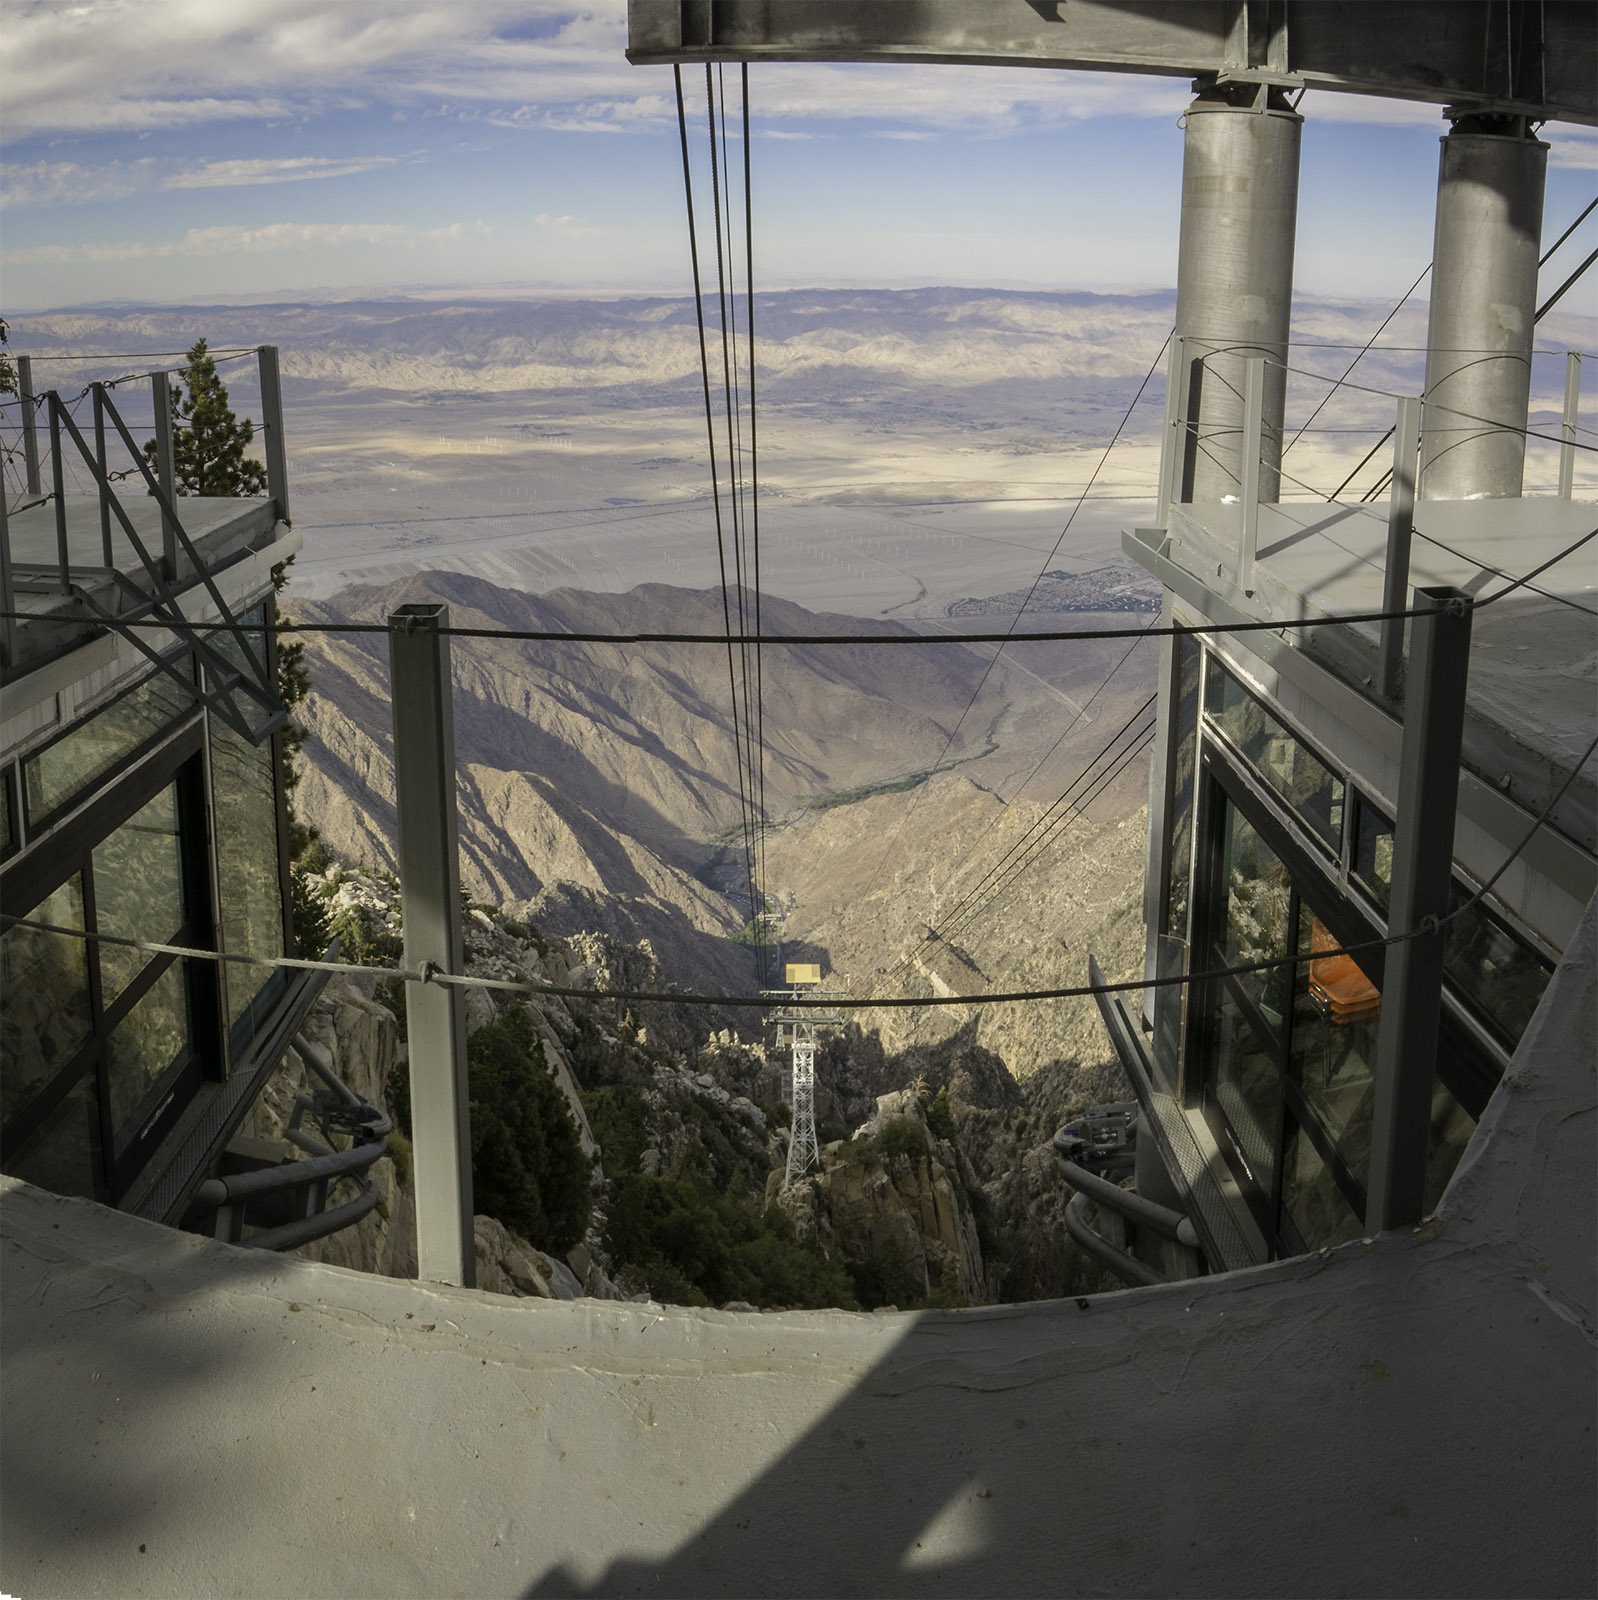
Looking down to the valley below from the top tram station.
If you decide this is all worth it, good luck, I wish you the best experience. Just make sure you are prepared for it.
Weather forecast for the hike:
National Weather Service for The Base of the Hike: Palm Springs
National Weather Service for The top of the Tram, around 8500 feet.